TE Technology MP-2986 User Manual
Page 5
5
2.
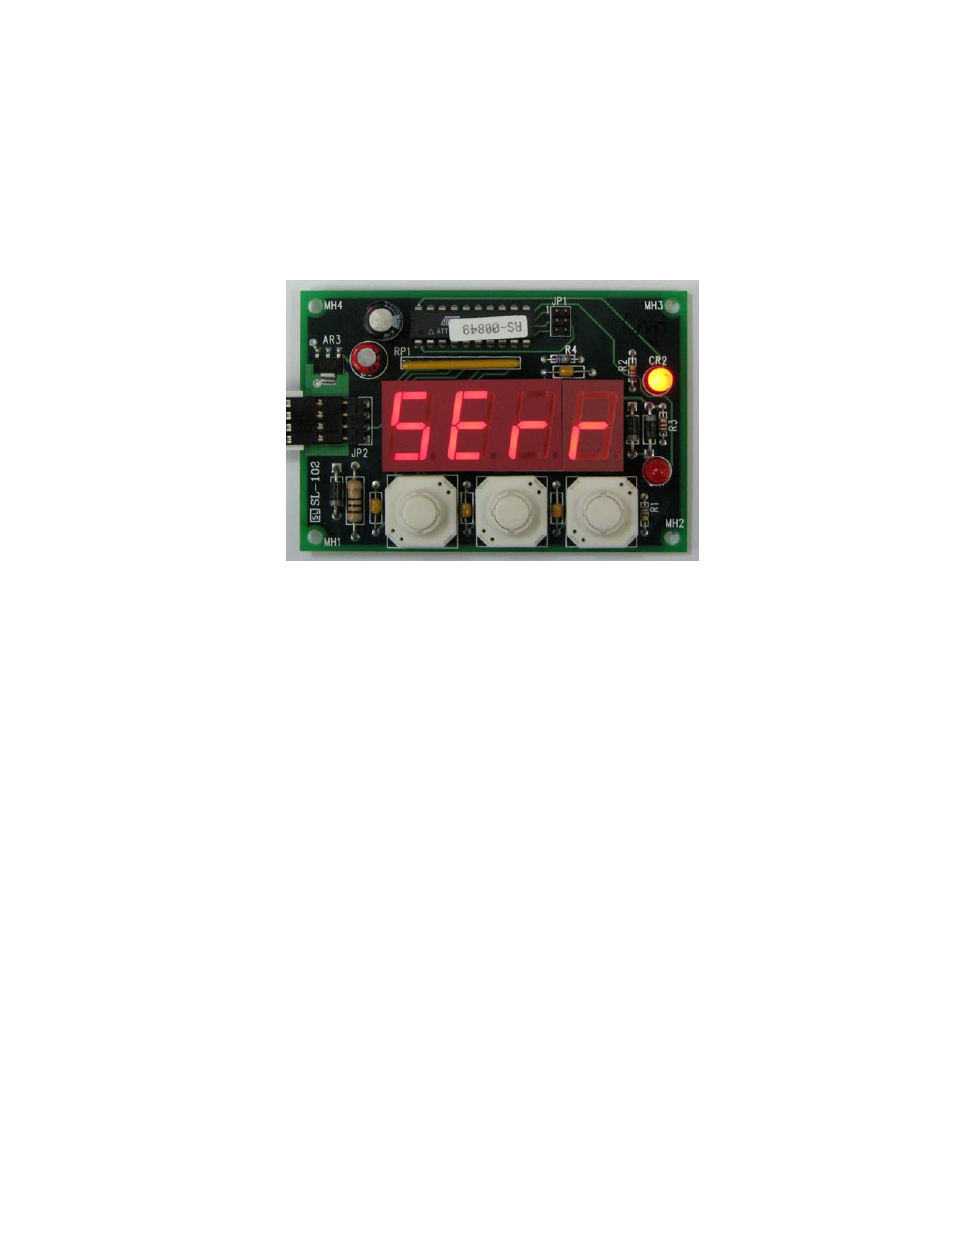
Connect the un-powered controller to the un-powered computer (see the controller manual
for further details) first, and then power up the controller and computer. The display should
automatically come on. Since the controller has not been previously programmed to read
from the MP-2986, the display will show “SErr”, as shown below:
3.
Start the TC-36-25 RS232 software, and enter the following settings:
a) Check the DISPLAY FUNCTION ENABLE box.
b) Select the “JP3 DISPLAY SET VALUE” option under the SET TEMP TYPE
menu key.
c) If you want to set maximum and minimum allowable temperature set points,
enter the corresponding values in the SET TEMP HIGH RANGE and SET
TEMP LOW RANGE boxes. Then click the SEND SET RANGE TO
DISPLAY button, located in the far, lower right-hand corner of the software
GUI.
d) Click the SEND BOX VALUES button (or send the command codes if you are
using your own software). The display should now show the temperature
properly, and you can now use the MP-2986 to set the set point temperature
and to show the actual temperature being sensed.
e) If you intend to operate the controller separate from the computer, save the
controller settings to EEPROM, shut the computer down, and then disconnect
the controller from the computer and power supply before connecting the MP-
2986. (See the controller manual for complete details.)