Replacing and adjusting the knives, Bed knives – AEC Colortronic Granulator - M103 User Manual
Page 19
5-3 Replacing
and
Adjusting the Knives
The rotor and bed knives are subjected to severe conditions, and you should inspect knives
periodically for sharpness. The sharper the knives are kept, the better the machine operates,
producing quality regrind. If the knives become severely rounded, chipped, or otherwise
damaged, the granulator experiences heavy shock loads during operation causing additional
and significant reduction in knife life.
WARNING! Exercise extreme care when rotating the rotor and handling knives.
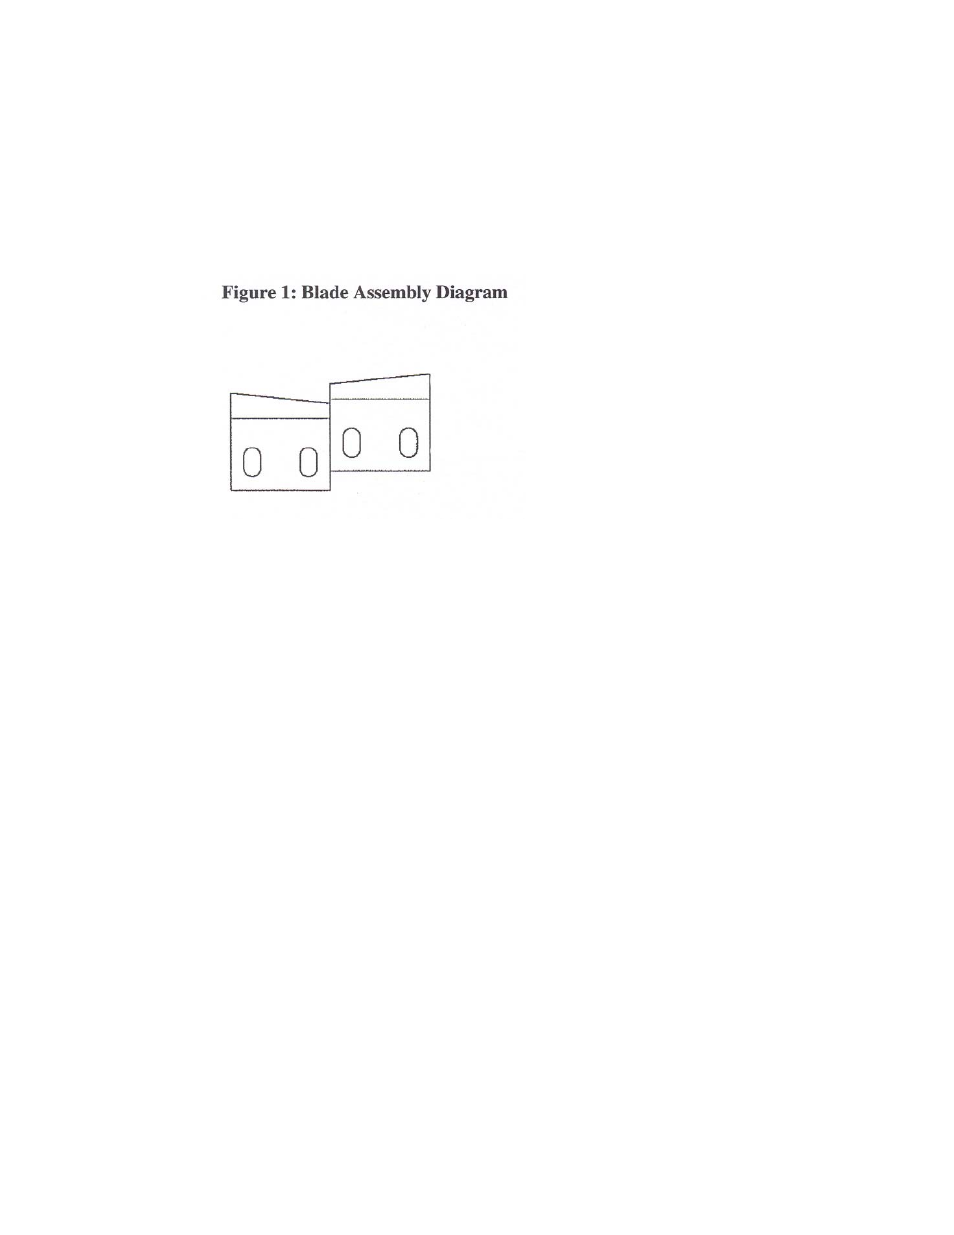
Bed Knives
Install the bed knives first, but do not fully tighten the bolts until the rotor knives have been
installed and the knife gaps checked. Use the following procedure to replace or adjust the bed
knives:
1. Access the cutting chamber as directed in Section 3-3 on page 13.
2. Loosen the fasteners holding the bed knives, working from the knife edges inward to
the center. Note the relative position of each part before it is removed.
3. Thoroughly clean the knife seats with a stone or other non-marring tool, and wipe the
screws with a lightly oiled cloth. Do not leave an oil film on the screws, as
lubrication can adversely affect the stress on a screw installed to a fixed torque value.
4. Install the new or re-sharpened bed knives and adjustment screws. Make sure the
knives are fully back against the knife adjusting screws and loosen the adjustment
screws slightly. Do not torque the socket cap screws fully at this point.
Note: Make sure that the cutting edge of the left bed knife is facing upwards and the
cutting edge of the right bed knife is facing downwards.
4 Inch Granulator
Chapter 5: Maintenance
19 of 47