Installing the mounting brackets – H3C Technologies H3C S12500 Series Switches User Manual
Page 30
20
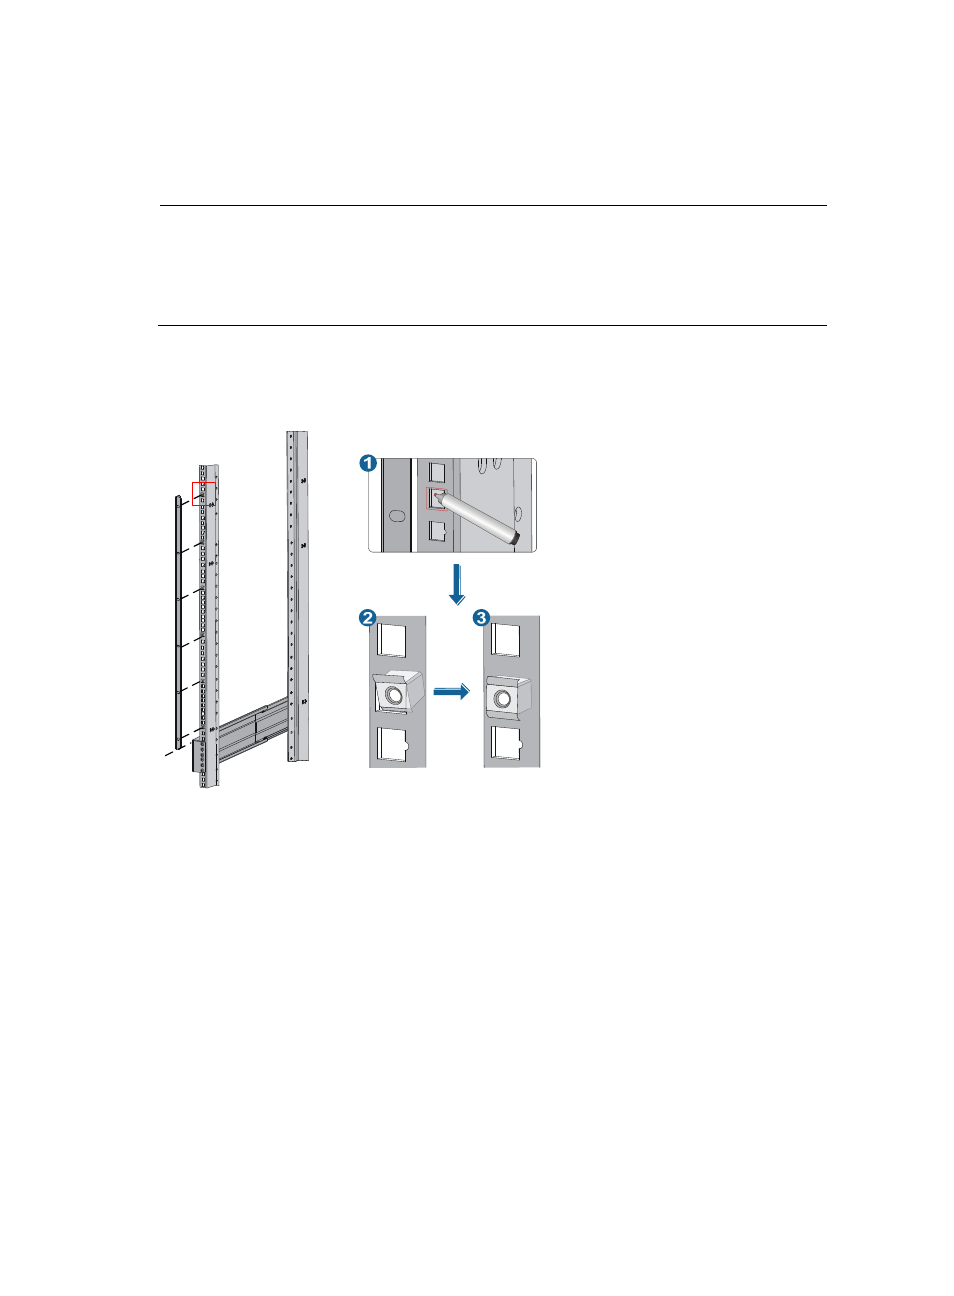
To install cage nuts to the rack:
1.
Align the mounting bracket with the left rack post, making sure its bottom edge and the slide rail
are level. Mark the positions of the cage nuts on the rack post according to the mounting holes on
the mounting bracket. (Each mounting hole on the mounting bracket corresponds to one cage nut.)
NOTE:
The mounting brackets are fixed on the chassis of the S12508 and S12518 before delivery from the
factory. To determine the installation holes for cage nuts, you can remove a mounting bracket from
the chassis and mark the nut holes, or use a pattern tool to record the installation holes of the
mounting brackets and mark the nut holes accordingly.
2.
Install cage nuts to the rack posts using the method described in relevant steps in "
."
Figure 16 Installing the cage nuts
Installing the mounting brackets
Attach the mounting brackets onto the left and right sides of the switch.