Ssl vpn gateway configuration, Gateway configuration, Connecting to the ssl vpn device – H3C Technologies H3C SecBlade SSL VPN Cards User Manual
Page 9: Introduction to the console port, Introduction to the console cable, Connecting the console cable
2
SSL VPN Gateway Configuration
Gateway Configuration
Before logging into the SSL VPN Web management interface, you need to perform some simple
configurations on the SSL VPN device:
Task Remarks
Connecting to the SSL
VPN Device
Use a console cable to connect the terminal for configuration with the console port
of the SSL VPN card.
To allow administrative access to the SSL VPN Web management interface, you
must enable the Web server on the gateway.
Enable SSL VPN service through the command line.
Connecting to the SSL VPN Device
Introduction to the console port
Every H3C SecBlade SSL VPN card has an RS232 port, that is, the console port, through which you can
configure the card.
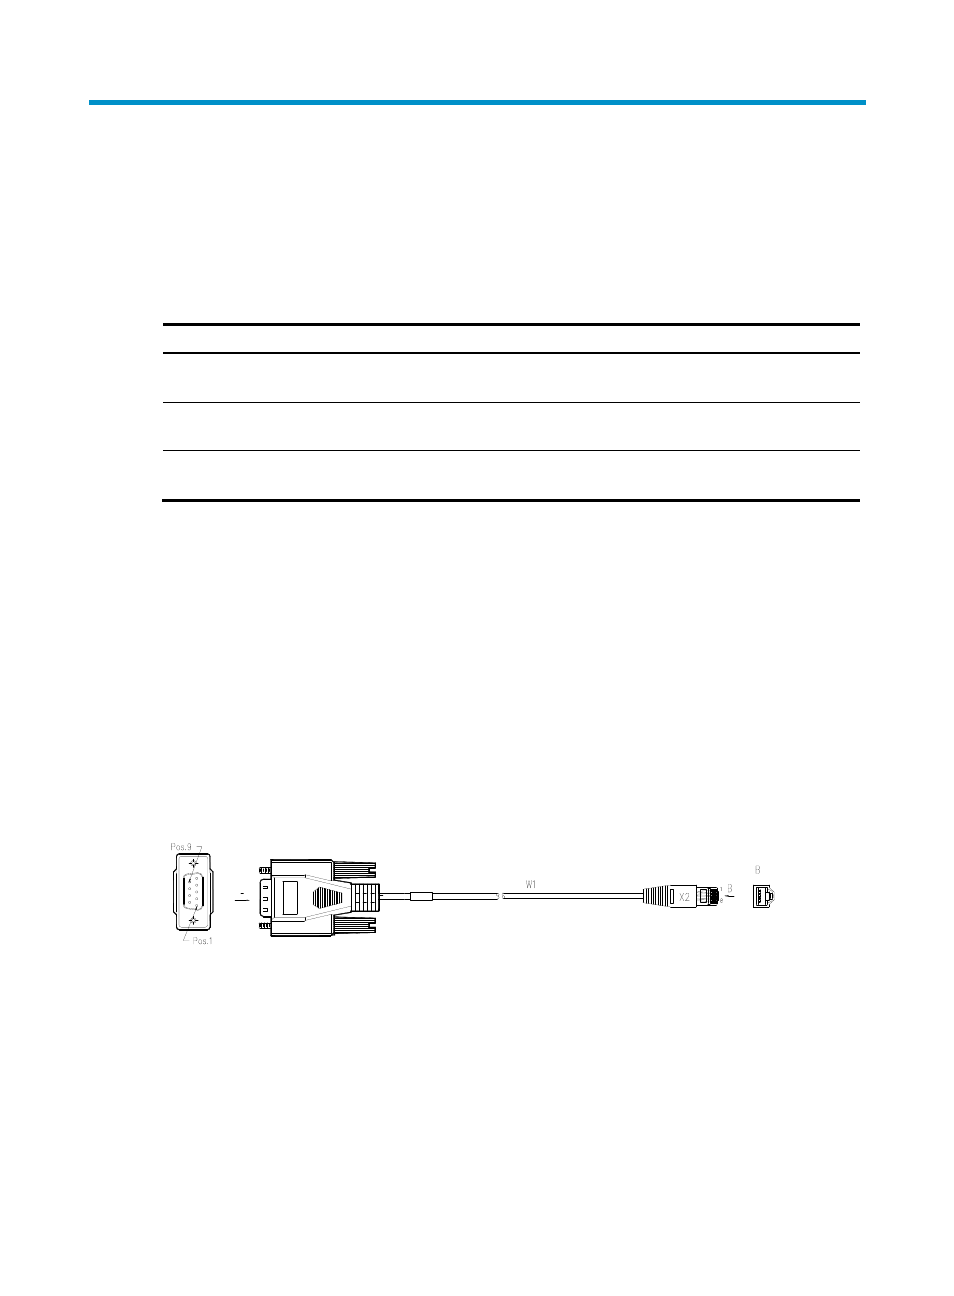
Introduction to the console cable
The console cable is an 8-wire shielded cable with an RJ-45 connector at one end and a DB-9 receptacle
at the other end, as shown in
. The RJ-45 connector is for connecting the console port of an SSL
VPN card and the DB-9 receptacle is for connecting the serial port of a terminal for configuration.
Figure 1 Console cable
Connecting the console cable
Connect the console cable as follows:
1.
Select a terminal for configuration. The terminal can be a character terminal with a standard
RS232 port or a common PC. A PC is used in most cases.
2.
Connect the cable. Making sure that the SSL VPN device and the terminal for configuration are
powered off, connect one end of the console cable to the RS232 port of the terminal and the other
end to the console port of the SSL VPN card.
A
A
X3