Preparation, Required tools and materials, Safety / preparation – Livarno 6460–186L User Manual
Page 18: Preparation required tools and materials
19
GB
Safety / Preparation
CAUTION! A damaged mains lead presents
a serious danger to life from electric shock. In
the event of damage, repairs or other problems
with the lamp, please contact the Service Centre
or an electrician.
Before installation, remove the fuse for this circuit
or switch off the circuit breaker (0 setting) in the
fuse box.
Before assembly, ensure that the mains voltage
available corresponds to the operating voltage
necessary of the light (230–240 V ∼).
Never let the lamp come into contact with water
or other liquids.
Never open or insert anything into electrical
fittings or equipment. This may result in the
danger of death from electric shock.
Do not attach the light to damp or conductive
substrates.
Avoid fire hazards and
risk of injury
RISK OF INJURY! Check every bulb for
damage immediately upon unpacking. Do not
install the light if the bulbs are defective. If they
are, contact the service point for a replacement.
RISK OF INJURY FROM BURNS! Ensure
the lamp has been switched off and allowed to
cool before you touch it. Light bulbs develop a
great deal of heat.
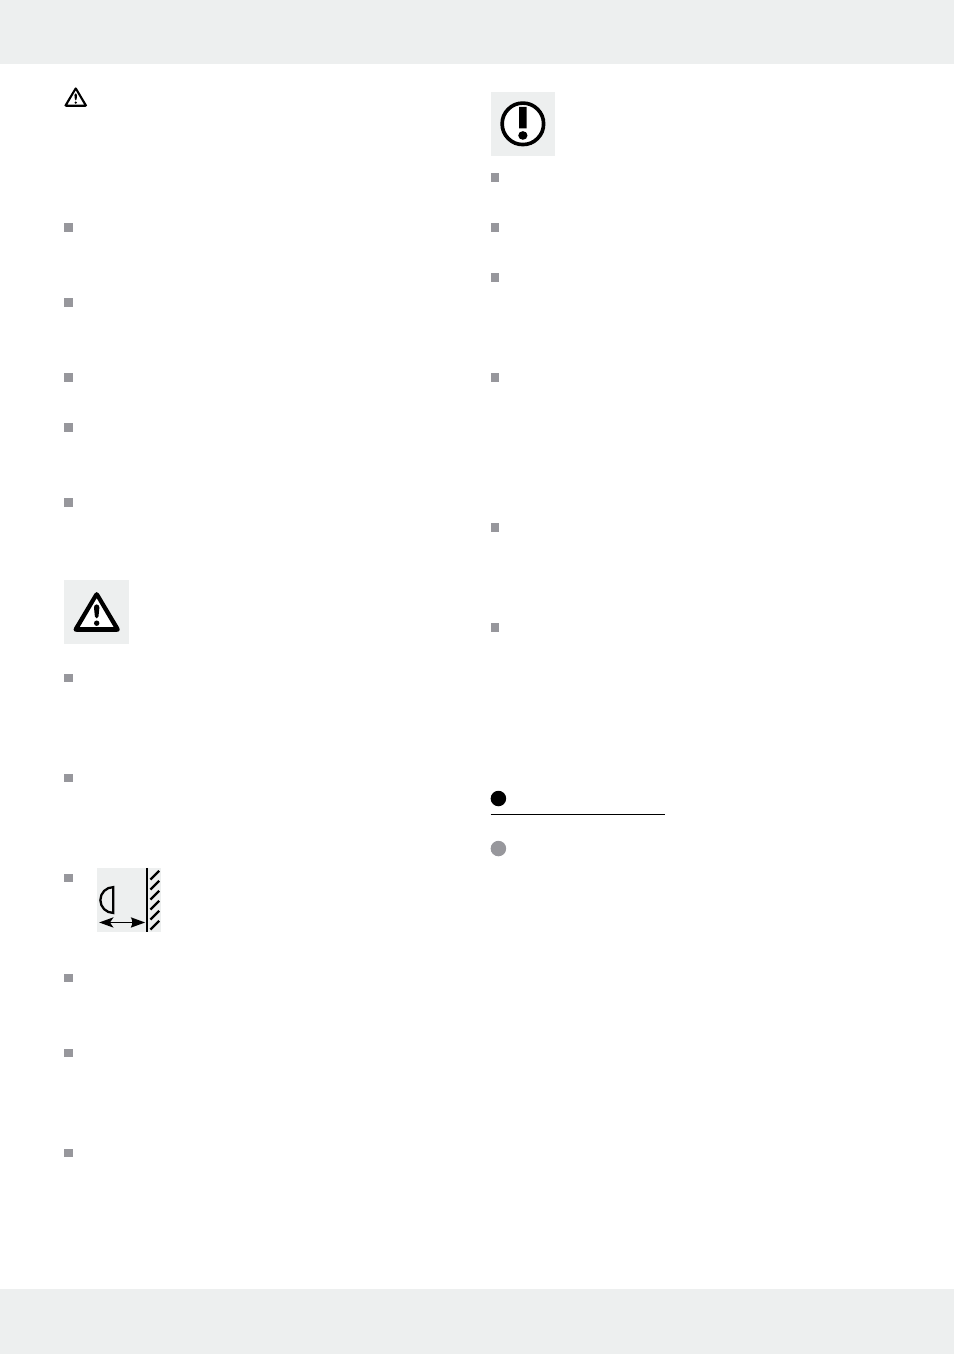
0.5 m
FIRE HAZARD! Fit the light so that
it is at least 0.5 m away from the
material illuminated. Fire can result
from the development of too much heat.
Replace any faulty bulbs with new ones immedi-
ately. Before replacing the bulb, always remove
the fuse or switch the automatic cutout off.
Do not allow the lamp or the packaging materials
to lie around unattended. Plastic film or bags,
Styrofoam etc. can turn into dangerous toys for
children.
Do not use this light for dimmers or electronic
switches. It is not suitable for this mode of
operation.
Working safely
Only use 220–240 V ∼ bulbs with a maximum
output of 18 Watt.
Install the lamp so that it is protected from
moisture, wind and dirt.
Make careful preparations for the assembly and
take sufficient time. Clearly lay out all components
and any additional tools or materials that might
be required so that they are readily to hand.
Install the lamp on stable surfaces only (e.g.
masonry). Check before mounting the light to
the ceiling whether the ceiling is suitable for
supporting the light. If necessary seek advice
from your local DIY supplier or a construction
specialist.
Examine the ceiling before installation and
choose suitable installation fixings. For ceiling
installation we have supplied fixings suitable for
ordinary solid concrete or masonry construction.
Remain alert at all times and always watch what
you are doing. Always pay attention to what you
are doing and act with common sense. Always
proceed with caution and do not assemble the
lamp if you cannot concentrate or feel unwell.
Preparation
Required tools and materials
The tools and materials referred to are not included
in delivery. The details and values given are non-
binding and for guidance only. The condition of
the material is determined by the individual local
conditions.
– Pencil / marking tool
– Voltage tester
– Crosshead screwdriver
– Electric drill
– Drill
– Edge cutter
– Ladder