Mounting, Getting started aligning the movement sensor – Livarno LLS 06 A1 User Manual
Page 35
LED spotlight LLS 06 A1
English - 33
Mounting
The unit must only be mounted by an authorised electrical engineer.
Power must be switched off during the mounting process!
Use suitable tools for mounting.
When drilling holes, make sure there are no cables in the walls.
Remove the mounting bracket [4] from the LED spotlight [1].
Use the mounting bracket [4] as a template to mark the two outside drill holes.
Now drill the two holes and fix the mounting bracket [4] into place using the dowels and screws
provided.
Open the connection box [2] by undoing the four screws and removing the cover.
Guide the power cable through the cable gland [3]
making sure it is not strained.
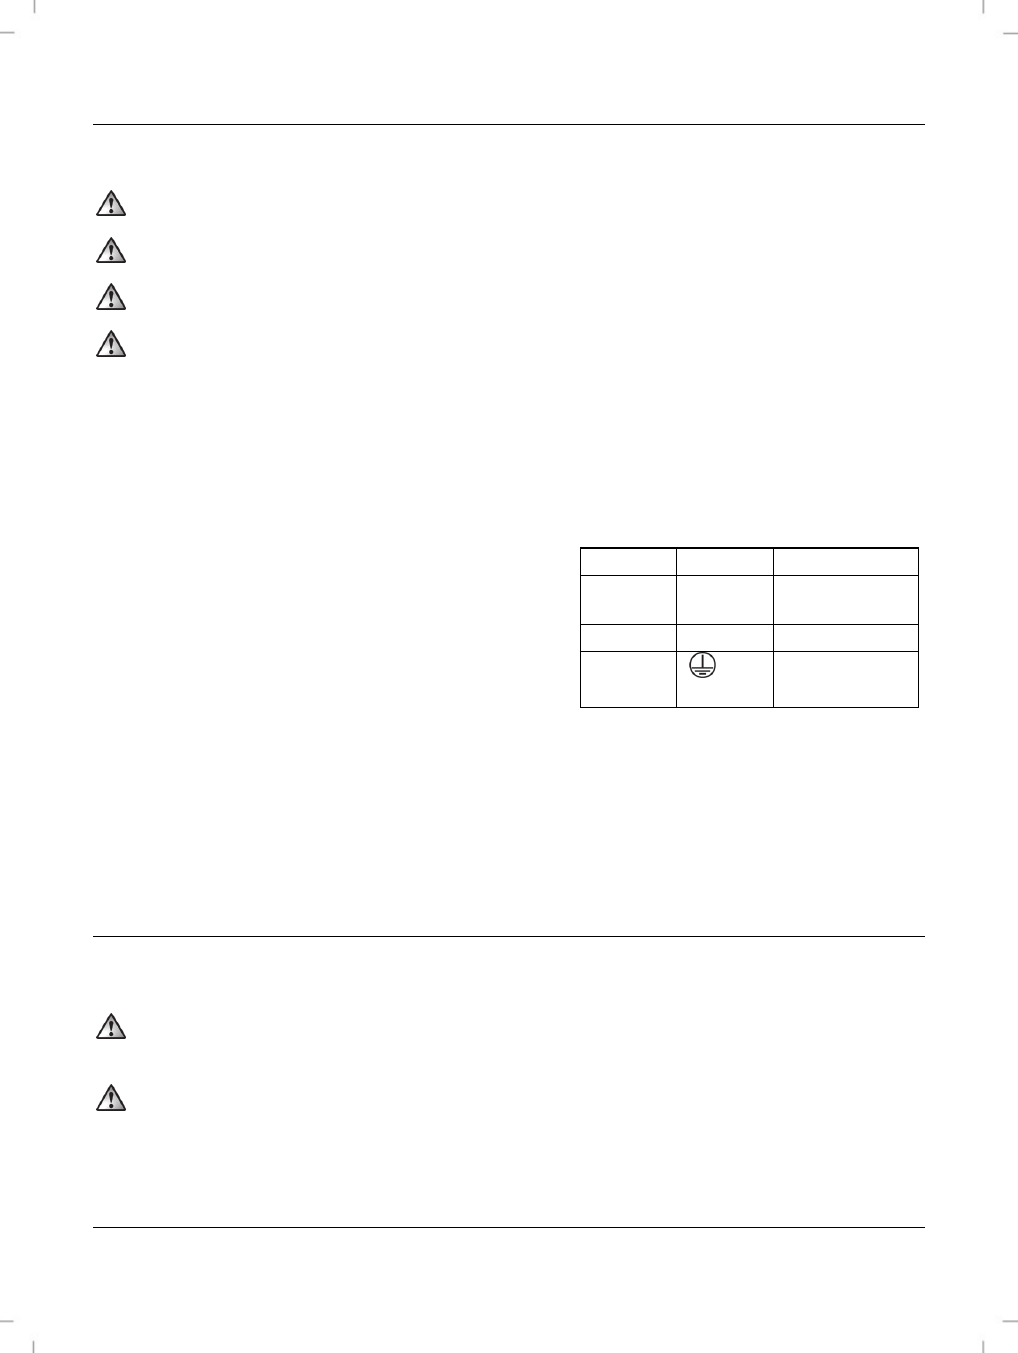
Connect the power cable [7] using the terminal block [8].
Make sure that the individual wires of the power cable [7]
are correctly connected.
Wire Symbol
Name
black or
brown
L Phase
blue N neutral
yellow/
green
Ground wire
Close the connection box [2] by replacing the cover and retightening the four screws you removed
earlier.
Now attach the LED spotlight to the mounting bracket [4]. Use the screws, nuts and washers you
removed earlier.
Switch the mains power on.
Getting started
Aligning the movement sensor
Make sure that there is no movement within the recording range of the movement sensor [6] which
you do not wish to be recorded (e.g. footpaths, roads).
The best time to set the light sensitivity for the movement sensor [6] is when the lighting conditions are
the same as they will be when the LED sensor is active.
Align the movement sensor [6] so it can cover the desired area as well as possible. It must not be
blocked by objects or similar.