Epson AcuLaser MX20DNF User Manual
Page 9
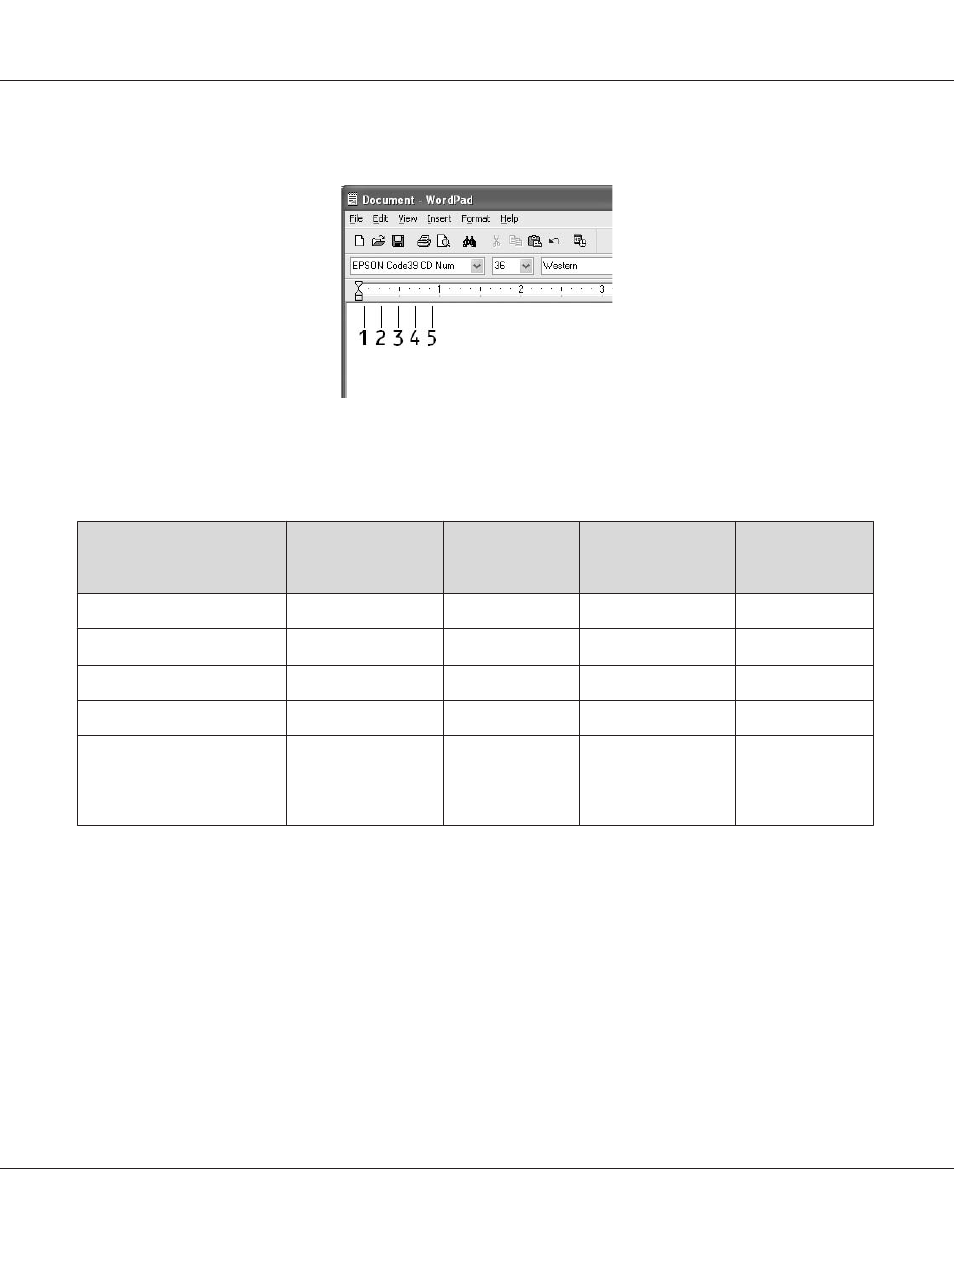
4. The characters you selected appear as bar code characters similar to those shown below.
5. Select Print from the File menu, select your Epson printer, then click Properties. Make the
following printer driver settings. Your printer is a Black-and-White printer. See the
Black-and-White Printer Driver section in the table below.
Black-and-white
Printer Driver
Color Printer
Driver
Host Based
Black-and-white
Printer Driver
Host Based
Color Printer
Driver
Color
(not available)
Black
(not available)
Black
Print Quality
Text & Image
*
Text
*
Text & Image
*
Text
*
Toner Save
Not selected
Not selected
Not selected
Not selected
Zoom Options
Not selected
Not selected
Not selected
Not selected
Printing Mode (in the
Extended Settings dialog box
accessed through the
Optional Settings tab)
High Quality (Printer)
High Quality
(Printer)
(not available)
(not available)
*
When doing settings in the More Settings window that appears by selecting the Advanced check box and pressing the
More Settings button, set the Resolution or Print Quality setting to Fine.
6. Click OK to print the bar code.
Note:
If there is an error in the bar code character string, such as inappropriate data, the bar code will be
printed as it appears on the screen, but it cannot be read by a bar code reader.
Notes on inputting and formatting bar codes
Please note the following when inputting and formatting bar code characters:
Epson Font Guide
Working with Fonts 9