Master effect (master fx), Grouping instruments, Selecting an instrument’s tone (inst) – Roland AIRA TR-8S Rhythm Performer User Manual
Page 15: Ctrl] knob, Playing multiple instruments layered, Grouping for layer), T (p. 15), T (p. 15, P. 15), Assigning a different function for each
15
Editing a Kit or Instrument
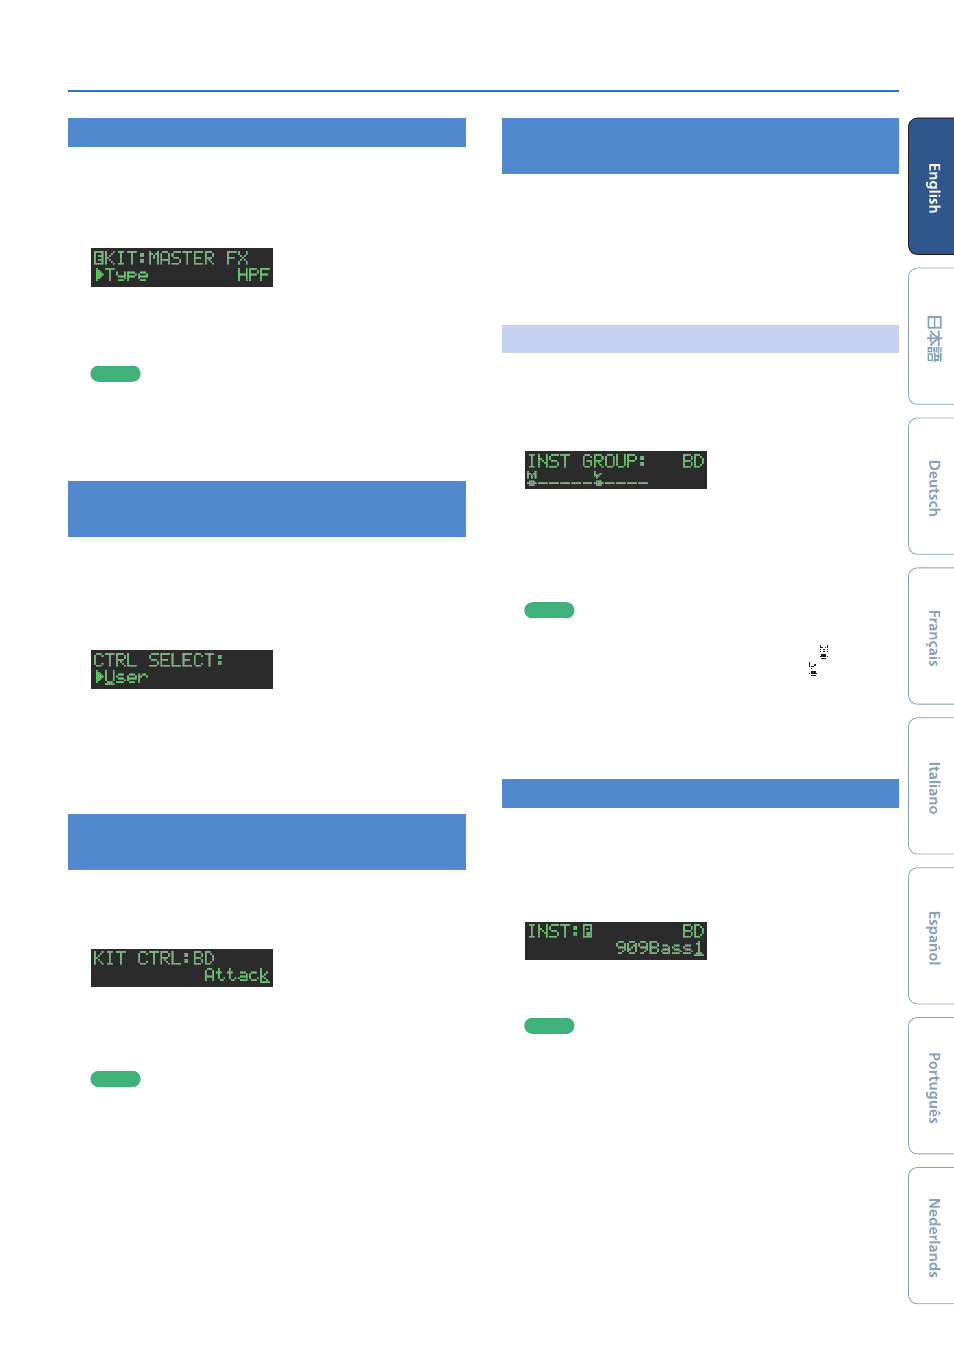
Master Effect
(MASTER FX)
Here’s how to apply the master effect to the kit.
1.
Hold down the
[SHIFT]
button and press the
MASTER FX
[ON]
button.
The KIT EDIT screen’s MASTER EFX items are shown.
2.
Select a master effect type.
The editable parameters differ for each effect.
&
For details, refer to
“Reference Manual”
(PDF).
MEMO
You can use the MASTER FX
[CTRL]
knob to edit the assigned
parameter.
3.
Press the
[KIT]
button.
Exit the screen.
Assigning Parameters to the [CTRL] Knobs
(CTRL SELECT)
You can assign parameters to the
[CTRL]
knobs of the instrument
edit section, and control those parameters while the pattern plays
back.
1.
Press the
[CTRL SELECT]
button to make it light.
The CTRL SELECT screen appears.
2.
Use the
[VALUE]
knob to select a parameter.
The same parameter is selected for all
[CTRL]
knobs.
3.
Press the
[CTRL SELECT]
button once again.
The
[CTRL SELECT]
button goes dark, and you exit the CTRL
SELECT screen.
Assigning a Different Function for Each
Instrument to the [CTRL] Knob
1.
While holding down the
[CTRL SELECT]
button,
press a
[BD]
–
[RC]
button.
The parameter that’s assigned to the
[CTRL]
knob is displayed.
2.
Use the
[VALUE]
knob to select a parameter.
3.
Press the
[CTRL SELECT]
button.
The
[CTRL SELECT]
button goes dark, and you exit the screen.
MEMO
You can also select from the assignable parameters by holding
down the
[CTRL SELECT]
button and directly operating the
[CTRL]
knob.
5
The assignment that you make is saved in the
“User”
parameter which you can select in step 2 of
Parameters to the [CTRL] Knobs (CTRL SELECT)”
Playing Multiple Instruments Layered
(GROUPING for Layer)
You can create a group of multiple instruments and play their layered
sound with a single note.
You can use grouped master instruments in the following ways.
The slave instrument follows the master instrument.
5
Pattern input in
“TR-REC”
5
Pad performance in
“INST PLAY”
5
Pad recording in
“INST REC”
Grouping Instruments
1.
In the KIT Edit screen, long-press the
[BD]
–
[RC]
button that you want to specify as the master
instrument.
The INST GROUP screen appears.
2.
While holding down the button that you pressed in
step 1, press the
[BD]
–
[RC]
button that you want to
specify as the slave instrument.
The instruments that you selected as the master instrument and
the slave instrument are grouped.
MEMO
5
During TR-REC, when you press a grouped
[BD]
–
[RC]
button,
the
[BD]
–
[RC]
button of the master instrument ( ) lights and
the
[BD]
–
[RC]
button of the slave instrument ( ) blinks.
5
During INST PLAY/INST REC, pressing a pad
[1]
–
[11]
of a
grouped slave instrument does not produce sound.
5
If you press the
[MUTE]
button, the same group’s master
instrument’s
[BD]
–
[RC]
button lights and the slave
instrument’s
[BD]
–
[RC]
button blinks.
Selecting an Instrument’s Tone
(INST)
Instrument’s tones of the currently selected kit are selected
individually.
1.
Press the
[INST]
button.
The
[INST]
button and the
[BD]
–
[RC]
button (that had been
selected for
[TR-REC]
) are lit, and [the INST screen appears.
2.
Use the
[VALUE]
knob to select the instrument’s
tone.
MEMO
To switch categories, hold down the
[SHIFT]
button and turn
the
[VALUE]
knob.
3.
Press the
[INST]
button once again.
Exit the INST screen.