Casio Privia PX-870 88-Console Piano with Built-In Speakers (Black) User Manual
User’s guide
1/4
USER’S GUIDE
PX-870
PX-770
EN
USER’S GUIDE
Please keep all information for future reference.
These instructions consist of four pages on two sheets. Each page is identified by a page number in the
upper right corner.
●
Refer to “Assembling the Stand” on page 4/4 of these instructions for information about how
to assemble the stand and attach the music stand.
●
Be sure to read the “Safety Precautions” in these instructions and use the Digital Piano
correctly.
*
Caution!
Make sure that the keyboard cover is fully open whenever you are playing. A partially open cover can
suddenly close unexpectedly and pinch your fingers.
About These Instructions
Before performing any operation, be sure to go to page 3/4 first and read the
information under “Piano Buttons”, “Using the
FUNCTION
Button”, and
“Keyboard Keys Used for Configuring Settings”.
These instructions provide general information about Digital Piano operations. For
more detailed information, refer to the “User’s Guide (Full)”, which can be
downloaded by visiting the website below or by using the nearby QR code.
http://world.casio.com/manual/emi/
The “User’s Guide (Full)” includes information on the topics listed below.
• Auto Resume and Operation Lock
• Connecting to an audio system and amplifier
• Connecting to a computer
• Details about settings using the
FUNCTION
button
• Operations using a USB flash drive (PX-870)
• MIDI Implementation Chart, etc.
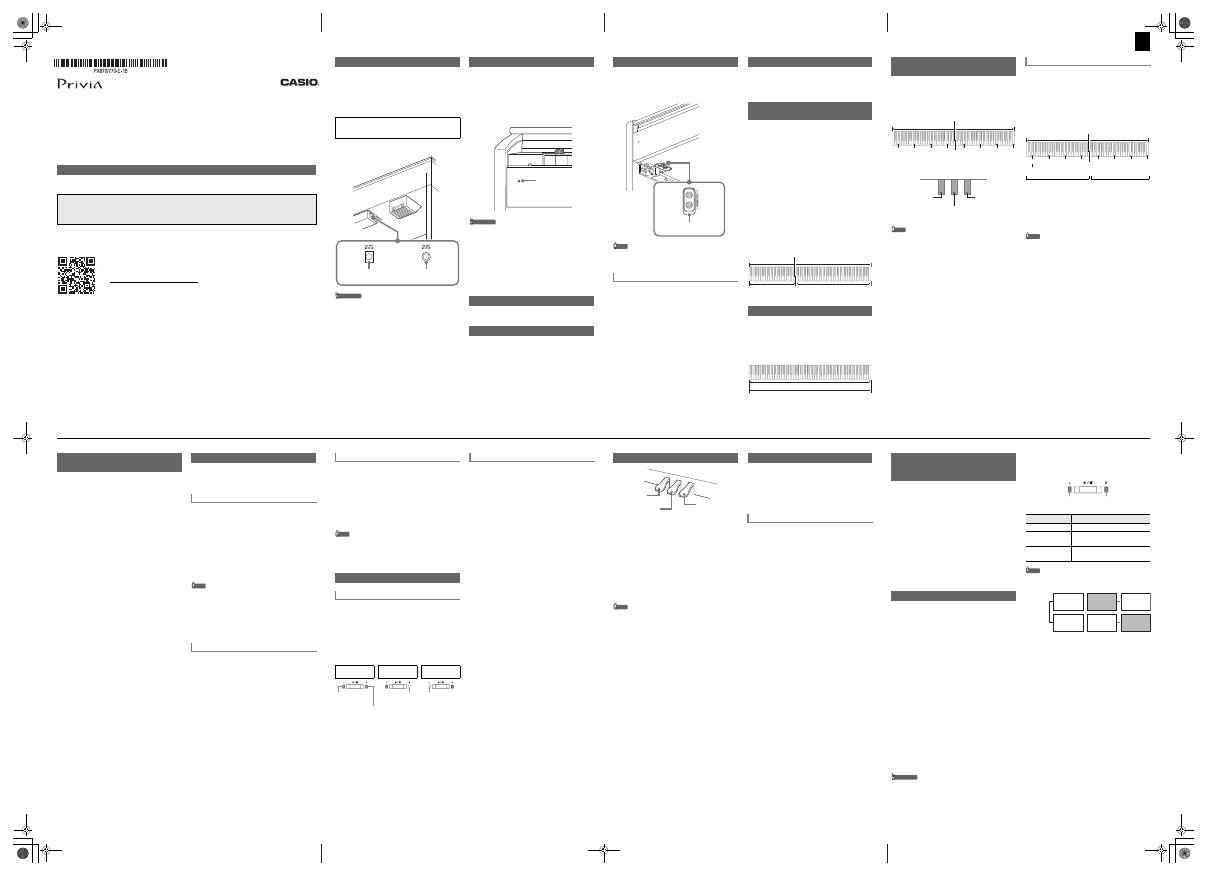
Your Digital Piano runs on standard household power. Be
sure to turn off power whenever you are not using the Digital
Piano.
■
Using an AC Adaptor
Use only the AC adaptor (JEITA Standard, with unified
polarity plug) that comes with this Digital Piano. Use of a
different type of AC adaptor can cause malfunction.
• Use the supplied power cord to connect the AC adaptor.
Bottom
IMPORTANT!
• Never connect the AC adaptor that comes with this
Digital Piano to any other device besides this Digital
Piano. Doing so creates the risk of malfunction.
• Make sure the Digital Piano is turned off before
plugging in or unplugging the AC adaptor.
• The AC adaptor will become warm to the touch after
very long use. This is normal and does not indicate
malfunction.
• Never try to use the supplied power cord with any
other device.
• Place the AC adaptor on the floor with its label
surface pointed downwards. The AC adaptor
becomes more prone to electromagnetic wave
generation if the label surface is in a different
position.
■
To turn on power
Press the
P
(Power) button. Power up takes about five
seconds.
■
To turn off power
Hold down the
P
(Power) button until the power lamp goes
out.
Front
IMPORTANT!
• Pressing the
P
(Power) button to turn off power
actually puts the Digital Piano into a standby state
(minute current continues to flow). If you do not plan
to use the Digital Piano for a long time or if there is a
lightning storm in your area, unplug the AC adaptor
from the power outlet.
■
Auto Power Off
Power turns off automatically after four hours of non-use.
To disable Auto Power Off, turn on power by holding down
the
FUNCTION
button and pressing
P
(Power).
Use the
VOLUME
knob to adjust the volume of speaker and
headphone output.
The factory tuning (A4=440.0Hz) can be change in 0.1 Hz
steps.
1.
Hold down the
FUNCTION
button and use the A-
tuning keys (+, –).
• Tuning is raised or lowered in 0.1 Hz steps.
• To toggle between the two settings below, hold
down the
FUNCTION
button and press the A-tuning
keyboard keys (+ and –) at the same time.
440.0 Hz (1 beep)
442.0 Hz (2 beeps)
Power Outlet
Specified AC Adaptor:
PX-870: AD-E24250LW
PX-770: AD-A12150LW
Power Terminal
(PX-870:
DC 24V
)
Power Terminal
(PX-770:
DC 12V
)
Turning Power On or Off
Adjusting Volume
Changing the Tuning
Power lamp
Connect headphones to the
PHONES/OUTPUT
jack.
Connecting headphones mutes speaker output, so you can
practice even late at night. To protect your hearing, do not
set the volume too high when using headphones.
Front
NOTE
• If the plug of the headphones does not match the
PHONES/OUTPUT
jack, use a commercially available
adaptor plug.
The Head Phone Mode reproduces natural sounding
acoustic piano tones when using headphones.
1.
Hold down the
FUNCTION
button and press the
Head Phone Mode key.
Each press toggles between on and off.
1.
Press the
GRAND PIANO
button or
E.PIANO 1
button.
• Pressing the
GRAND PIANO
button selects the
GRAND PIANO CONCERT tone.
Tone names are marked above the keys.
1.
Hold down the
FUNCTION
button and press the
desired tone key. (See the “Tone” area under
“Keyboard Keys Used for Configuring Settings”.)
• Some keys may have more than one tone assigned.
In this case, each press of the key cycles to the next
assigned tone. Which tone is selected by the key
press is indicated by beeps.
Example: Cycling through MODERN, ROCK, and
JAZZ settings
MODERN: (1 beep)
ROCK: (2 beeps)
JAZZ: (3 beeps)
■
Bass Tone (BASS)
Pressing the BASS (LOWER) key to select a bass tone
selects a bass tone for the low end (left side) of the
keyboard only. The high end (right side) of the keyboard
retains the tone assigned to it before the bass tone was
selected.
1.
Hold down the
FUNCTION
button and press the
Select Layer Tone key.
• Each press of the keyboard key toggles between on
and off.
2.
Hold down the
FUNCTION
button and press key of
the tone to be layered.
3.
To return to the original tone, hold down the
FUNCTION
button and press the Select Layer Tone
key (which exits the Layer Mode).
Connecting Headphones
Head Phone Mode (PX-870)
PHONES/OUTPUT
jack
Selecting a Tone with a Button
Selecting a Tone with a Keyboard
Key
Layering Two Tones
Split point
Bass range
High range
BASS
JAZZ ORGAN
(previously selected tone)
GRAND PIANO BRIGHT
STRINGS 2
You can split the keyboard in the center so the left and right
sides have the same range. The left outer pedal is the left
side damper pedal, while the right outer pedal is the right
side damper pedal.
Keyboard
Pedals
NOTE
• Only the damper pedal for the right keyboard supports
half-pedal operations.
1.
Select a tone.
2.
To cycle between the Duet Mode settings below,
hold down the
FUNCTION
button and press the
Duet Mode key.
Off
On
Pan: Outputs left side keyboard tone from the left
speaker and right side keyboard tone from the right
speaker.
You can change the ranges of the left and right keyboards in
octave units from their initial default settings.
1.
Pressing the
FUNCTION
button and the
GRAND
PIANO
button, press the C-key you want as middle
C (C4) of the left keyboard. Keep the
FUNCTION
button and the
GRAND PIANO
button depressed as
you advance to step 2.
Example: Pressing the leftmost C key configures the
keyboards below.
2.
With the
FUNCTION
button and the
GRAND PIANO
button still depressed, press the C-key you want as
middle C (C4) of the right keyboard.
This sounds the note assigned to C4 and change the
octave of the right keyboard.
NOTE
• You can return the keyboards to their initial default
ranges by exiting and then re-entering the Duet Mode.
Splitting the Keyboard for Duet
Play
C3
C4
C5
C6
C3
C4
C5
C6
Split point
Left keyboard
Right keyboard
(Middle C)
(Middle C)
Left keyboard
damper pedal
Left and right damper pedal
Right keyboard
damper pedal
Changing the Octaves of the Keyboards
C4
C5
C6
C7
C3
C4
C5
C6
Left keyboard
Right keyboard
(Pressed key)
1 octave higher than initial setting
Unchanged
The tones of your Digital Piano have built-in elements that
give them the characteristic reverberation and other
characteristics of an acoustic piano. Each of these elements
can be individually adjusted to one of four levels.
■
Hammer Response
Controls the time lag between when a key is pressed and
when the note actually sounds.
Settings
1: Quick
2: Grand piano style
3: Slightly slow
4: Slow
■
String Resonance
Adjusts the characteristic reverberation (string resonance) of
an acoustic piano.
You can select a reverberation setting that matches the
song being played or your own personal preference.
Settings
1: Subdued
2: Slightly subdued
3: Resonant
4: Very resonant
■
Lid Simulator
Adjusts how sound resonates in accordance with the
opening state of a grand piano lid.
Settings
1: Lid closed
2: Lid partially open
3: Lid fully open
4: Lid removed
1.
Hold down the
FUNCTION
button and press the
desired element key.
This Digital Piano comes with a Music Library of 60 piano
songs (numbered 1 to 60), and Concert Play selection of
piano and orchestra performance songs (numbered 1 to 10)
built in.
1.
Hold down the
FUNCTION
button and press the
METRONOME
button.
This starts sequentially looped playback of all Concert
Play (Listen) songs and Music Library songs.
• To advance to the next demo song, hold down the
FUNCTION
button and press the
MIDI REC
button.
• To return to the previous demo song, hold down the
FUNCTION
button and press the
AUDIO REC
button (
REVERB
button for PX-770).
• To stop demo playback, press the
a
button.
NOTE
• Pressing the
METRONOME
button while holding down
the
FUNCTION
button during Concert Play jumps to the
first Music Library song. Performing the same operation
during Music Library play jumps to the first Concert Play
song.
• The only operations possible during demo play back are
changing the currently playing tune and stopping
playback.
1.
To select a song, hold down the
FUNCTION
button
and use the Select Music Library Song keys (–, +).
You can also input a value from 0 to 9 to specify a
Music Library song number.
2.
To start playback press the
a
button.
• To stop playback, press the
a
button.
Adjusting Acoustic Piano Sound
Characteristics (PX-870)
Playing Back Built-in Songs
Demo Songs
Music Library
1.
To select a song, hold down the
FUNCTION
button
and use the CONCERT PLAY area SELECT keys
(–, +).
2.
To start song playback, hold down the
FUNCTION
button and press the CONCERT PLAY area
a
key.
• To stop song playback, hold down the
FUNCTION
button and press the CONCERT PLAY area
a
key.
NOTE
• Concert Play uses recordings of a live orchestra, so the
tones used for recording are different from those that can
be selected with the Digital Piano. Also note that breath
and performance noises may be audible in Concert Play
songs.
Use the steps below to turn off the left-hand part or right-
hand part of a song and play along.
1.
To select a song to practice, hold down the
FUNCTION
button and use the Select Music Library
Song keys (–, +, keys 0 to 9).
2.
To select on or off for each part, hold down the
FUNCTION
button and press the
a
button.
Play the part you turned off.
• Each press of the
a
button cycles the on/off
settings as shown above.
3.
To start playback, press the
a
button.
• To stop playback, press the
a
button.
You can use Concert Play for 3-step practice.
■
Step 1: LISTEN
Listen to playback of the piano and orchestra to familiarize
yourself with the music.
1.
To select a song, hold down the
FUNCTION
button
and use the CONCERT PLAY area SELECT keys
(–, +).
2.
Hold down the
FUNCTION
button and press the
CONCERT PLAY area LISTEN key.
3.
To start song playback, hold down the
FUNCTION
button and press the CONCERT PLAY area
a
key.
• To stop song playback, hold down the
FUNCTION
button and press the CONCERT PLAY area
a
key.
■
Step 2: LESSON
You can turn off the left-hand part or right-hand part of a
built-in song and play along on the Digital Piano. Practice
the piano part of the ensemble.
1.
Hold down the
FUNCTION
button and press the
CONCERT PLAY area LESSON key.
2.
To select on or off for each part, hold down the
FUNCTION
button and press the
a
button.
See the illustration under step 2 of the “Music Library”
part selection procedure.
3.
To start song playback, hold down the
FUNCTION
button and press the CONCERT PLAY area
a
key.
• To stop song playback, hold down the
FUNCTION
button and press the CONCERT PLAY area
a
key.
■
Step 3: PLAY
Play along with the orchestra.
1.
Hold down the
FUNCTION
button and press the
CONCERT PLAY area PLAY key.
2.
To start song playback, hold down the
FUNCTION
button and press the CONCERT PLAY area
a
key.
• To stop song playback, hold down the
FUNCTION
button and press the CONCERT PLAY area
a
key.
Concert Play
Practicing with Built-in Tunes
Music Library
Both parts on
Right-hand part
off
Left-hand part off
Left-hand part
(lit)
Right-hand part
(lit)
Right-hand part
(unlit)
Left-hand part
(unlit)
Concert Play
■
Damper Pedal
Pressing the damper pedal while playing causes the notes
you play to reverberate. Half-pedal operation (pressing the
pedal part way) is also supported.
■
Sostenuto pedal
Only the notes of the keys that are depressed when this
pedal is pressed are sustained, even if the keyboard keys
are released, until the pedal is released.
■
Soft pedal
This pedal makes notes softer and gentler. The effect is
applied only to notes played while the pedal is depressed.
NOTE
• If pressing the pedal does not produce the desired effect,
it could mean that the pedal cord is not connected
properly. Fully push the plug in as far as it goes.
■
To sound the metronome
1.
Press the
METRONOME
button.
The first beat of a measure is a chime, and remaining
beats are clicks. The lamp flashes with each beat.
Press the
METRONOME
button again to turn off the
metronome.
■
To set the beat
1.
Hold down the
FUNCTION
button and press the
METRONOME area BEAT key.
• Keep the
FUNCTION
button depressed as you
advance to the next step.
2.
Still holding down the
FUNCTION
button, use the
number keys (0 to 9) to specify the beat.
Setting range: 0 to 9
• Specifying 0 sounds a straight click, without any chime.
■
To set the tempo
1.
Hold down the
FUNCTION
button and press the
METRONOME area TEMPO key.
• Keep the
FUNCTION
button depressed as you
advance to the next step.
2.
Still holding down the
FUNCTION
button, use the
number keys (0 to 9) to specify the tempo.
Setting range: 20 to 255
• Each press of the + or – key raises or lowers the tempo
by 1.
■
To adjust the metronome volume
Hold down the
FUNCTION
button and use the Metronome
Volume keys (–, +) to set a volume level from 0 to 42.
Setting range: 0 to 42
• To return to the initial default volume, press the
Metronome Volume + key and – key at the same time
Using a Pedal
Soft pedal
Sostenuto pedal
Damper pedal
Using the Metronome
Metronome Settings
Touch Response alters tone volume in accordance with
keyboard pressure (speed).
1.
Hold down the
FUNCTION
button and press the
Keyboard Touch key.
• You can select from among three levels, or off. Each
press of the keyboard key causes it to beep the
number of times shown below to indicate the current
setting.
Once (long): Off
Once (short): 1
Twice: 2
Three times: 3
• Setting a smaller value causes lighter touch to
produce more powerful sound.
• Selecting off causes notes to be played at a fixed
volume, regardless of the key press velocity.
You can use the built in MIDI recorder to record your
performance and play it back when you want.
■
Recording Capacity
• You can record approximately 5,000 notes in Digital
Piano memory.
■
Recorded Data
• Keyboard play
• Tone used for keyboard play
• Beat (Track 1 only)
• Tempo setting (Track 1 only)
• Layer setting (Track 1 only)
• Duet (Track 1 only)
• Temperament (Track 1 only)
• Keyboard volume (Track 1 only)
• Chorus (Track 1 only)
• Brilliance (Track 1 only)
• PX-870: Hall Simulator setting (Track 1 only)
• PX-770: Reverb setting (Track 1 only)
• PX-870: Acoustic Simulator (Track 1 only)
• PX-770: Damper Noise On/Off (Track 1 only)
■
Recording Data Storage
• Starting a new recording deletes any data that was
previously recorded in memory.
• Should power fail during recording, all of the data in the
track you are recording will be deleted.
IMPORTANT!
• CASIO COMPUTER CO., LTD. takes no responsibility
for any damages, lost profits, or claims by third
parties arising from the loss of deleted recorded data
due to malfunction, repair, or for any other reason.
■
Tracks
A “track” is a location where your performance is recorded.
This Digital Piano has two tracks, and the status of each is
indicated by the L/R lamps of the
a
button.
NOTE
• You can record each track separately and then combine
them so they play back together as a single song.
■
To record keyboard play
1.
Press the
MIDI REC
button once or twice so the
MIDI REC lamp is flashing.
This enters record standby.
2.
Hold down the
FUNCTION
button and press the
a
button once or twice until the lamp of the track
to be recorded is flashing.
3.
To start recording, press the
a
button or start
playing.
Recording can also be started by pressing a pedal or
performing another operation.
• If, while recording is in progress, you want to re-
record from the beginning, hold down the
MIDI
REC
button until the Digital Piano beeps. This
discards the current recording data and enters
recording standby.
• To stop recording, press the
a
button or
MIDI
REC
button.
Changing Keyboard Response to
Touch Pressure (Touch
Response)
Using the MIDI Recorder
Lamp
Status
Unlit
Off
Lit
Playback standby or playback in
progress
Flashing
Recording standby or recording in
progress
Track 1
Track 2
Song name
Track 1
Record
While playing
back...
Track 2
Record
Continued on the back
PX870_770_EN.fm 1 ページ 2017年7月6日 木曜日 午後6時48分
B