Scanning shortcut setting, About file formats, Scanning shortcut setting about file formats – Canon imageFORMULA DR-C240 Office Document Scanner User Manual
Page 48: Creating new [scanning shortcut] panels, Editing new [scanning shortcut] panels, Pdf setting
48
By installing the plug-in, you can use various services such as printing
the scanned image or attaching it in an email.
To install plugins, enable the checkbox when installing
CaptureOnTouch.
The output methods that can be selected depend on the plugins that
have been installed.
For how to use the plugins, see the plugin help.
Scanning Shortcut setting
By default, CaptureOnTouch enables the [Full auto] scan setting, so
scanning is implemented using the scan conditions that match the
document.
To specify combinations of document selection and outputs, you can
edit the scanning shortcut panel to set the desired scanning shortcut.
Creating new [Scanning Shortcut] panels
There are two ways as described below to create a new Scanning
Shortcut panel.
• Click the [Save to Shortcut] button in [3 actions] in Standard
Scanning to register the selected output and document scan to one
of the scanning shortcut panels.
• Click the [New shortcut] button to add [New scanning shortcut]
panel.
Click
to display the list of panel types. The selected type of the
panel is created.
Editing new [Scanning Shortcut] panels
When the Edit button
is clicked, the Scanning Shortcut panel
editing dialog will appear.
The following tabs are on the Edit Scanning Shortcut panel screen.
• [Document] tab
• [Output] Tab
• [Option] Tab
• [General] Tab
About file formats
Set the file format of the scanned image. When you select a file format
other than BMP or PNG, the [Detail Settings] button is enabled,
allowing you to make the detail settings for the selected file format.
Hint
You can select one of the following file formats for the scanned image.
• PDF format
• TIFF format
• PNG format
• JPEG format
• BMP format
• PPTX format (File format for Microsoft PowerPoint 2007 and later)
The file formats that can be selected vary depending on the
destination setting.
When you output the scanned image using the plug-in, the image is
output in the file format set in the application of the plug-in. Therefore
this file format may be different from the one selected in the Select
document panel.
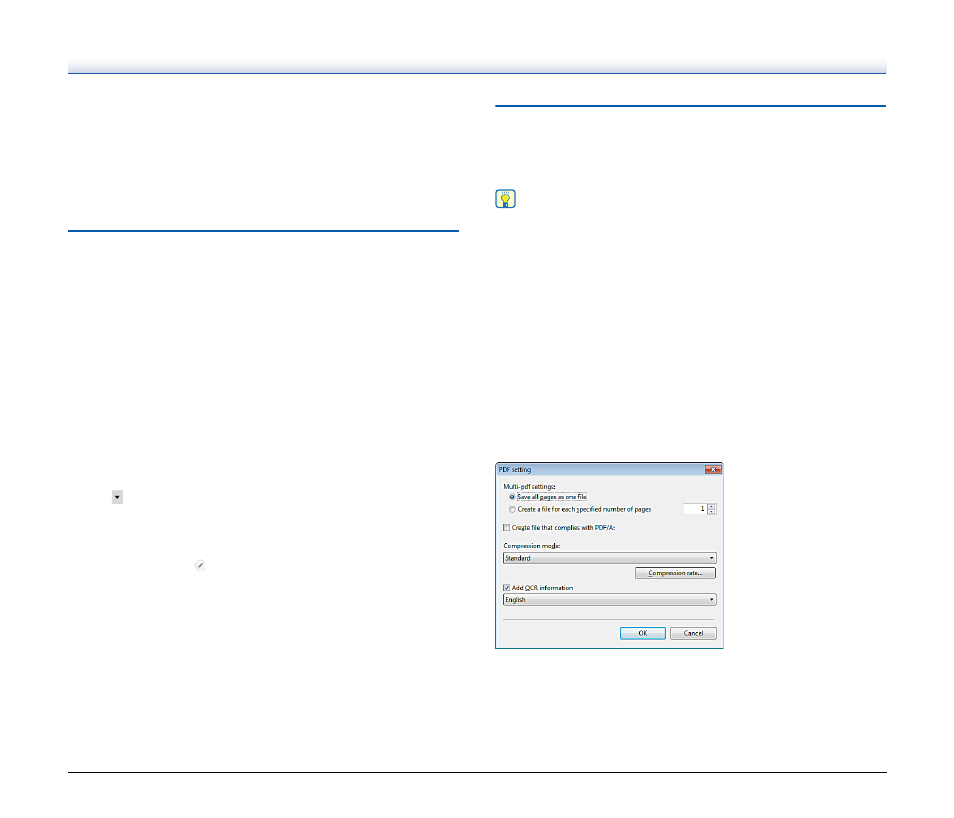
PDF setting
In [Multi-pdf settings], specify whether to save the scanned images as
a multi-page file ([Save all pages as one file]) or single page files
([Create a file for each specified number of pages]).
For [Create file that complies with PDF/A], select [ON].For
[Compression mode] select either [Standard] or [high compression].