Installation on a linux or unix workstation, Installation on a linux or unix workstation –3, Figure 1–2: the hardware setup dialog box -3 – Altera MasterBlaster Serial/USB User Manual
Page 11
Chapter 1: Installing the MasterBlaster Serial/USB Communications Cable
1–3
Installation
© July 2008
Altera Corporation
MasterBlaster Serial/USB Communications Cable User Guide
1
The USB option is available only for Windows 2000, Windows XP x32 edition and
Windows Vista x32 edition systems.
1
The COM option is available only for Windows 2000, Windows XP x32 edition,
Windows XP x64 edition and Windows Vista x32 edition systems.
7. In the Port list, select the appropriate port.
8. If you are using a serial port, in the Baud rate list, select a baud rate appropriate
for your computer.
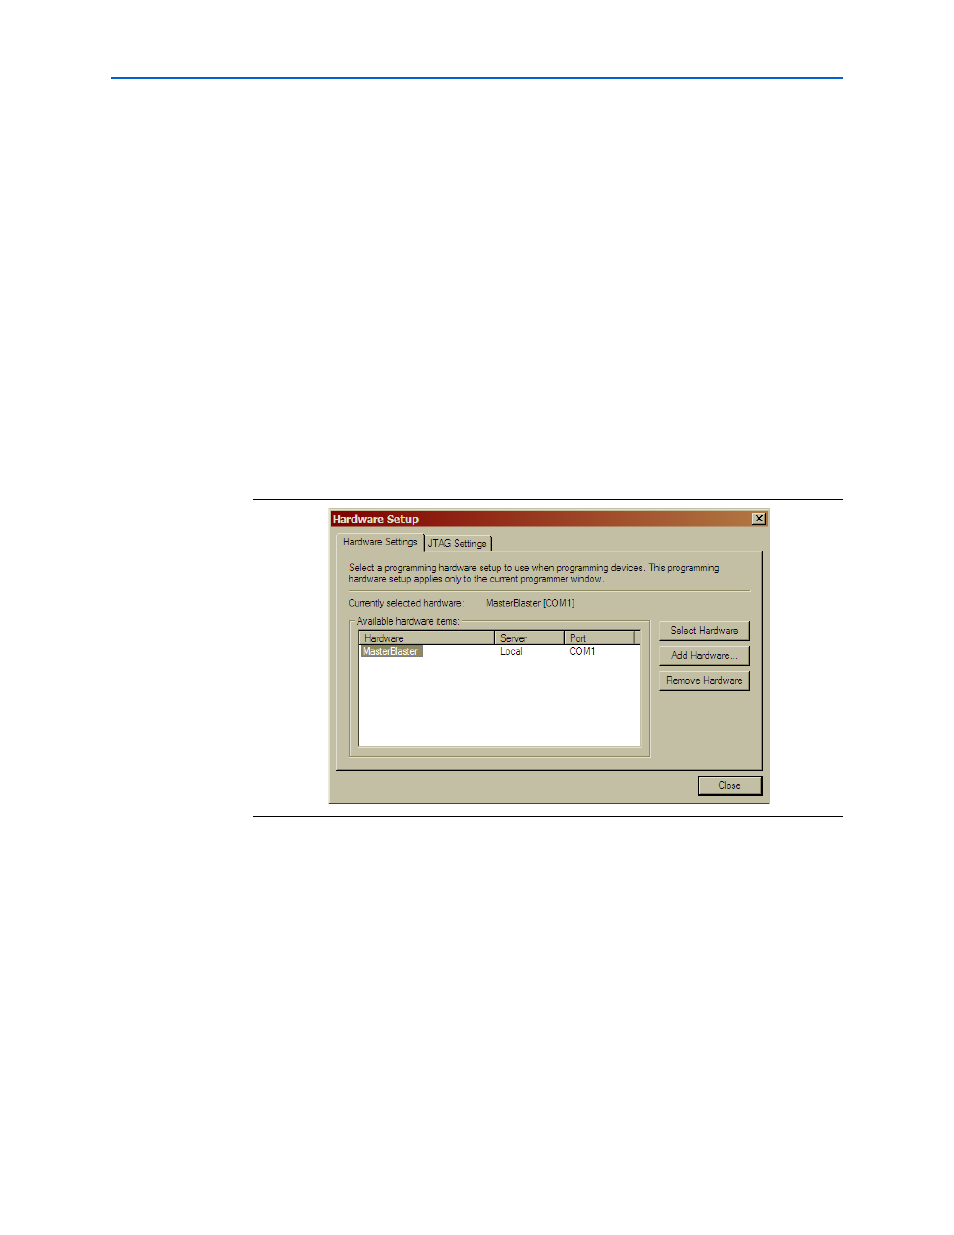
9. Click OK to close the Add Hardware dialog box. You will see MasterBlaster in the
Available hardware items section of the Hardware Setup
dialog box.
10. Click on MasterBlaster to highlight it, then click on the Select Hardware button to
the right of the Available hardware items section. You will now see MasterBlaster
and your selected port in the Currently selected hardware section of the window,
as shown in
11. Click Close to close the Hardware Setup dialog box.
12. Close the Programmer window.
Installation on a Linux or UNIX Workstation
To install and set up the MasterBlaster cable for device configuration or programming
on a Linux or UNIX Workstation, follow these steps:
1. With a standard RS-232 cable, connect one end of the cable to the MasterBlaster
cable, and connect the other end of the cable to the appropriate port on the
computer.
2. Connect the 16-pin female header end of the cable to the 16-pin male MasterBlaster
port, and the 10-pin female end of the cable to the 10-pin male header on the target
printed circuit board, as shown in
Figure 1–2. The Hardware Setup Dialog Box