Oldsmobile 1999 Silhouette User Manual
Page 25
yellow
blue
1-19
Replacing the Bucket Seats
Don’t put the seats in so they face rearward because they
won’t latch that way. If you want more storage room
behind the seat, adjust the seat by sliding it forward.
The bucket seats have seat position labels, located on the
back of the seat, showing where the seat must go.
Follow that diagram. See “Seat Controls” in the
beginning of this section for more details. The seat must
be placed in the proper location for the legs to
attach correctly.
RIGHT ONLY seats that don’t have the built
-
in child
restraint option fit only in the right location of either
row, the E and F or I and J sets of floor cups.
The CENTER OR LEFT seat fits in the center location
or in either left location, the A and B, C and D or G
and H sets of floor cups.
The LEFT ONLY seats that don’t have the built
-
in child
restraint option fit only in the left location of either row,
the A and B or G and H sets of floor cups.
RIGHT ONLY seats that have the built
-
in child restraint
option fit only in the right location of the second row,
the E and F sets of floor cups.
LEFT ONLY seats that have the built
-
in child restraint
option fit only in the left location of the second row, the
A and B sets of floor cups.
Make sure the seat is in the full rear position before
beginning this procedure.
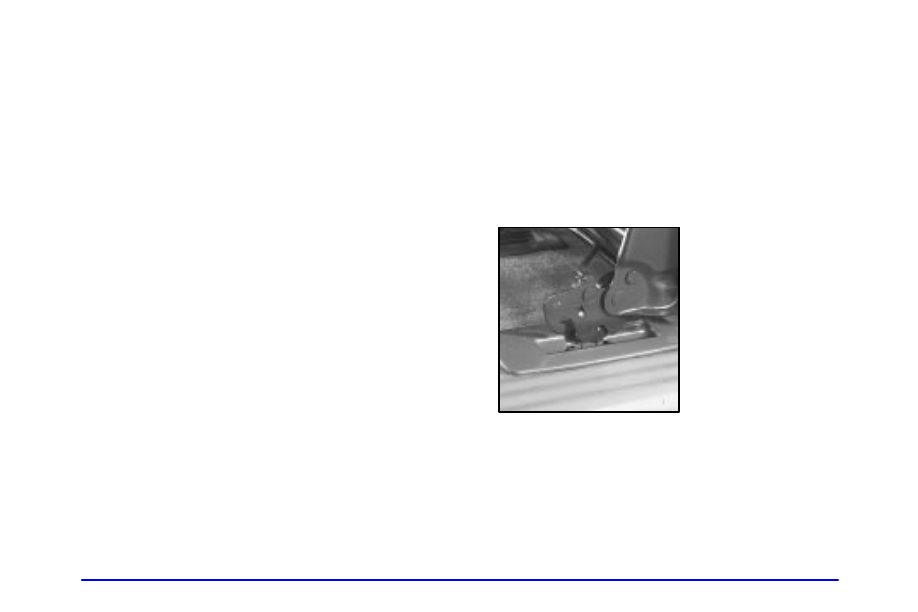
1. With the seat folded, squeeze the angled bar toward
the solid crossbar while placing the front hooks of
the bucket seat onto the front two floor pins.
To do this, the seat will
need to be angled so that
the front hooks clear the
floor pins.
If the front legs are not attached correctly, the rear
legs will not attach to the rear set of floor pins.