Step 3 – Datapath dL8 User Manual
Page 5
5
Step 3
Getting Started
• Ensure the power supply for the DVI source is disconnected.
• Connect the cable from the DVI source to the input socket on the rear of the dL8.
• Connect up to eight displays/Datapath x4s to the output sockets on the rear panel of the dL8.
• Connect the power cable to the dL8 and switch on the power supply.
• Power up the DVI source.
The Power LED located on the front panel will illuminate to indicate that power has successfully been
applied to the unit.
The dL8 incorporates an internal processor that will continuously monitor the received DVI signal, and
whenever a valid and stable input is detected the Input LED is illuminated.
How to Connect the Input
Connect the output cable of the DVI source to the Dual Link DVI input connector on the dL8.
You should exercise great care when connecting all cables to the connectors on your dL8.
If the pins are oriented correctly and the connector is pushed on squarely, the use of force is not
required. Poor handling may cause some pins to bend within the plug on the cable and this, in turn will
cause damage to the output socket and in some instances will cause irreparable damage to the Printed
Circuit Board located inside the unit. Such damage is not covered under warranty
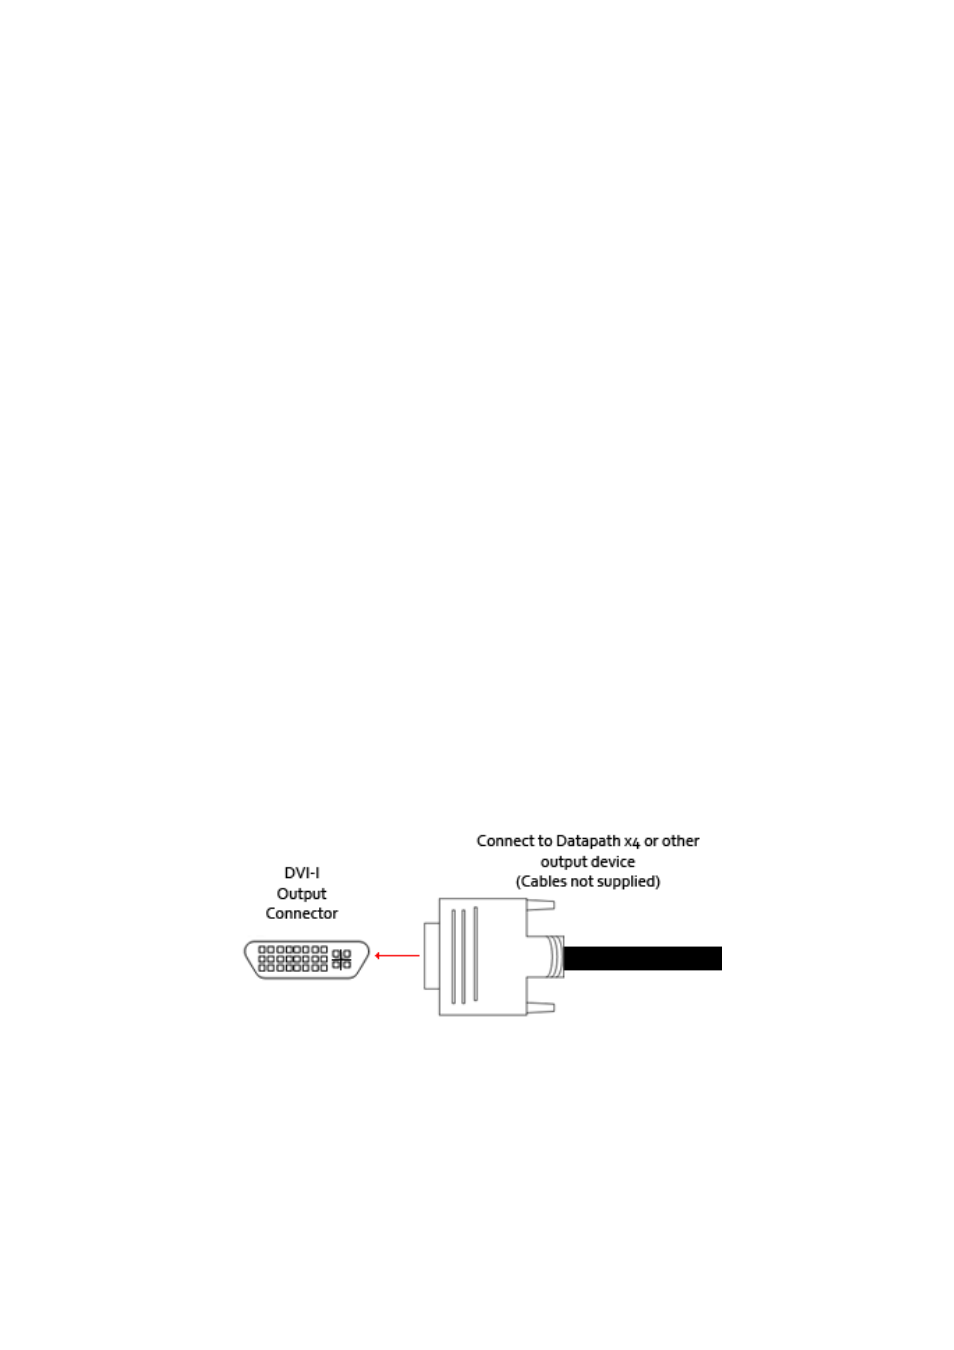
How to Connect the Outputs
The Datapath dL8 has eight DVI-I (Dual Link) connectors, each connector can be linked to separate
Datapath x4 units using cables up to 20m in length. This is due to the built in equalization in the x4. Cable
lengths of up to 5m in length can be used in all other instances where the output devices do not have built
in equalization.
Fig.4
USB Socket
The USB socket on the rear of the unit is used to connect the dL8 to a PC via a USB connection using the
supplied USB Type A to Type B cable. Configuration of the dL8 is programmable via an application utility
allowing the easy configuration of your display wall.