Section 3: setup & operation, 1 setup, Section 3 – Daktronics Sportsound Rack SSR-200 Operation Manual User Manual
Page 15: Setup & operation, Setup
Setup & Operation
9
Section 3:
Setup & Operation
3.1 Setup
Before Beginning: Place the rack on a flat, sturdy surface. Remove the cover pieces by
twisting the knobs away from each other, and set them aside. Accessories are located in a
separate case. Refer to the steps below and Figure 17.
1. Connect one end of the XLR gooseneck to the wired microphone and the other end
into the jack on top of the announcer’s interface. Optional headset microphone may
be plugged here instead.
2. Connect the 15' (4.6 m) XLR cable from MIC 1 & AUX 1 on the announcer’s interface
to MIC 1 & AUX 1 on the rear of the rack.
3. Connect the 25' (7.6 m) XLR cable between the AUDIO OUT jack on the rear of the
rack and the SYSTEM AUDIO jack on the bottom of the fiber box. If there is no fiber
box, the cable will typically connect to a wall plate junction box instead.
4. Connect one end of the 5' (1.5 m) XLR cable to the LTIBLOX Laptop Interface and the
other end to an open MIC input on the mixer. The 3.5 mm plug may be connected to
the headphone jack of a laptop or MP3 player.
5. Locate the 3-prong power cord and plug into a standard outlet. Ensure the
announcer’s interface and fiber box (if included) also have power.
6. Turn on the power strip.
7. Switch the AUDIO SIGNAL to ON.
Follow the above steps in reverse order to power down the system.
Place all accessories in the storage case.
Note: Ensure all antennas are perpendicular to the rack and angled
outward at ~45◦. Alternately, coaxial cable from the high gain
antenna kit may be connected into the WRX A and WRX B jacks on
the rear of the rack. The antennas should be located within 50' (15.2
m) of the rack, using desktop stands or mounted to the ceiling.
Refer to the Shure
®
Model PA805 Directional Antenna User
Guide for more information.
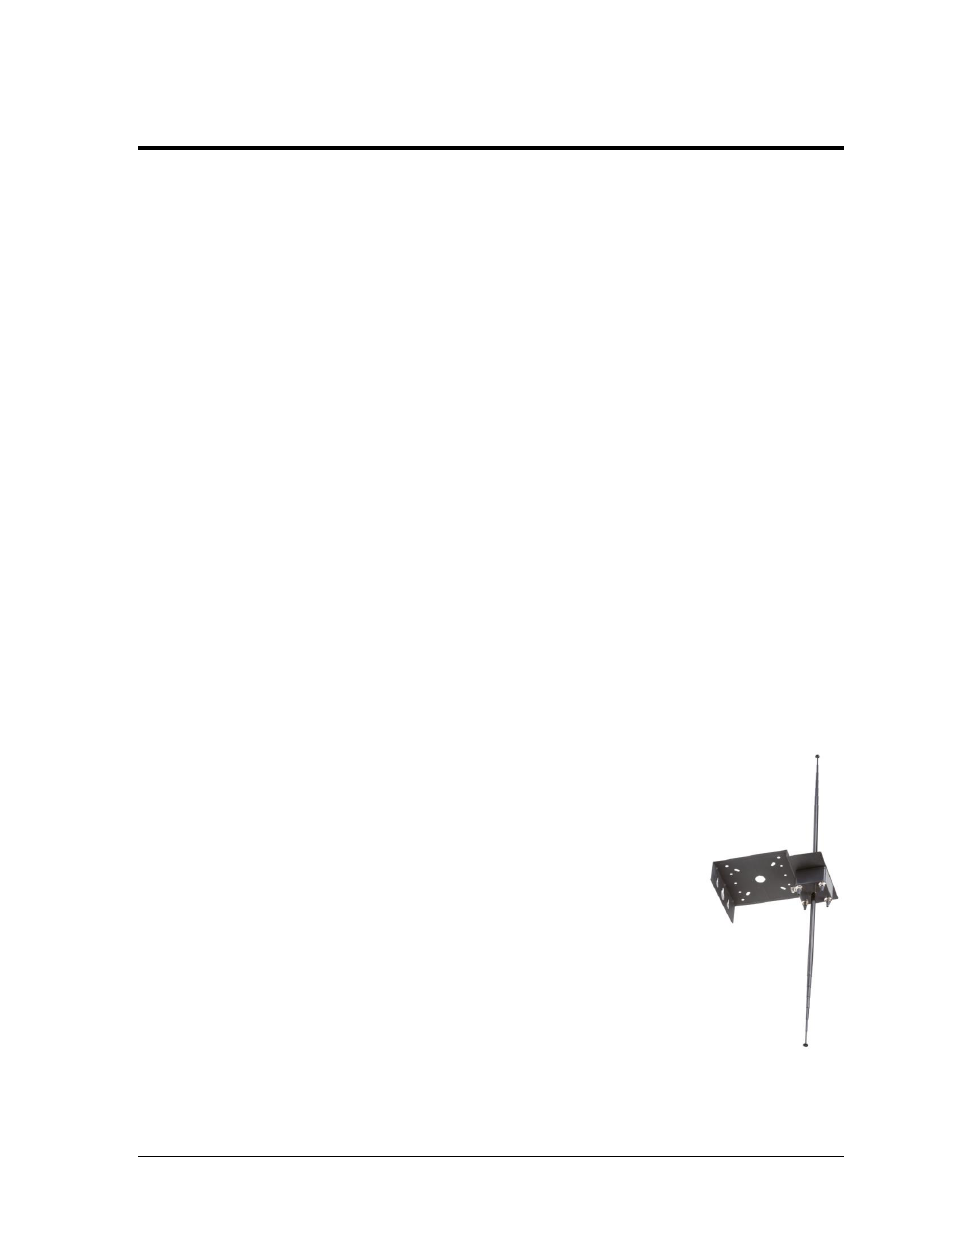
The optional Hearing Assist System universal antenna kit (Figure
16) may be located up to 10' (3 m) away from the rack, mounted to
the ceiling or a wall. Ensure there is enough room to fully extend
the antennas and that the coaxial cable is plugged into the WTX2
jack on the rear of the rack. Refer to the LA-122 Universal Antenna
Kit User’s Manual for more information.
Figure 16: ADA
Universal Antenna Kit