Digi-Star TMR Tracker (EZ loader) User Manual
Page 4
4
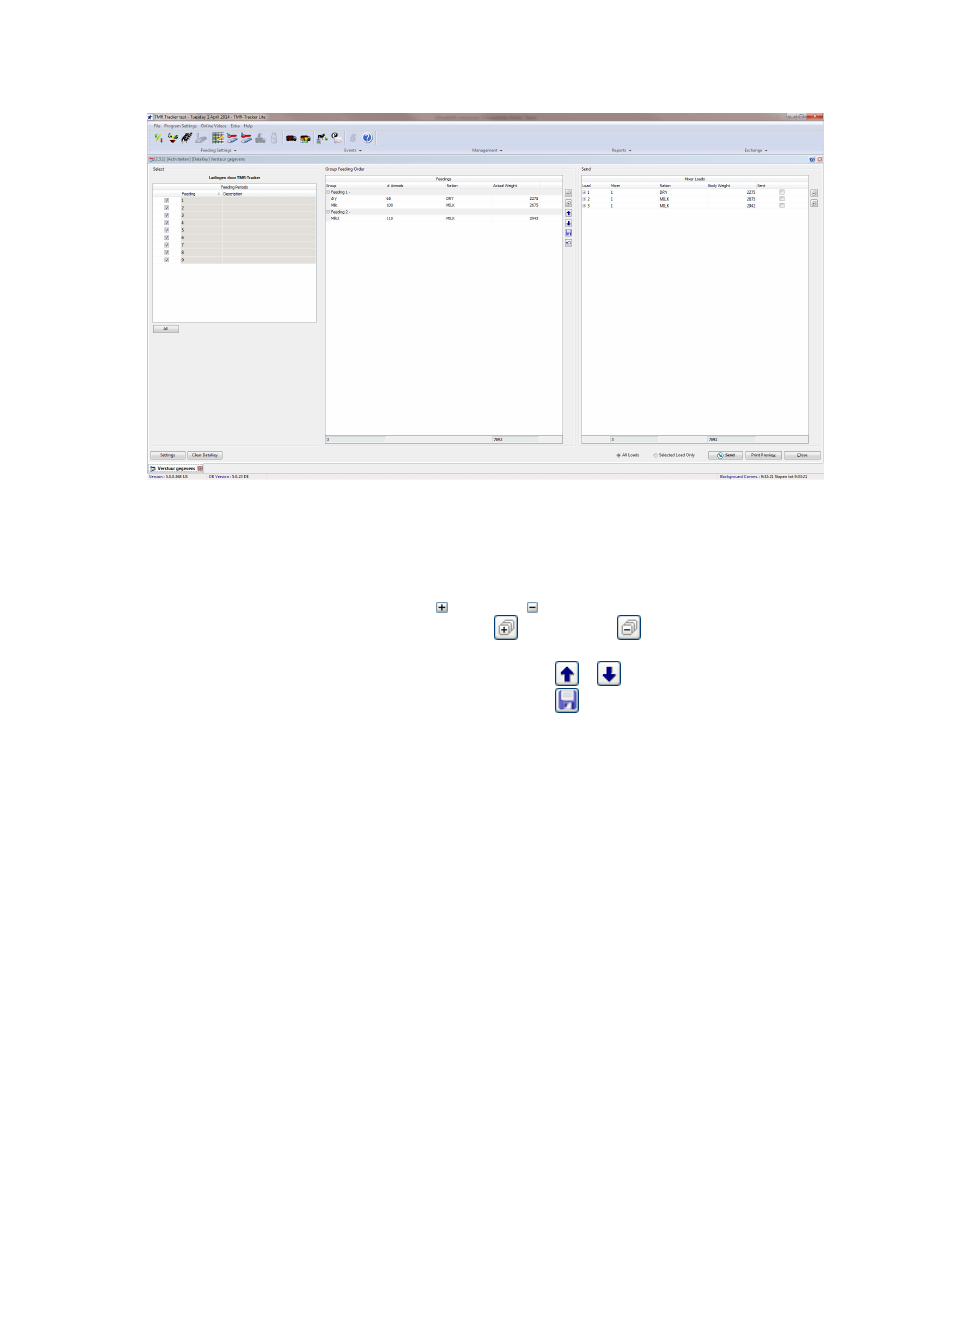
3. Normally, this screen consists of 2 or 3 parts; at the left panel an overview of the feeding periods
and mixers and in the centre panel all groups with feeding data is shown. In the right panel, the
actual Mixer Loads have been composed. The left panel may not be visible in case of a single mixer
& single feeding situation, then only 2 panels are available. Before sending the data to the USB
drive, you can check a number of things.
• Check load composition: Press the expand or collapse button in front of a mixer load to view
which deliveries are in the load. Use the expand all
or collapse all
buttons to control the
grid with a single mouse-click.
• Feeding Order: Move groups up / down with the arrow-keys
&
. Don't forget to save the
feeding order if you want to re-use this order the next time:
.
4. Before sending the loads, you'll have to set Communication Settings. Press the button 'Settings' in
the left bottom to open the communication-settings screen. On the tab 'Communication', complete
the configuration (com-port setup for USB drive). Press Ok to return to the 'Send Data' screen.
5. Press the 'Send All Loads' button to send the data to the USB drive. After sending the data, you
can close the screen and continue with the feeding process.
Hint: During your first days, it may be comfortable to print the load sheet (Print Preview) and use it
as a backup in order to get acquainted with the Indicator menu.