JIMS Box 2 1208-1352 (all models of 120, 131, or 135 Alpha, Beta and Evo Mount Engines) User Manual
Page 9
555 Dawson Drive, Camarillo, CA 93012 Phone 805-482-6913 • Fax 805-482-7422
8
Rev I
8-12
No.1208-1352
A Division of Thiessen Products, INC
IIn
ns
st
tr
ru
uc
ct
tiio
on
n S
Sh
he
ee
et
t F
Fo
or
r B
Bo
ox
x 2
2 1
12
20
0”
”,, 1
13
31
1”
” o
or
r 1
13
35
5”
”
E
En
ng
giin
ne
e A
As
ss
se
em
mb
bl
liie
es
s O
Or
r E
En
ng
giin
ne
e R
Ra
ac
ce
e K
Kiit
ts
s
•
Expand the ring just enough to clear the piston and guide the ring
into its groove. See Fig. 28
•
Repeat the above procedure to install the remaining piston rings on
the other piston.
•
Check the fit between piston rings and piston ring grooves by sliding
each ring around in its respective groove. There should be no tight
spots. Clean pistons and proceed to the next step: See Fig. 29.
STEP 6: Cylinder Inspection and Preparation
• Inspection
•
Inspect the fins and spigots of both cylinders for damage
•
Closely inspect the cylinder bores.
•
There should be no scratches other than the normal hone cross hatch.
• Cleaning
Note: Be very careful when scrubbing the cylinders to avoid cutting
your hand.
•
Soak the non-abrasive cleaning pad in hot water.
•
Wearing your clean mechanics gloves thoroughly scrub the cylinder
bores with the soapy pad and hot water. See Fig. 30.
•
Rinse the bores with clean hot water until you can wipe the bore with
a clean white cloth and show no signs of dirt.
•
Dry with a low lint cloth or towel.
•
Immediately coat the cylinder bores with a light film of clean H-D
20W-50 oil to prevent rust.
•
Clean gasket surfaces (base and head) with a lint free cloth and dena-
tured or isopropyl alcohol. (make sure you clean all oil from the gas-
ket surfaces.)
STEP 7: Piston/Cylinder Assembly
Note: Please read the following notes carefully.
•
Piston Ring Orientation:
IMPORTANT: JIMS 120, 131 or 135 Race Kit cylinders each have
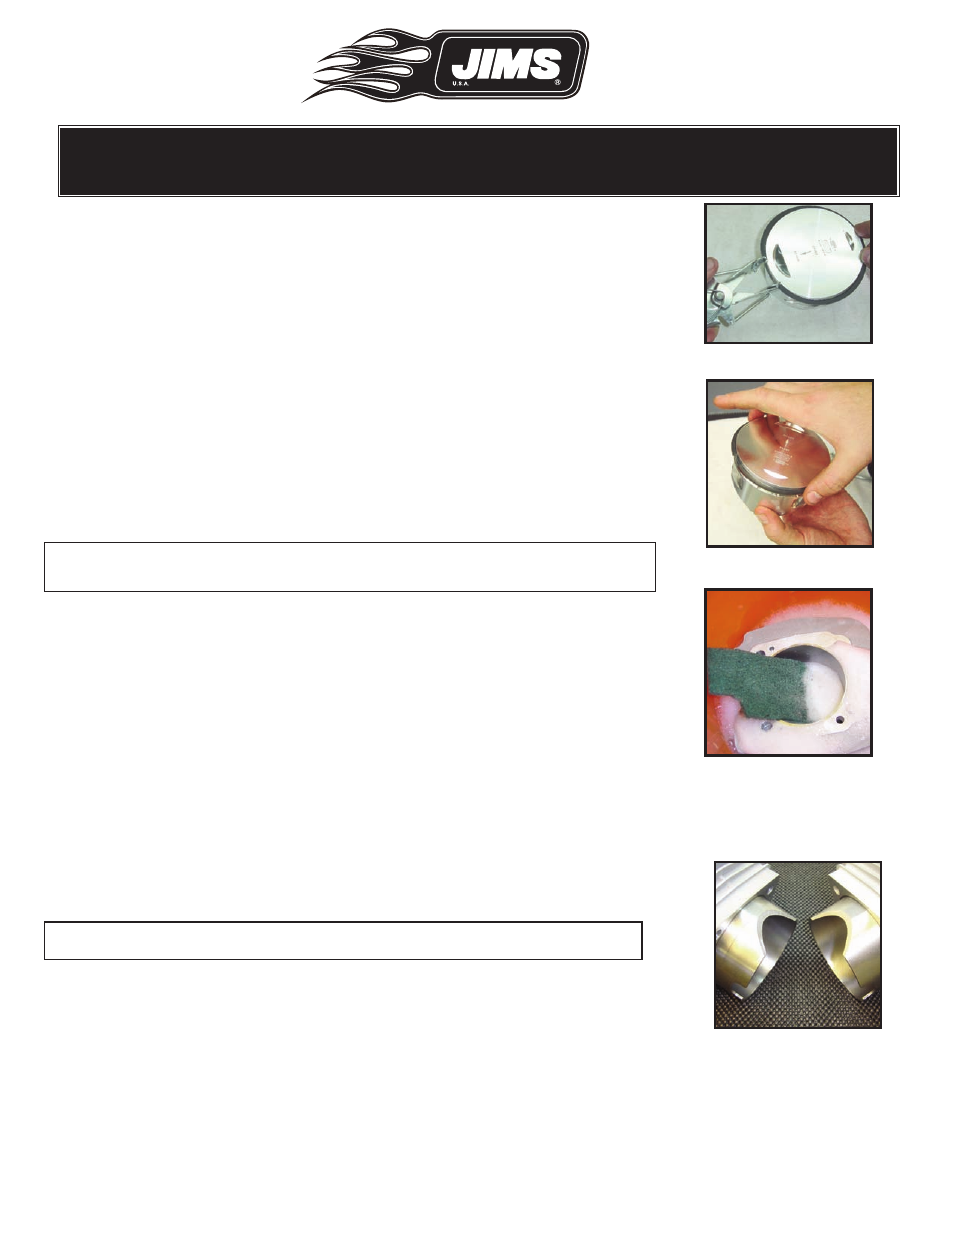
two cutaways in their skirts. See Fig.31.
• No piston ring end can be allowed to drop into either of these cut
aways.
• If a piston ring end gets into one of the cutaways and the piston
moves upward during installation, the end may catch and destroy the
ring.
Fig.28 - Carefully expand rings
Fig.29 - Inspect ring grooves
Fig.30 - Cleaning pad, soap, &
water
Fig.31
REAR
FRONT
KEEP
IT
CLEAN!