Editing boxes, Boxes – MacroSystem Bogart V6 Addition to the manual V5 for Casablanca User Manual
Page 10
10
Add: Insert an additional text box on this page. A new box
always has a standard size. Besides this, the table will have
a slightly grayed background to increase visibility. The back-
ground can only be changed with „Edit“.
<: Use this button to switch to the previous box.
>: Use this button to switch to the next box. You can also
use the trackball pointer to click directly on a box in order to
change to that box.
Delete: Use this button to delete the currently selected box
from the page. This irrevocably deletes the box. It is not pos-
sible to delete the last box on a page. The button is inactive in
that case.
Note: If you have placed several boxes on a page, in such a
way that they overlap each other, you will only be able to di-
rectly edit the part of a box that is not covered by the one that
lies on top of it. Should you have, for example, two boxes and
you activate the lower one, you will only be able to change the
dimensions of the box using the part of the border that is not
overlapped. The table that you have activated is not automa-
tically pulled forward to the foreground. Only the part that is
really visible can be edited directly. If you click with the mouse
pointer in the other part, the box on top will be activated
.
Editing Boxes
Should you want to shape a box further, or change its size,
click on Edit. This will open a new menu that will enable you to
set a background and text borders for the box. This is also the
place where you can format your text for the entire table.
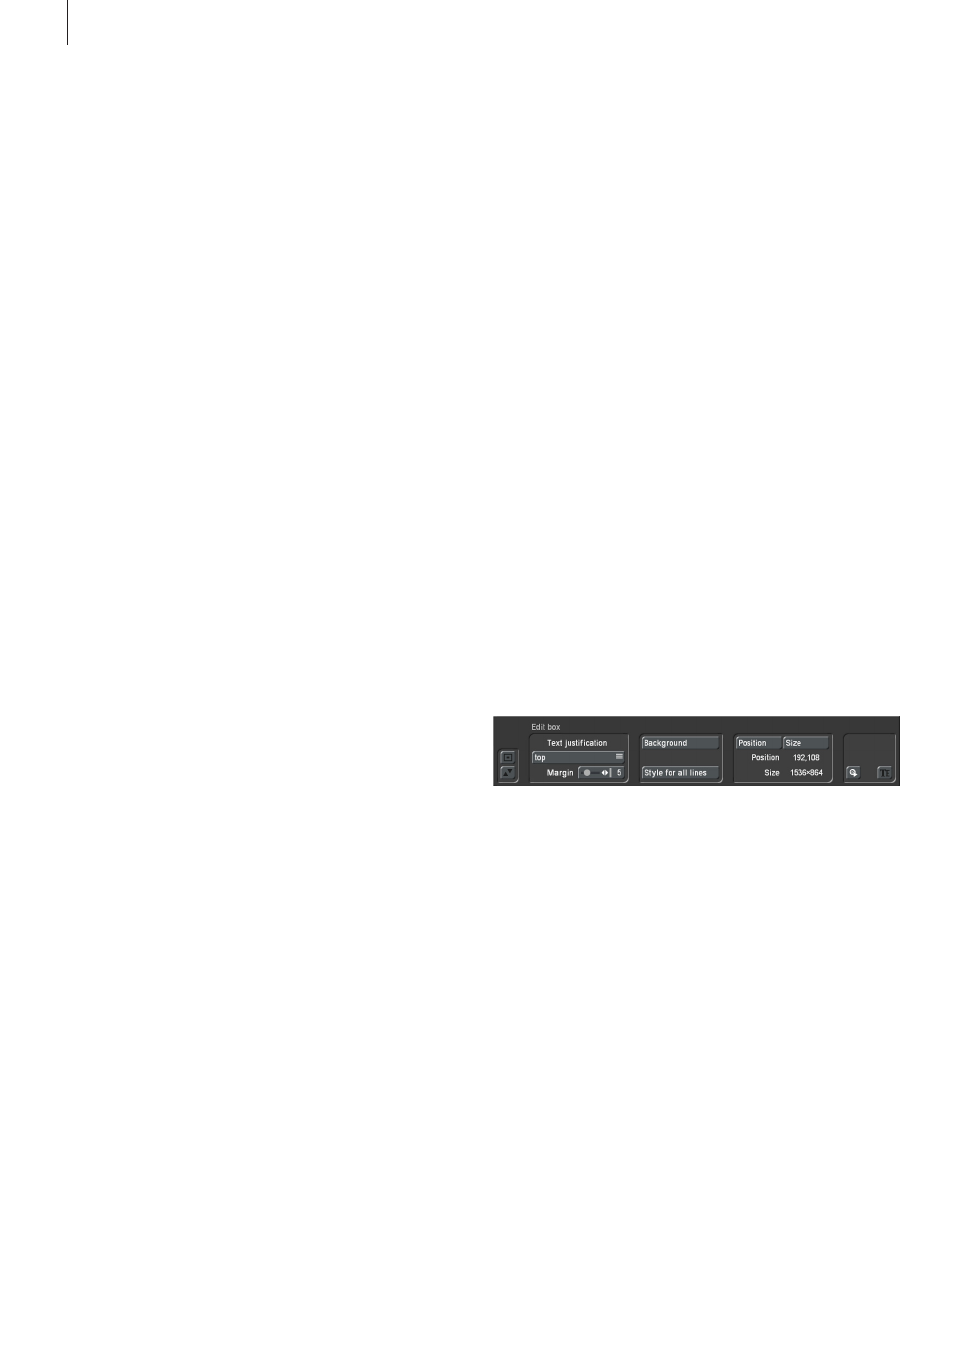
The „Edit box“ menu offers you the following functionality:
These text-formatting functions can be applied to the box as a
whole:
Text justification: This is used to determine how your text is
to be positioned in the box. You can choose between having
your text positioned against the upper border or lower border
of the box, or to have it centered at an equal distance from the
upper border and the lower border. This function is not active
in any case, since it is not compatible with scrolling titles i.e.
Margin: With this slider you set the distance from the text to
the (upper, lower, left and right) border of the box.
Tip: Since it is not directly possible to color a border, you must
place two boxes of different size on top of each other and give
both of them a background. The larger box will then act as a
border around the smaller text box in front of it.
In the top left of the menu, you can see the text information:
Page x/y. This means that page x is currently displayed and
that the document has y pages. This will usually start as:
Page 1/1.
Add: The Add button in the menu will add a new page at the
end of the document.
<: Use this button to switch to the previous page.
>: Use this button to switch to the next page.
Delete: To delete a specific page, select this page and click
on this button. The current page will be deleted without asking
for confirmation. Careful, this page is now irreversibly lost.
Archive: Use this button to archive a single page. This will
enable you to use it in another document, or to keep it as a
backup copy. Click on this button to open a new menu with
the following buttons:
Load: Select a page archive among the ones that have already
been saved, and confirm by clicking on OK. The page will be
loaded and appended to your existing document as a new
page.
Save: Open the text field in the next menu to enter the name
under which this page should be archived. Confirm the save by
clicking on OK.
Delete: Select an archive among the existing ones that you
want to delete, and confirm your selection by clicking on OK.
Adjust all text: Aligns all text on all pages.
Change all backgrounds: Changes the background on all
panels of the active page.
Note: It is not possible to enter a text in this menu. To write a
text on a page, you must first exit the menu. Some title effects,
such as ticker tape or scrolling titles, cannot use more than one
page. They will only use the first page for display.
Boxes
Each document cannot only contain several pages, but also
several boxes on every page. A box can be compared to a
sheet of paper on which you can write. It is also possible to
paste several sheets over each other, so that one page con-
sists of several parts, the so-called boxes.
Use the left part of the main menu of Title Studio to insert
boxes. This is also where you will find information about how
many boxes are included on the page and which one is cur-
rently being modified. This is the meaning of „Box 2/2“.