Pages, Lines – MacroSystem Bogart V6 Addition to the manual V5 for Casablanca User Manual
Page 9
9
Bogart 6 manual add-on
the text should be left aligned, centered, and right aligned or
justified.
Depending on the screen resolution, there is a Block button
below the line settings that you need for marking and moving
text. In the smaller menu display, there is also an Extended
button. This button opens a menu that will be included in a
neighboring menu panel if you are working in higher resolu-
tions. The Extended menu can also be found in the on-screen
keyboard display. Here you can set line distances and widths.
Note: When you have opened the Extended menu, settings will
only be applied after you have closed the menu with OK.
Buttons that are used to set percentage values, allow for valu-
es between 50% and 200% to be set and are preset to 100%.
Use the function Charwidth to change the width of letters and
punctuation marks of a line. Since this can also be applied to a
part of a line, you must first mark the range to which the width
should be applied. You can then enter the desired percentage
in Charwidth. The changes will immediately become visible in
the text. The letters are now -depending on the percentage-
wider (>100%) or narrower (<100%), which has a correspon-
ding effect on the complete line.
The Charspacing function stretches or compresses a line,
while the width of the individual letters stays the same. Mark a
range for which you would like to set the distance, and set the
desired distance percentage with Charspacing. Depending on
the percentage you have set, the line will be stretched (>100%)
or compressed (<100%).
If you need to change the distance between lines, you must
mark the lines you wish to modify. Use Linespacing to make
this modification. If you choose a setting smaller than 100%,
the lines will be pushed closer together, while a larger percen-
tage will increase the distance between them. This setting will,
of course, also adjust the lines below the lines you marked to
the new settings.
This part of the menu also contains the „delete active line“
function. This function deletes the line in which you are cur-
rently located.
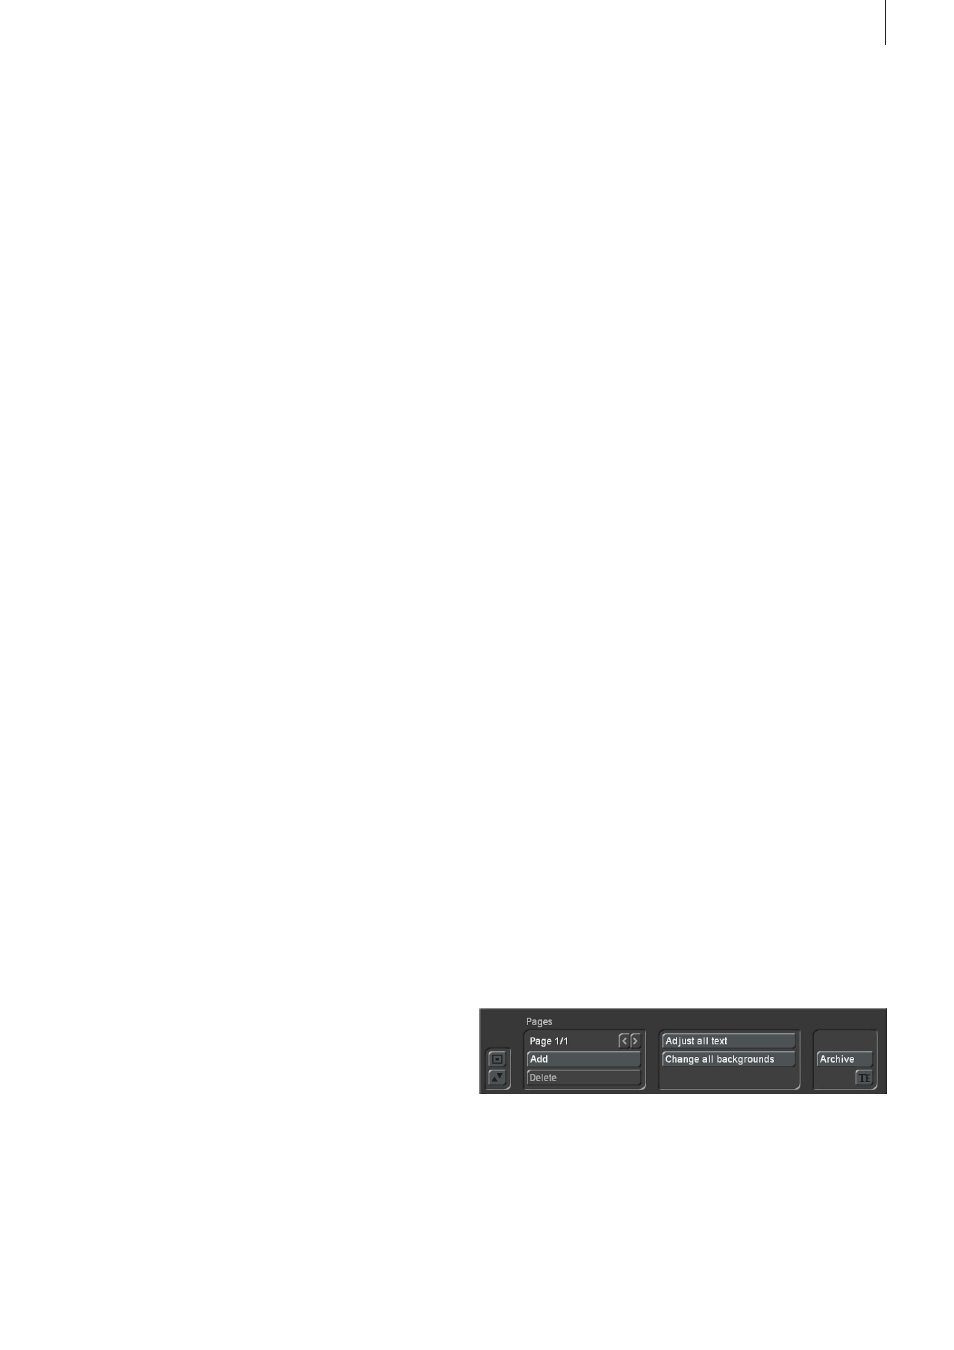
Pages
Several title effects offer support for the display of more than
one page. If your text is divided in several pages, you can
maintain this structure in Title Studio. To do this, click on Pa-
ges on the right side of the main menu of Title Studio. This will
open a smaller menu in which you can insert and move more
pages.
be specified. Even with a text style, it may be useful to work
with transparency.
Clicking on “OK” in “Select pattern” confirms your settings and
you are returned to the “Style” menu. Now you can see the
“Outline” button. With the aid of the slider next to it, define the
strength of the outline with values between 0 (not active) and
6 (strong). The “Color/Pattern” button leads you to the image
pool, in which you can decide if the outline is to consist of a
pattern or color.
In the box below, you should see the “Shadow” button. Use
it to determine a width between even values of 0 to 20. The
“Direction” and “Color” of the shadow can also be determined.
The slider for “Blur” allows you to change the outline of the
shadow to a blur type effects and thus make it look more
realistic.
In the right area of the screen, you can see the function “Italic”.
You can activate it by selecting the empty box next to it. The
button “Smooth” is use to apply a slightly smeared look to the
text. It also may help to weaken any unwanted artefacts result-
ing from video compression.
Below, you can see the “3D” option. The strength of the three-
dimensional effect can be set with even values between 0 and
20 using the slider. The effect makes the letter look as if they
had a certain thickness. If you use higher values, make sure
to set a character space of around 120% so that the 3D effect
does not interfere with the letters themselves. The “direction”
can be set to four different possibilities. The arrow pointing
towards the left top direction is recommended.
The structure of the effect can be set using the “Color/Pattern”
button. It is recommended to use a tone similar to the text
color, yet with brightness between this and the background
color’s.
Below left, in the “Style” screen, you can see the “Archives”
button. The Archives allow you to save the styles you have
created. You will also find some examples of styles that come
with the software. The Style screen can be closed by pressing
the “OK” button (meaning that you confirm the settings made)
or by pressing “Cancel”.
Lines
In addition to formatting the font, it is also possible to format
the entire text line or paragraph. It is possible to change or set
the distance between characters of a line, the distance bet-
ween lines, the character width and the formatting of
sentences.
In the main menu of Title Studio, you have the ability to change
the font size of the selected text. Below that, you will find four
buttons to format the line. Use the buttons to indicate whether