Step 3 - configure & test the system, Step 4 - connect data acquisition signal lines, Iotech – Measurement Computing WaveBook rev.5.3 User Manual
Page 12
Step 3 - Configure & Test the System
with the Daq Configuration Applet
Step 3 - Configure & Test the System
with the Daq Configuration Applet
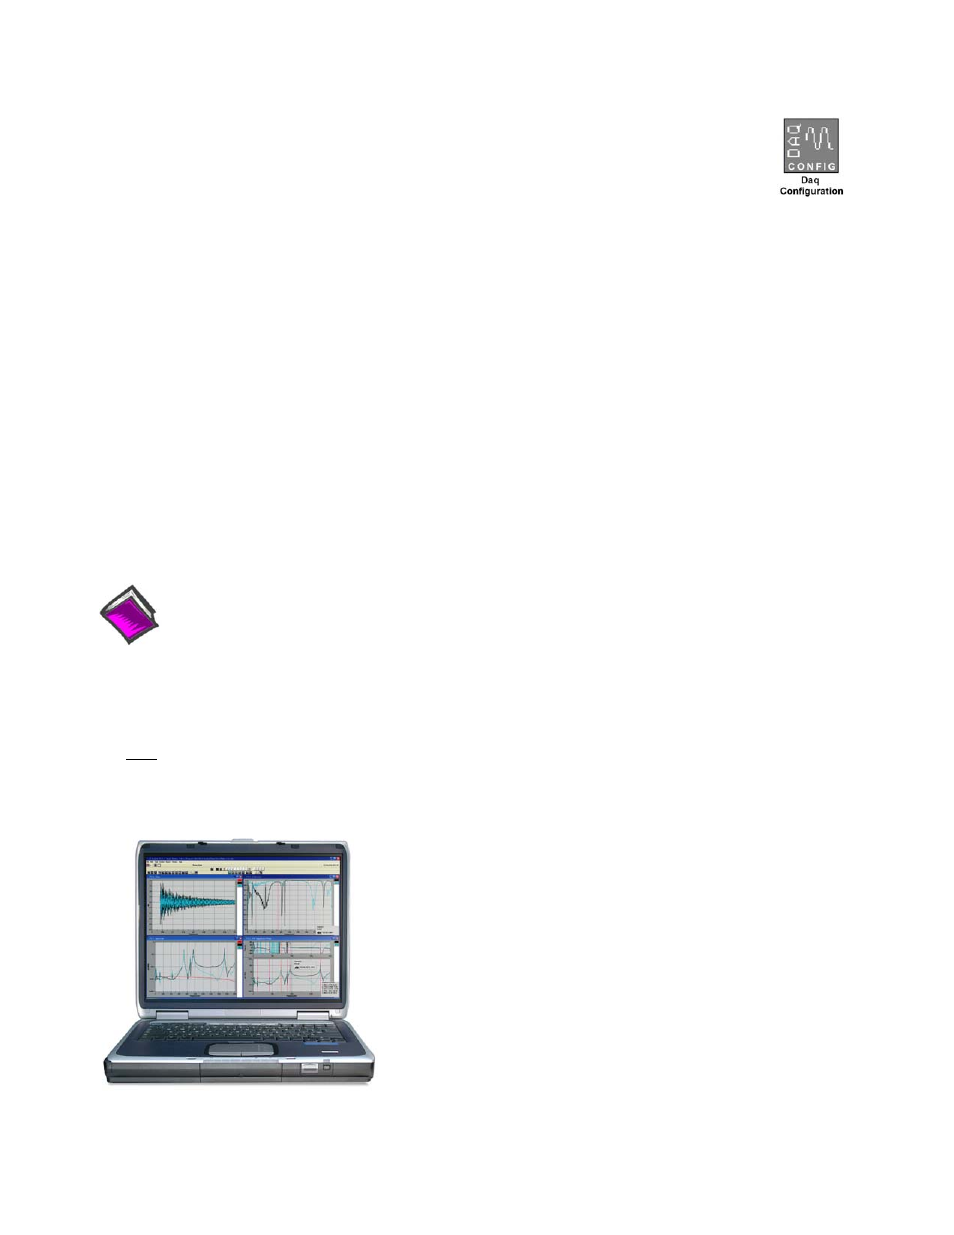
1. Open the Daq Configuration Applet.
1. Open the Daq Configuration Applet.
a. Open the Control Panel by navigating from the Windows’ Desktop:
Start Menu
⇒ Settings ⇒ Control Panel
a. Open the Control Panel by navigating from the Windows’ Desktop:
Start Menu
⇒ Settings ⇒ Control Panel
b. From the Control Panel, double-click the Daq Configuration icon.
b. From the Control Panel, double-click the Daq Configuration icon.
2. Add the WaveBook/512A or WaveBook/516A to the list of installed devices.
2. Add the WaveBook/512A or WaveBook/516A to the list of installed devices.
a. Click the <Add Device> button. The “Select Device Type” box will appear.
a. Click the <Add Device> button. The “Select Device Type” box will appear.
b. Select the WaveBook/512A [or /516A], as applicable, from the list of devices.
b. Select the WaveBook/512A [or /516A], as applicable, from the list of devices.
c. Click the <OK> button. The “Properties” box will appear for the selected device.
c. Click the <OK> button. The “Properties” box will appear for the selected device.
3. Test the System
3. Test the System
Click the “Test Hardware” tab and run the test. Should you need additional help, please refer to the user’s
manual PDF included on the CD.
Click the “Test Hardware” tab and run the test. Should you need additional help, please refer to the user’s
manual PDF included on the CD.
When testing, if the unit does not respond within 30 seconds, perform the following: 1) reboot the system, 2)
upon power-up, re-open the Daq Configuration applet, 3)select another configuration setting, 4) reinitiate the
test.
When testing, if the unit does not respond within 30 seconds, perform the following: 1) reboot the system, 2)
upon power-up, re-open the Daq Configuration applet, 3)select another configuration setting, 4) reinitiate the
test.
Step 4 - Connect Data Acquisition Signal Lines
Step 4 - Connect Data Acquisition Signal Lines
Prior to making signal connections review the Specifications chapter of your user’s manual to ensure that your
intended signal inputs do not exceed the specified limits. The manual is included in PDF format on your CD.
Prior to making signal connections review the Specifications chapter of your user’s manual to ensure that your
intended signal inputs do not exceed the specified limits. The manual is included in PDF format on your CD.
Reference Notes:
Adobe Acrobat PDF versions of documents pertaining to the WaveBook/516E and associated
accessories and software are included on the Data Acquisition and Dynamic Signal Analysis CDs.
Documents are automatically installed onto your PC’s hard-drive as a part of product support at the time
of software installation. The default location is the Programs group. It can be accessed via the
Windows Desktop Start Menu.
Note:
WaveView users only: If you are using WaveView as your software application you will be using the Data
Acquisition CD (not the Dynamic Analysis CD). If this is the case, and if TEDS (Transducer Electronic
Data Sheet) applies to your system, use:
D7DB1F527813
as the Authorization Code, when prompted.
IOtech
25971 Cannon Road
Cleveland, OH 44146-1833
Phone: (440) 439-4091
Fax: (440) 439-4093
E-mail: [email protected]
Internet:
*324605B-01*
324605B-01
Printed in Hungary