Assembly & inflation – Sea Eagle Transom Sport Boats & 8.10yt Yacht Tender (10.6SRY, 10.6SR, 12.6SR, 14SR) User Manual
Page 7
Assembly & Inflation
To charge the portable
battery, plug it into the
charger and then plug
the charger into a
household electrical
outlet. The light on the
battery charger will blink
red until fully charged.
When it is fully charged
the light will be a solid
green.
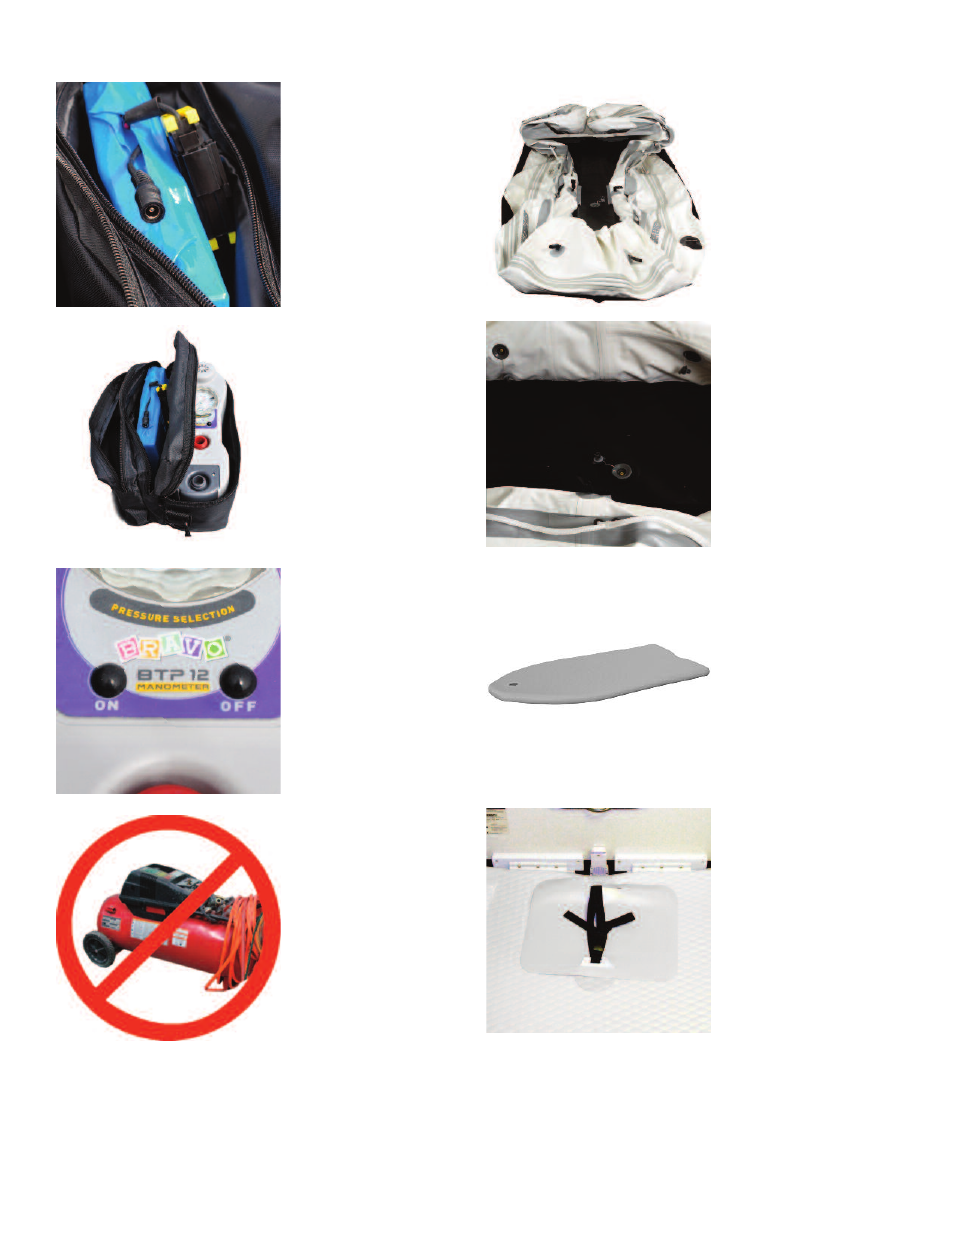
It is recommended to
keep the Turbo Pump
inside of the carry bag
to make transportation
easier and to protect the
pump from sand which
could jam it. The carry
bag comes equipped
with compartments for
the pump, battery and
charger.
Press the ON button to
begin inflation. The
pump operates in two
stages which can be
identified by the noise of
the turbine at the start,
followed by the piston.
The pump automatically
stops once the pressure
is reached.
Air compressors that
are designed for other
uses like tire inflation
(usually around 50 PSI)
can easily harm your
Sea Eagle which works
at a much lower pres-
sure of 3.2 PSI. For this
reason we recommend
only using Sea Eagle
pumps.
Assembly & Inflation
Clear a clean and flat
space that is free of any
sharp objects and unroll
the boat hull so that it is
laid out flat.
Locate the recessed
one-way valves in the
bow of the boat and
begin inflating the boat
to about 10% to 20% of
its capacity. By partially
inflating the boat the
hull material is out of
the way and the floor-
boards will be easier to
install.
Drop Stitch Floor
The 8.10 YT features a
high pressure drop
stitch floor and come
equipped with the A-50
high pressure foot pump
necessary for inflating
the floor up to 7 PSI.
Once installed, drop
stitch floors do not need
to be removed.
At the stern of the boat
near the transom is a
fabric guard with buckle
and strap to secure a
fuel tank.
6