Rear-curtain synchronization, Red-eye reduction, Modeling flash – SIGMA ELECTRONIC FLASH EF-610 DG SUPER NA-iTTL (ニコン用) User Manual
Page 22: Multi flash mode
21
Exposure compensation on M mode
When using the camera on M mode, you can change the aperture value on the camera, or change the
flash power level, after setting the exposure compensation.
REAR-CURTAIN SYNCHRONIZATION
When you photograph a moving subject with slow synchronization, usually the furrow of the subject
will be exposed in front of the subject. The ordinary flash light will fire when the first shutter curtain is
fully opened, thus the subject will be exposed from the time flash is fired to the time the shutter is
closed (This is front curtain synchronization). When you use rear curtain synchronization, the flash will
fire just before the rear curtain begins to close, and the subject will be exposed by ambient light from
the time the shutter opens until the flash fires. As a result, the furrow of the subject will therefore be
recorded behind the subject, creating a more natural effect.
◆
It can be used with cameras providing rear-curtain sync. only.
◆
You cannot set this function on the flashgun directly. For details please refer to your camera’s
instruction manual.
◆
The LCD panel on the flash will indicate
mark, when the “Second-curtain synchronization”
function is set.
RED-EYE REDUCTION
When you take a picture with flash, sometimes the person’s eyes reflect the flash light and appear as
“red-eyes”, in the picture. If you use the function of “Red-eye reduction”, the flash will blink
approximately 1 second, before the shutter is released, and reduce the “red-eye”.
◆
Available with cameras providing red-eye reduction control only.
◆
You cannot set this function on the flashgun directly. For details please refer to your camera’s
instruction manual.
◆
The LCD panel on the flash will indicate
mark, when the “Red-eye reduction” function is set.
MODELING FLASH
If you use the Modeling flash, you can check the lighting and shadow effects, before you take the
picture.
1.
Press the MODE button and select the mode you want to use.
2.
Press the + button or – button several times to make the
icon on the LCD panel appear.
3.
Confirm that the flash is charged, then press the TEST button to fire.
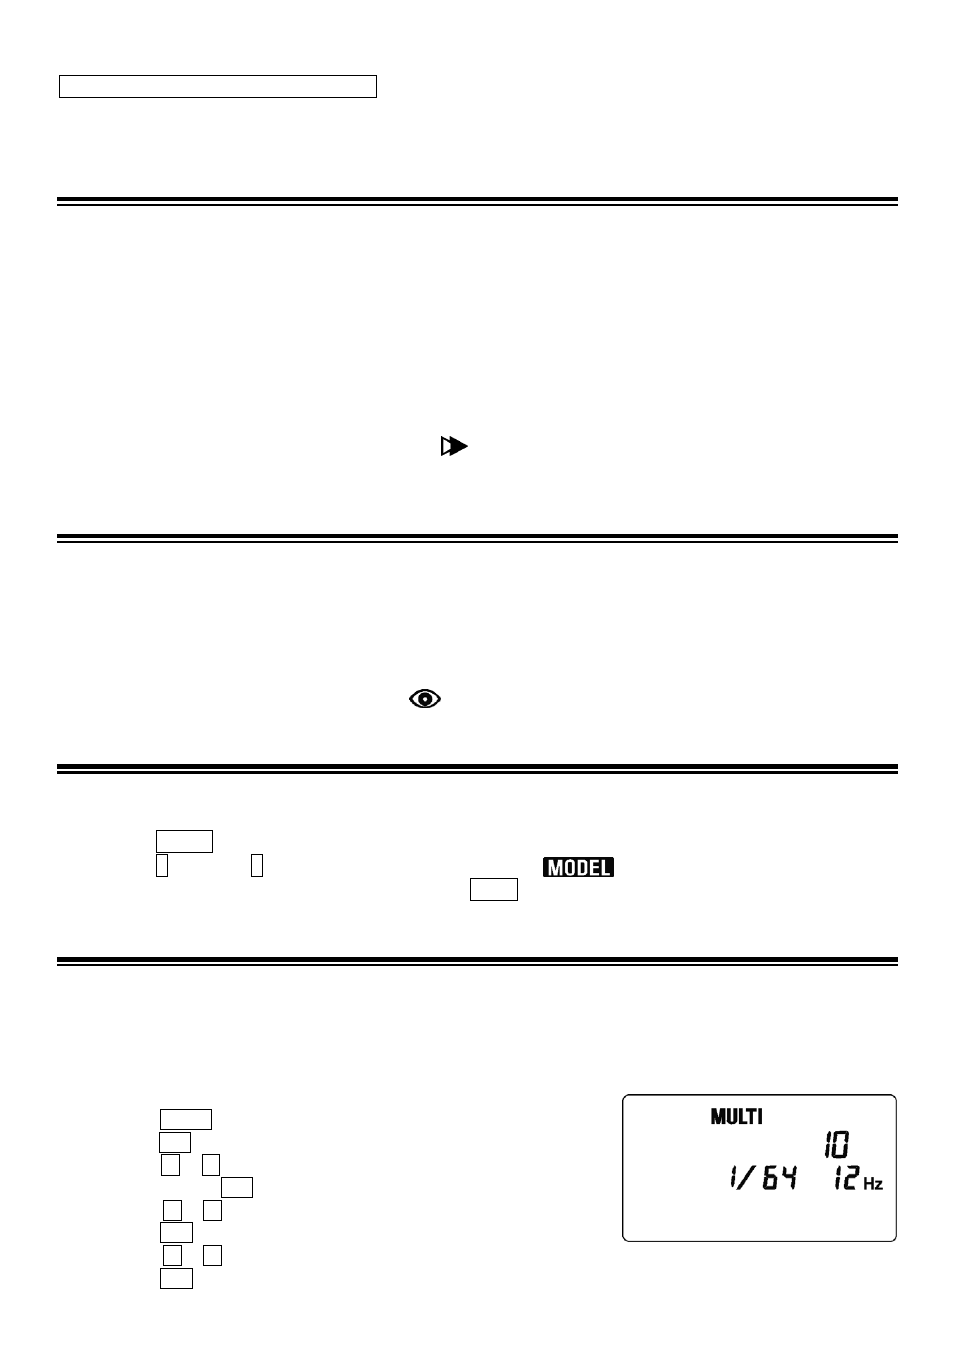
MULTI FLASH MODE
When a slow shutter speed is used, the flash will fire repeatedly while the shutter is open. By doing so a
series of images of the subject will be exposed in one frame. A dark background with a bright subject
shows the result more effectively in this mode. It is possible to set the firing frequency between 1Hz and
100Hz. Up to 90 flashes can be fired continuously. The maximum number of flashes varies, depending
on the flash guide number and firing frequency settings. (Please refer to table3 on the last page).
1.
Set the camera’s exposure mode to M and set the desired aperture.
2.
Press the
MODE
button until the multi-flash mode appears.
3.
Press the
SEL
button until the flash firing frequency starts to blink.
4.
Press the
+ or –
button to set the desired flash frequency value.
5.
After pressing the
SEL
button again, the flash power level will blink.
6.
Press the
+ or –
button to set the desired power level.
7.
Press the
SEL
button again, the number of flashes will blink.
8.
Press the
+ or –
button to set the desired number of flashes.
9.
Press the
SEL
button until the display stops blinking.