Programming the edid – Smart Avi HDMV Multiviewer User Manual
Page 11
11
www.smartavi.com
The EDID (Extended Display Identification Data) of your monitor or display can be programmed
into the HDMV. This will allow the HDMV to pass essential display information between the display
and the attached sources. Information pertaining to color depth, resolution, and sound must be
properly configured in order for the optimum viewing .
To program the EDID first disconnect any inputs to the HDMV and plug a monitor in to the output.
Next power the device on.
Plug an RS-232 cable or USB to RS-232 adapter into the HDMV and your computer.
Programming the EDID
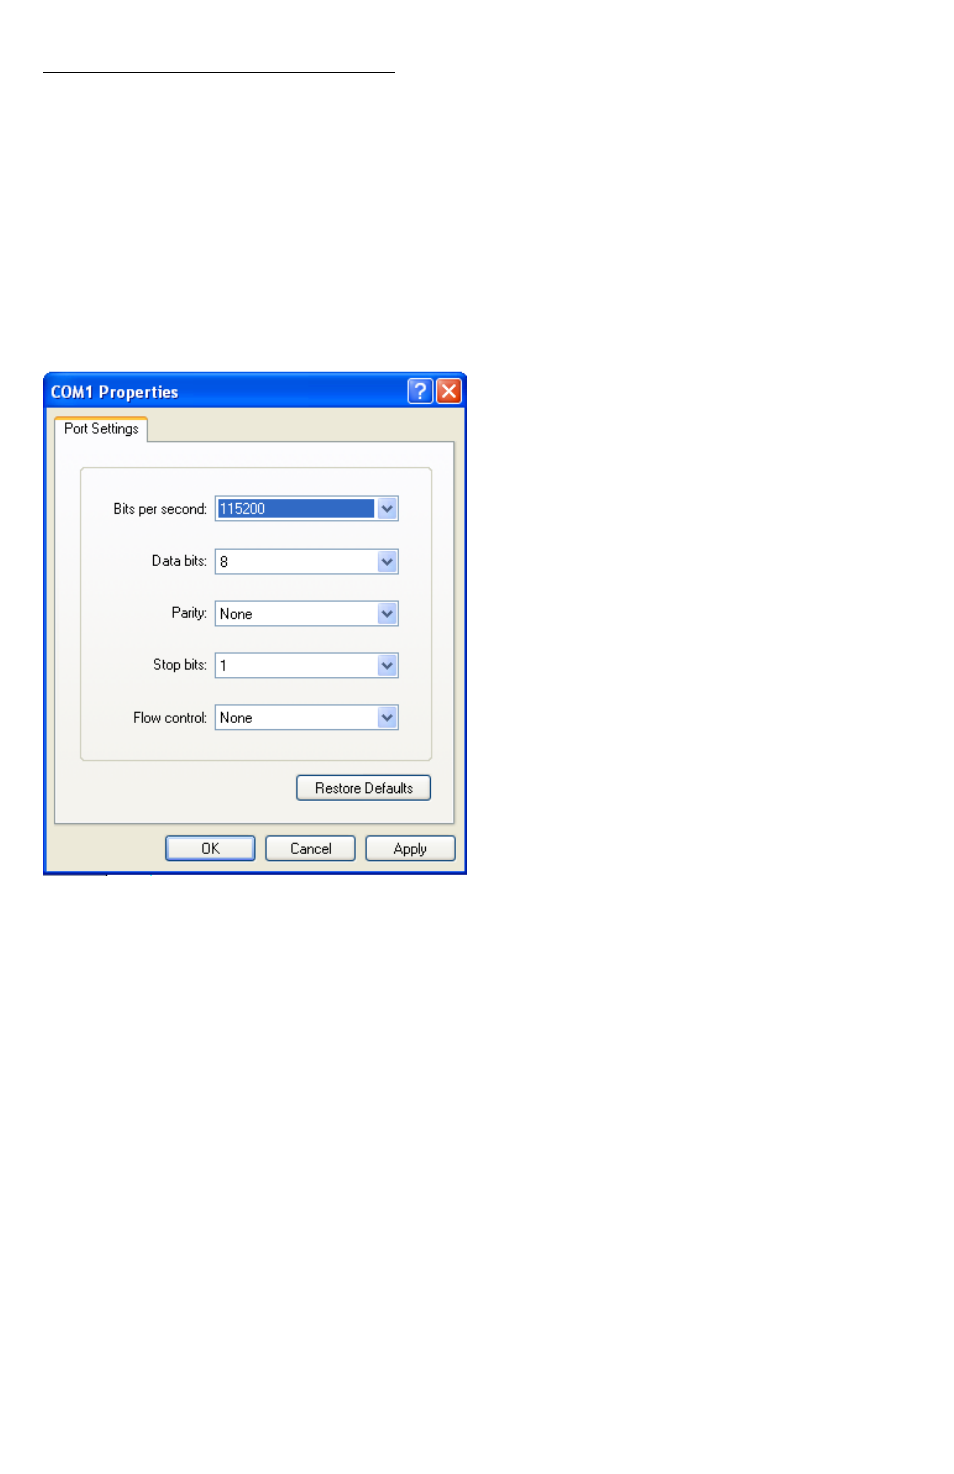
Any serial data application similar to
HyperTerminal will be able to connect to
the HDMV provided the Bits per second are
115200, the data bits are set to 8, the Parity
is “None,” the stop bits are “1,” and there is no
flow control. HyperTerminal comes standard
on windows XP and can be enabled on
Windows Vista, Windows 7, and Windows
8. There are many applications available for
Windows, Linux, and Mac operating systems.
1. Connect a monitor to the output port of the HDMV.
2. Connect to the HDMV using RS-232 (use PuTTY or HyperTerminal).
3. Type in “debuguon” followed by <ENTER> to go to Debug Mode. You will not see any
feedback until you press the <ENTER> button.
4. If this has been done properly, you should see the message “CLI Menu Enabled” on the
terminal client.
5. Enter “?” to see the rest of the options.
6. To learn screen, enter the following command:
wEDID a 3
7. Wait for all the debug messages to stop.
8. Once done, the EDID is learned and your sources should be able read the EDID of your
monitor.
*Note: other debugging options such as enabling and disabling hotplug, changing output
mode, and resetting the unit can be accessed through the CLI Menu.