SP Controls PixiePlus User Manual
Page 4
6) If you’ve learned IR codes in step 4, to load up that configuration, click “Retrieve from
Wand.” You will see IR codes show up under the tabs corresponding to the buttons that
you learned. Now you’re ready to modify the configuration with any RS232 codes you
need.
The top section with the pull-down menus allows you to define the button layout of the
PixiePlus. The "Edit commands for key" section allows you to select the button that you
want to configure. Each button on the PixiePlus can hold up to four (4) codes, which can
be sent as a macro (all codes sent on a single button press) or in a round-robin fashion
(one code sent per button press cycling through all codes on the button). Check the box
to send codes as a macro, otherwise they’ll go out round-robin.
Hit the green "+" symbol to add a new code to the list. You can enter the manufacturer
and model, but make them very short. For demo purposes it is safe to leave them blank.
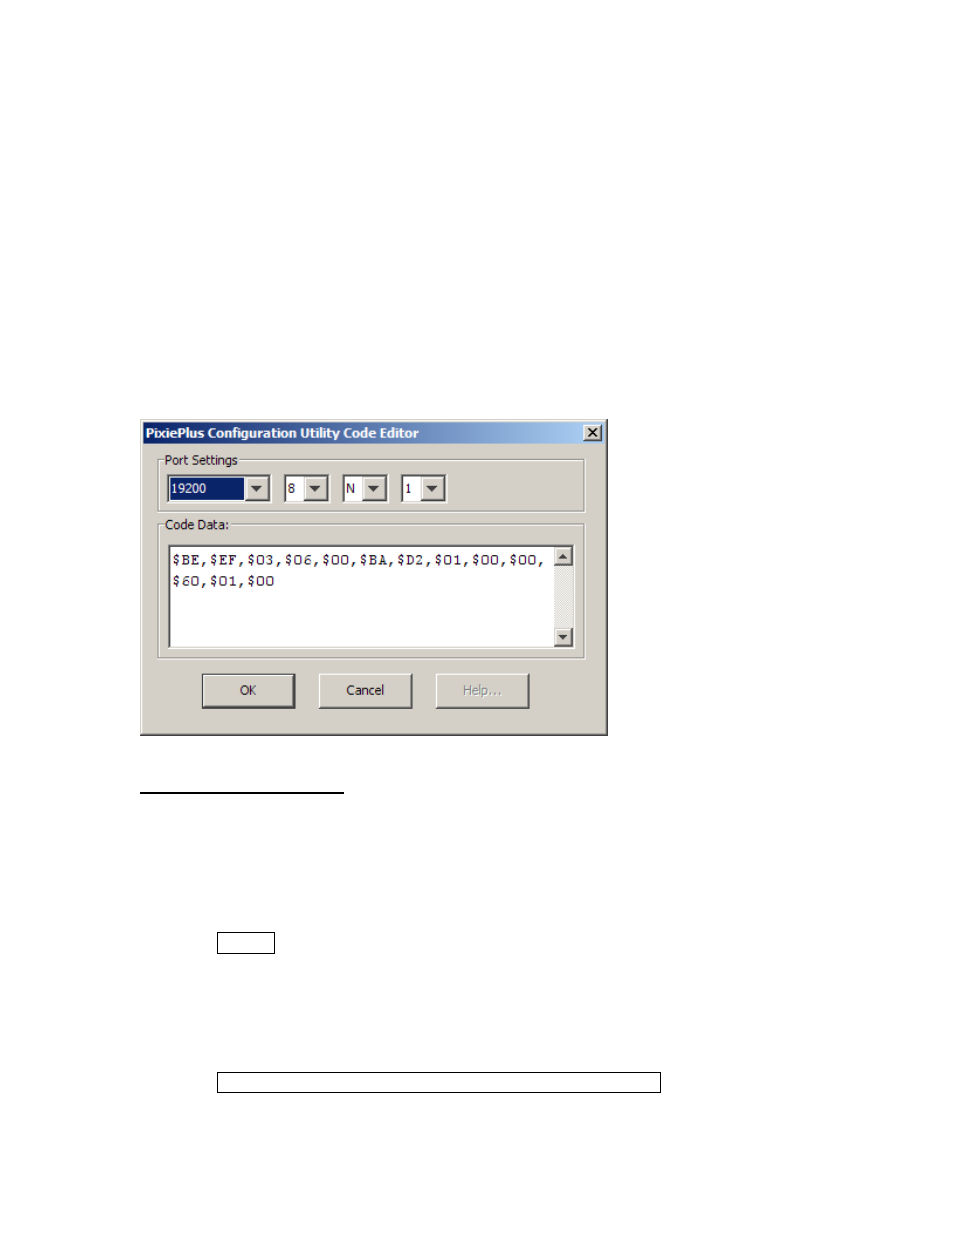
Edit the code by clicking in the "CODE DATA" area. This will allow you to enter RS232
codes.
RS232 Command Format
RS232 command data comes in three different forms: ASCII, hexadecimal, and decimal.
A single command usually contains just one type of data, but it could include two, or
even all three. To represent these, different “tags” will be used.
ASCII: Characters enclosed inside single quotes will be sent as ASCII.
Example: ‘PWR1’
This would be sent as an ASCII string ‘PWR1’.
Hexadecimal: A pair of characters preceded by a dollar sign will be sent as a
hexadecimal byte. (Note: the only valid hexadecimal characters are 0-9 and A-F, and
they must be sent in pairs).
Example: $BE,$EF,$03,$06,$00,$BA,$D2,$01,$00,$00,$60,$01,$00
This would be sent as the hexadecimal string shown above. The dollar sign indicates