Calibration procedure for mkp - pkp – Super Systems 20PQ Calibration Manual User Manual
Page 8
8
Calibration procedure for MKP - PKP
12.2) "Hr" - FINAL SCALE VALUE
The upper display will show "O5.ñA", the lower display will show
"Hr" while the middle display will show the actual full scale offset
in counts (a number from 0 to 5000).
a) Using
▲
or
▼
push-button, adjust the instrument output until
20.000 mA +0.005 mA is shown by the calibrator.
b) After a few seconds, start the calibration by pushing FUNC
push-button. At the end of this calibration routine, the instrument
will go to the next step.
12.3) "
∀.
∀.
∀.
∀.
∀.
" - OUT 5 CHECK
The upper display will show "O5.ñA", the lower display will show "
∀
∀
∀
∀
∀.
"
while the middle display will show a read-out value in counts (a
number from 0 to 8000).
a) The instrument shows a value equal to 4000 count. The calibrator
measure must be equal to 10.000 mA + 0.005 mA
NOTE: when it is desired to use a different check point, the
following formula describes the ratio between the signal output and
the instrument read-out (in counts).
OUT =
displayed value
8000
•
20
b) Using
▲
or
▼
push-button, set a value equal to 0 count. The
"O5.ñA" "Lr" calibration is correct if the calibrator measure an
output equal to 0.000 mA + 0.005 mA
c) Using
▲
or
▼
push-button, set a value equal to 8000 count. The
"O5.ñA" "Hr" calibration is correct if the calibrator measure an
output equal to 20.000 mA + 0.005 mA
d) Push FUNC push-button, the instrument will go to the next
calibration group.
13) "O6.ñA" - OUT 6 CALIBRATION.
The upper display will show "O6.ñA".
13.1) "Lr" - INITIAL SCALE VALUE
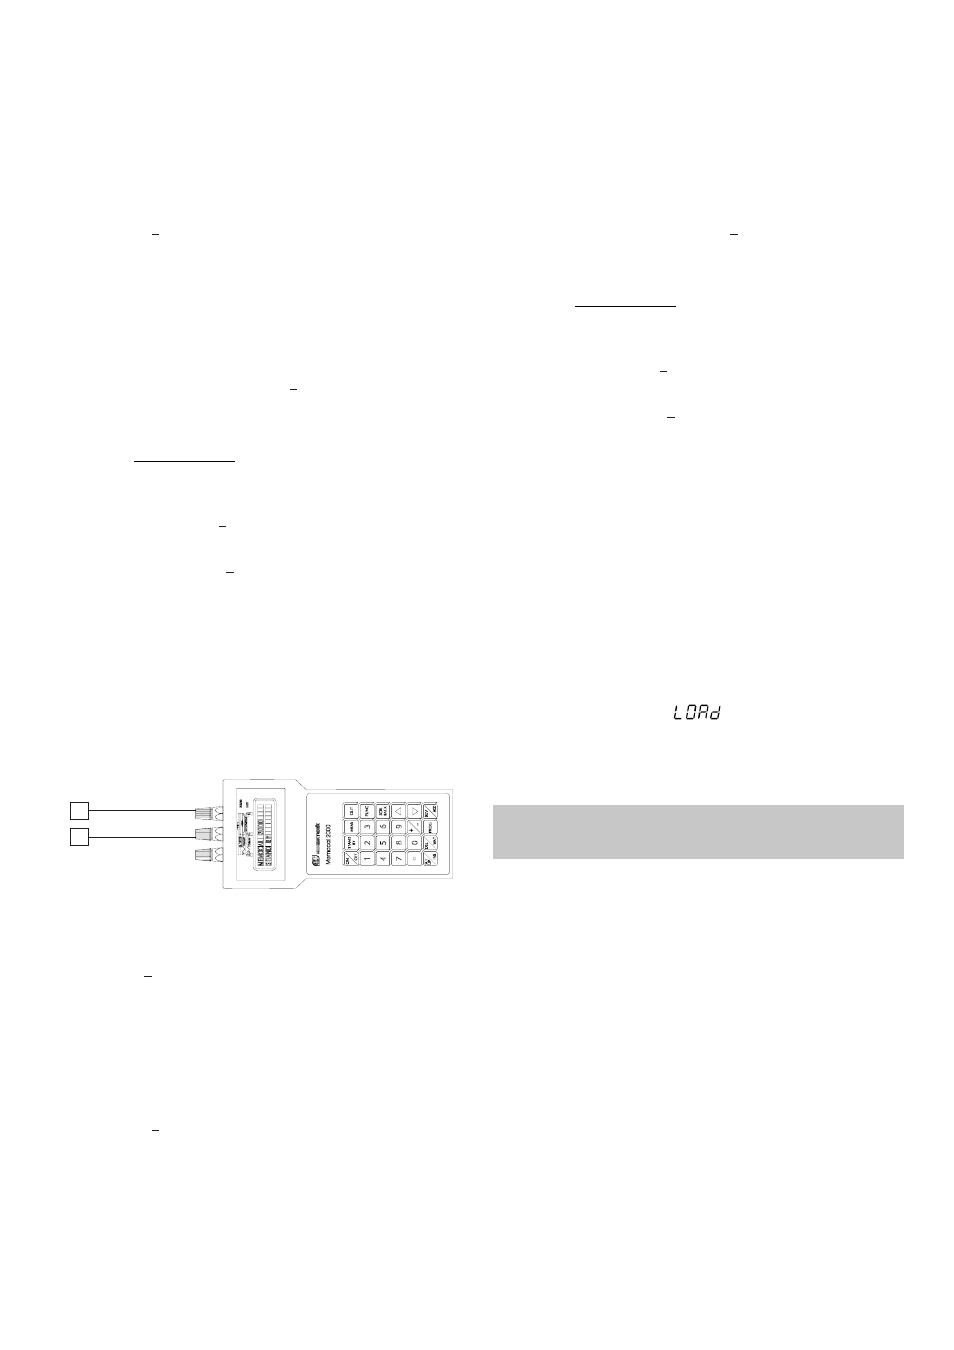
a) Connect the instrument under test to the calibrator as shown in
Fig. 15.
Fig. 15
b) The upper display will show "O6.ñA", the lower display will show
"Lr" while the middle display will show the actual zero offset in
counts (a number from 0 to 5000).
c) Using
▲
or
▼
push-button, adjust the instrument output until
0.000 mA +0.005 mA is shown by the calibrator.
d) After a few seconds, start the calibration by pushing FUNC
push-button. At the end of this calibration routine, the instrument
will go to the next step.
12.2) "Hr" - FINAL SCALE VALUE
The upper display will show "O6.ñA", the lower display will show
"Hr" while the middle display will show the actual full scale offset
in counts (a number from 0 to 5000).
a) Using
▲
or
▼
push-buttons, adjust the instrument output until
20.000 mA +0.005 mA is shown by the calibrator.
b) After a few seconds, start the calibration by pushing FUNC
push-button. At the end of this calibration routine, the instrument
will go to the next step.
12.3) "
∀.
∀.
∀.
∀.
∀.
" - OUT 5 CHECK
The upper display will show "O6.ñA", the lower display will show "
∀
∀
∀
∀
∀.
"
while the middle display will show a read-out value in counts (a
number from 0 to 8000).
a) The instrument shows a value equal to 4000 count. The calibrator
measure must be equal to 10.000 mA + 0.005 mA
NOTE: when it is desired to use a different check point, the
following formula describes the ratio between the signal output and
the instrument read-out (in counts).
OUT =
displayed value
8000
•
20
b) Using
▲
or
▼
push-button, set a value equal to 0 count. The
"O6.ñA" "Lr" calibration is correct if the calibrator measure an
output equal to 0.000 mA + 0.005 mA
c) Using
▲
or
▼
push-button, set a value equal to 8000 count. The
"O6.ñA" "Hr" calibration is correct if the calibrator measure an
output equal to 20.000 mA + 0.005 mA
d) Push FUNC push-button, the instrument will go to the next
calibration group.
12) "CAL" - DEFAULT CALIBRATION PARAMETER LOADING.
The upper display will show "CAL".
The lower display will show "dFLt.".
The middle display will show "OFF".
A complete and consistent set of calibration parameters is memorized
in the instrument. These data are theoretical data and are used only
to clear all calibration memory but after a default calibration data
loading it is necessary to make all calibrations.
When you desire to clear all calibration memory proceed as follows:
a) Select the default calibration parameter loading
b) Push
▲
push-button, the middle display will change to "On".
c) Push the "FUNC". The central display will show
Then the upper display will show CAL while the lower display will
show the firmware version.
The default calibration parameter loading procedure is ended.
WARNING: After default calibration data loading, it is
necessary to remake all instrument calibrations.
19
+
_
18