SVS PLASMA ONE 4 User Manual
Page 10
c. Side Mounting
•
The vertical placement of the lift must be very accurate when the lift is side mounted. Raise the lift into
the proper position.. The top of the lift should be 14-inches [35.5 cm]up from the ceiling without a
ceiling closure and 15-inches up from the ceiling with a ceiling closure.
•
Make sure that the lift is in the proper position and level (side-to-side and front-to-back). Mark the four
(4) mounting hole locations (two (2) per side) onto the supporting structure. Remove the lift and drill
four (4)
3
/
8
-inch holes.
•
Important: Spacers should be inserted between the ceiling support structure and the lift top frame if the
gap between the support structure and the lifts top frame exceed
1
/
8
-inch.
•
Once the supporting structure is ready, raise the lift back up into the ceiling and secure each mounting
hole with a
3
/
8
-inch-16 fastener. Plug the 12-pin connector of the Wall Plate Controller into the 12-pin
socket on the Lift's gray electrical box mounted on the Lifts top frame. The Wall Plate Controller
includes 75-feet of cable and is shipped with the Lift. It is located in the cardboard box attached to the
lid of the Lift's shipping crate.
•
Once the Lift is properly installed in the ceiling and leveled, you can remove the shipping blocks.
Remove the blocks by removing the screws and tie-raps holding them in place.
TO AVOID CABLE SPILLS
•
Do not push the lift boom upwards once the Lift has been installed.
•
Make sure that there are no obstructions in the Lifts path. If the boom is lowered onto an
obstruction the cable will slack and spill over the cable drum. If the cable spills over the cable
drum and the Lift is not stopped the cable will back-wind onto the cable drum causing severe
damage to the Lift and accessories.
8. ELECTRICAL CONNECTIONS
Electrical connections should be made at this time. The SVS Plasma One 4 Lift requires 110V/60Hz at 2.3
Amps and is supplied with a six foot power cord. The SVS Plasma One 4 Lift is controlled with a 24VAC Low
Voltage Controller called the Wall Plate Controller. This controller can easily be connected to external
controllers like Crestron, AMX, Extron, etc. The Wall Plate Controller is supplied with 75-feet of cable (22
AWG, 9 conductor).
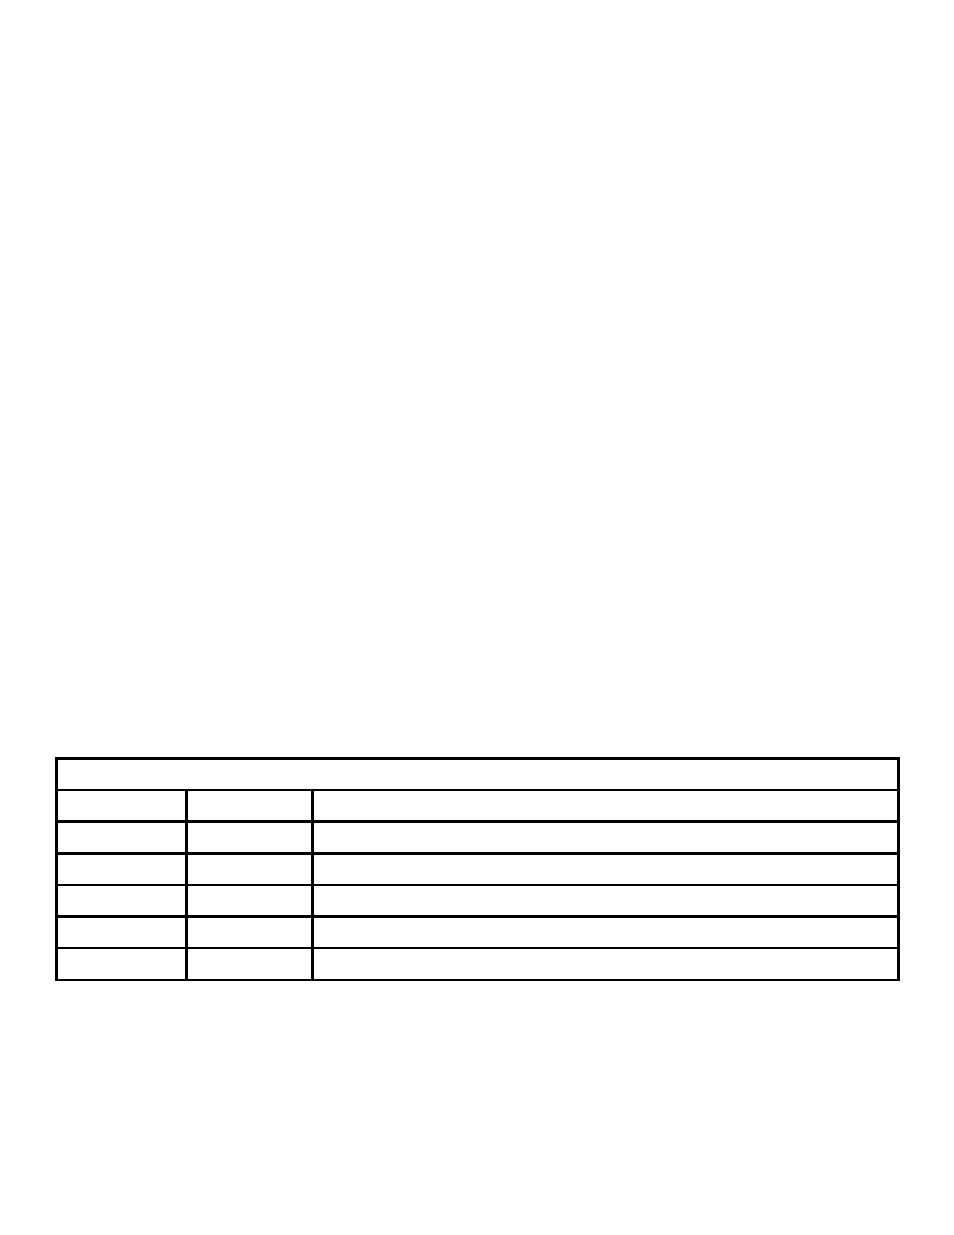
Wall Plate Controller Information
Wire Color
Connector Pin Function
Green
4
Down when 24VAC connected from Pin 1
Red
2
Up when 24VAC connected from Pin 1
White
1
24 VAC Out (Common) (can be measured between Pin 1 and Pin 7)
Black
7
Power LED Return (Ground)
Orange
8
Power LED+
1. Make sure that the area below the Lift is clear and that all cable are clear of the Lift.
2. Apply power to the Lift by plugging it into an AC Outlet.
SVS Plasma One 4 Lift Installation Instructions
Page 10 of 16