Installation of ts performance mp-d monitor – TS Performance 5130100 User Manual
Page 3
Continued
Installation of TS Performance MP-D Monitor
Once you remove the monitor and Heads-Up Display from the box you will need to decide on a mounting
location. We suggest mounting the monitor in a location that can be reached from the driver’s seat or use
the optional windshield mount to mount display on the upper corner of the windshield. The Heads-Up
Display should be mounted on the dash pointed toward the windshield. Find a location that will not
obstruct the driver’s vision. We mount them in the left lower corner of the windshield. For best viewing
place the tint piece about an inch from the bottom of the windshield to reduce glair.
1. Separate the Red wire and the Black wire from the rest of the wire harness. These two wires will be
used for power and ground later.
2. Run the rest of the wires through the firewall. If you have gray wire it is not being used at this time so
cut it to get out of the way.
3.
Be sure to route the wires away from heat and moving parts.
5. Connect the Red wire to a 12 volt power source with the key in the on position. This should not have
power going to it with the key in the off position.
6. Connect the Black wire to a constant ground.
7. Connect the wire harness to the Monitor and Heads-Up Display
and tie the wires up securely.
8. If you have and after-market exhaust fitted with a pyrometer
fitting you can insert the supplied probe into it. If not, you will
need to drill and tap the exhaust manifold on the driver’s side
from underneath. You will need to use an “R” or 11/37 drill bit
and a 1/8 NPT 27 tap. Make sure to use a small magnet to remove
the metal shavings before starting the truck.
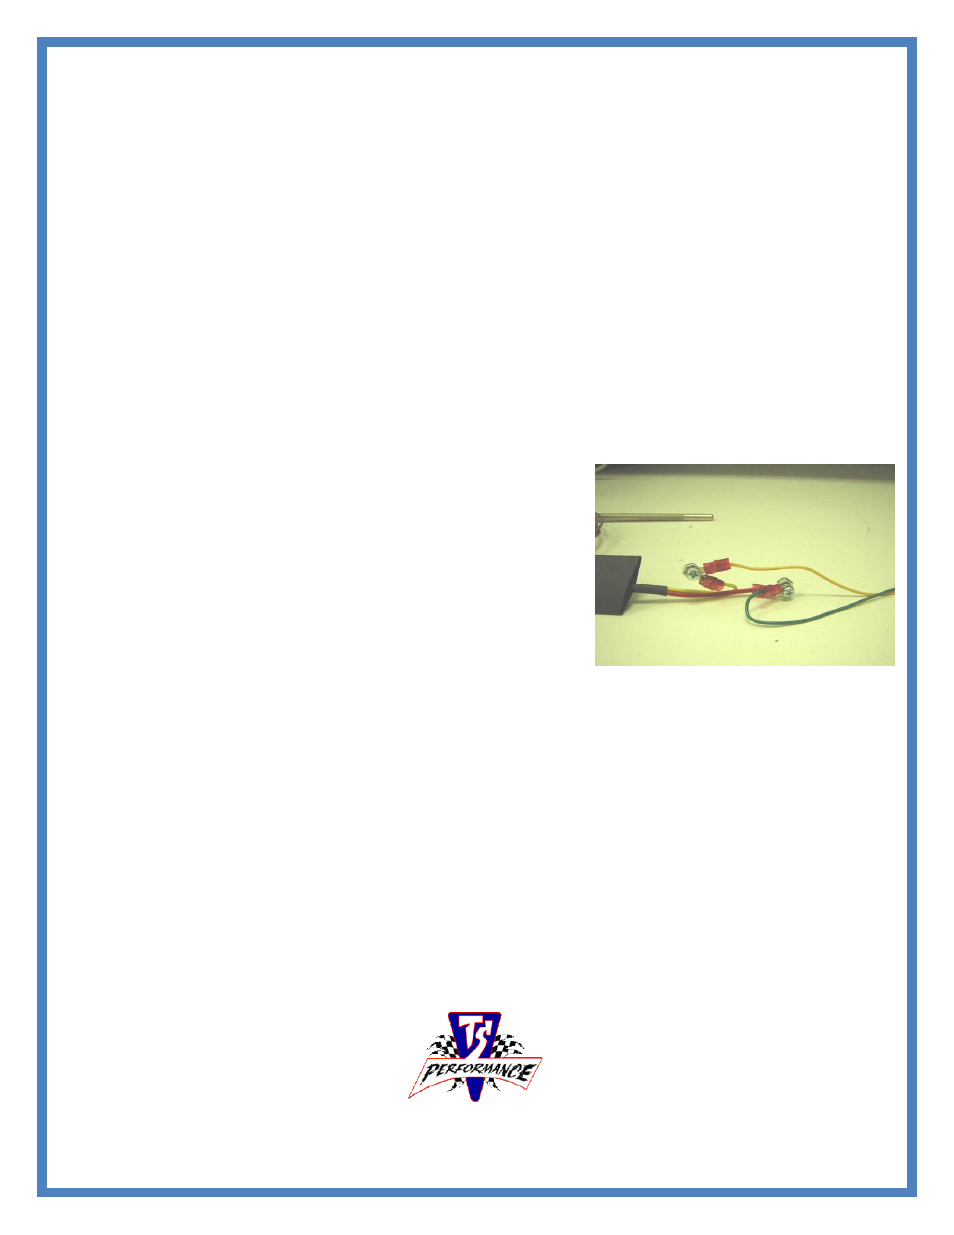
9. Now connect the pyrometer wires to the Yellow and Green wires
coming from the harness. Connect Red-Green and Yellow-
Yellow using the supplied bolt and washer and heat shrink as
shown in the picture above.
10. The last step is to connect the wires for the boost, fuel
pressure, and tachometer.
11. Below look up the type of truck you are installing one to finish
install.
Note: Place a small amount of silicon RTV on the T-taps on all connections made under the
hood. This will insure that the connection is water tight and resist corrosion
Figure 1: Pyrometer Hook up