Mounting the switch in the rack – H3C Technologies H3C S12500 Series Switches User Manual
Page 7
Advertising
4
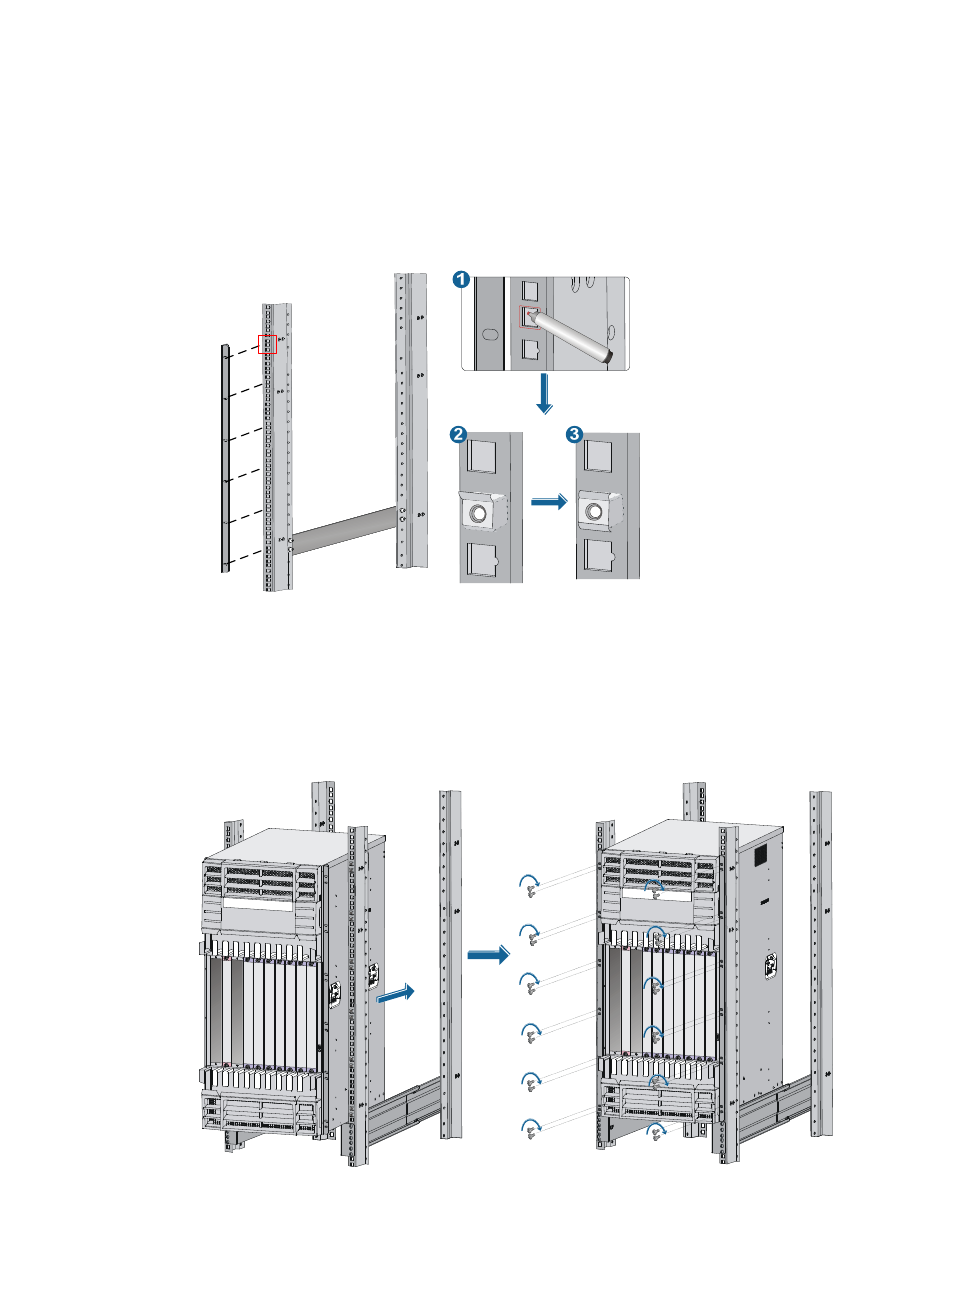
on the mounting bracket (each installation hole on the mounting bracket corresponds to one cage
nut).
2.
Insert one edge of a cage nut into the hole.
3.
Compress the other edge of the cage nut to push the cage nut fully into the hole.
4.
Repeat steps 2 and 3 to install cage nuts to all the marked positions on the right rack post.
Figure 5 Installing the cage nuts
Mounting the switch in the rack
1.
Use several people to place the switch on the slide rails or rack shelf and slide the switch into the
rack until the mounting brackets on the switch touch the front rack posts.
2.
Fix the mounting brackets to the cage nuts on the rack posts with mounting screws.
Figure 6 Installing the switch in a standard 19-inch rack
Advertising