Installation, Installing software and documentation, Initialization – Grass Valley NV9601 v.2.2 User Manual
Page 20
10
Installation
Installation
Installation
Follow these steps to install a NV9601 control panel:
1 Mount, and secure, the panel in the rack.
The NV9601 is designed to mount in a standard 19” rack. Rack-mounting is not a require-
ment.
2 We assume that you have an Ethernet switch connected to the “Panel and Router Network”
port of your system controller. Connect an Ethernet cable from that switch to the RJ-45 port
at the rear of the NV9601.
3 Connect power.
Installing Software and Documentation
This document is available through the Grass Valley web site.
You must use NV9000-SE Utilities to configure the NV9601 control panel. Contact Grass Valley if
you need to obtain the latest version of this NV9000 configuration software.
You may use the Panel IP Configuration Utility if you want to your NV9601 to have a static IP
address or to use DHCP. The panel, as it comes from the factory, defaults to DHCP.
Initialization
Before your system controller can communicate with an NV9601, you must give it a panel ID.
Follow these steps for each NV9601 you are installing:
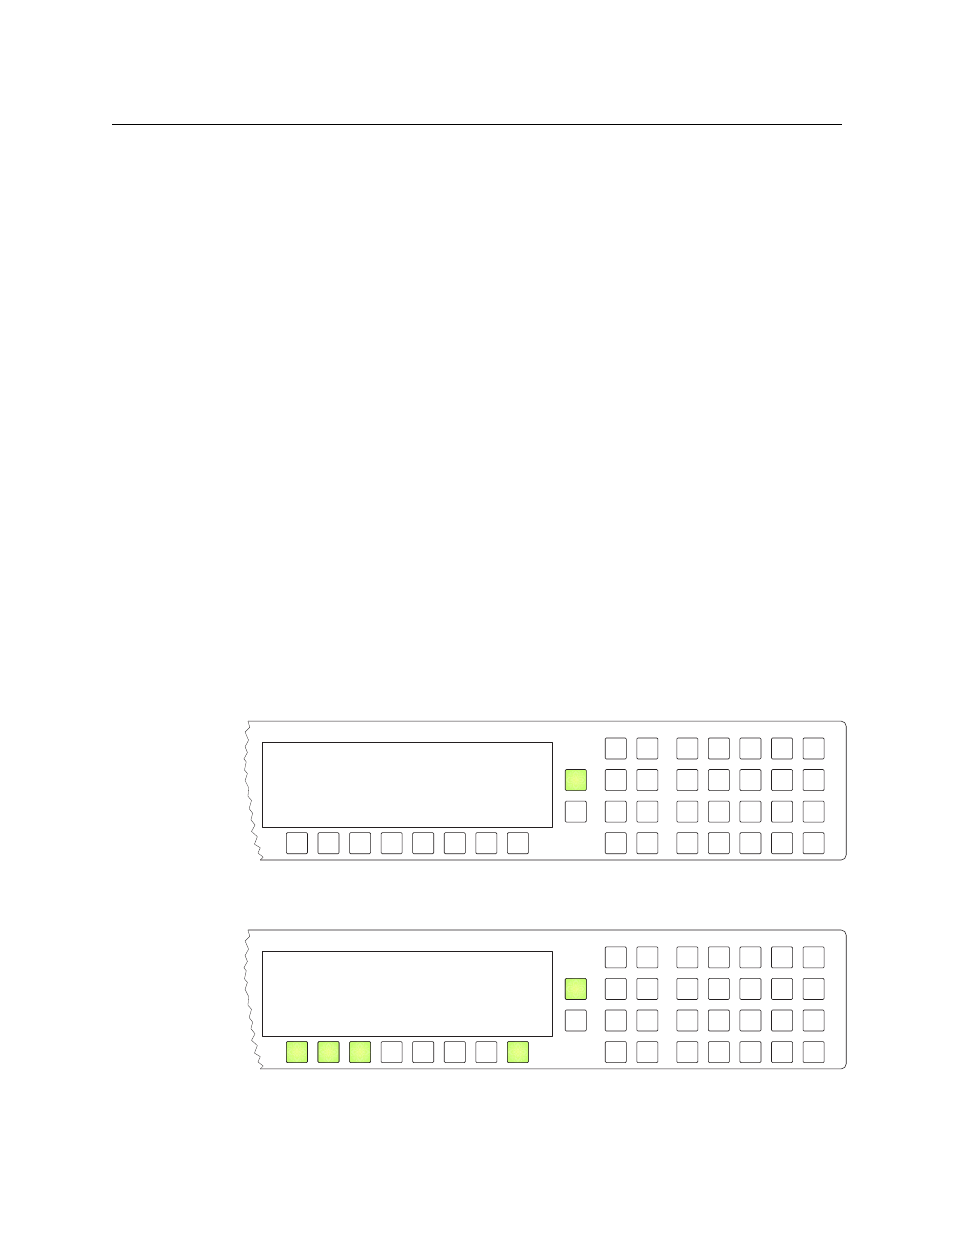
1 Power up the NV9601. Do not connect its Ethernet cable. (Disconnect it if it is connected.)
After a few seconds, the alphanumeric display will show ‘ACQ IP’ at the top and show the
panel’s current panel ID. The ‘Page Up’ button illuminates:
Press the ‘Page Up’ button to proceed.
2 The ‘Firmware Menu’ appears.
ACQ IP
0
Firmware Menu Panel ID
Software
Test
Exit