Recovering from timedelay disruptions, Purging media with timedelay – Grass Valley Time Delay v.3.1 User Manual
Page 16
16
TimeDelay User Manual
July 2006
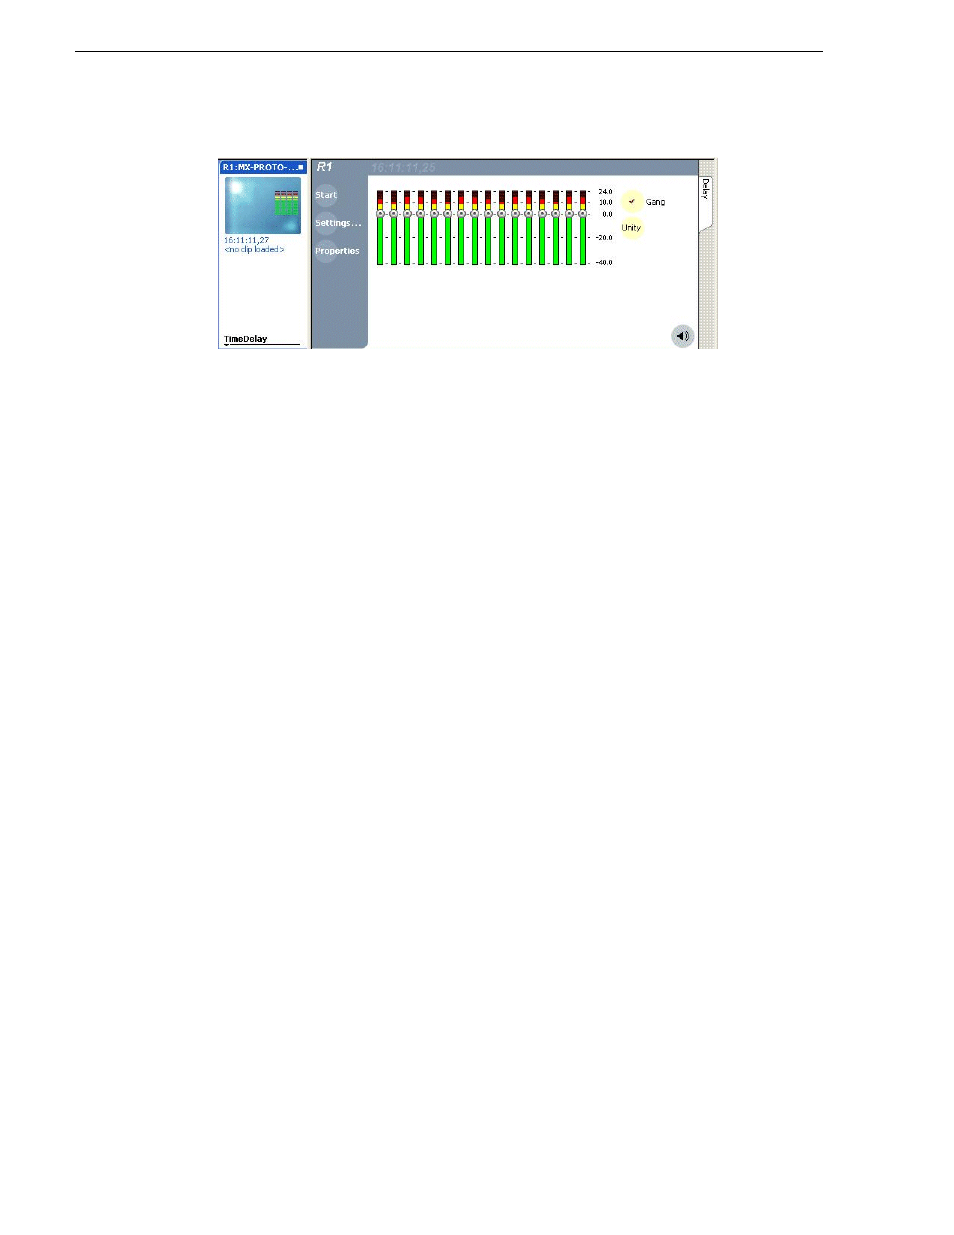
Each audio meter indicates the final (adjusted) audio level on the audio input or output
for that track. A decibel scale is displayed alongside the sliders.
To adjust the input gain for the record channel or the output gain for a play channel,
move the slider on the meter. To snap all the gain levels to the same position, click the
Unity button. To change all gain levels proportionately when any one of them is
moved, click the Gang checkbox.
The Save button is displayed when modifying levels for a play channel. If you click
this button, the output gain values are stored with the clip and will affect playback on
all playback channels.
Recovering from TimeDelay disruptions
If TimeDelay is disrupted, due to operator error or power cycle, it restarts
automatically close to the position it was at when it went down. To initiate auto
recovery, AppCenter must be restarted, either by manually or automatically on
reboot. TimeDelay reloads the clip, jumps to the last known position, and begins
recording or playback depending on which operations were in progress during the
failure.
Purging media with TimeDelay
By default, TimeDelay automatically starts purging media after the longest playback
delay, but you can specify a longer time interval after which purging will begin. This
could be useful if you want to use the underlying clip in another application,
potentially on another server that shares the same storage. The purge interval is the
period between the start of recording and the start of the media purge.
You are notified if there is not enough disk space to support recording for this time
interval. If so, the application allows the record to start on the assumption that you will
make sufficient room manually. If the server runs out of storage, recording stops.
To set the time interval for purging, do the following:
1. Click the Settings button or select Settings menu item from the Menu to open the
TimeDelay Settings dialog box.
2. Select the Buffer page.
3. Check the Start purging after check box and enter a time interval. If the specified
time interval is shorter than the longest playback delay, then purging does not begin
until after the longest playback delay.