10 measure ridge width (cycle 426, din/iso: g426), Cycle run, Please note while programming – HEIDENHAIN 530 (340 49x-07) Cycle programming User Manual
Page 439

HEIDENHAIN iTNC 530
439
16.1
0 MEA
S
URE RIDGE WIDTH (Cy
c
le
426, DIN/ISO: G426)
16.10 MEASURE RIDGE WIDTH
(Cycle 426, DIN/ISO: G426)
Cycle run
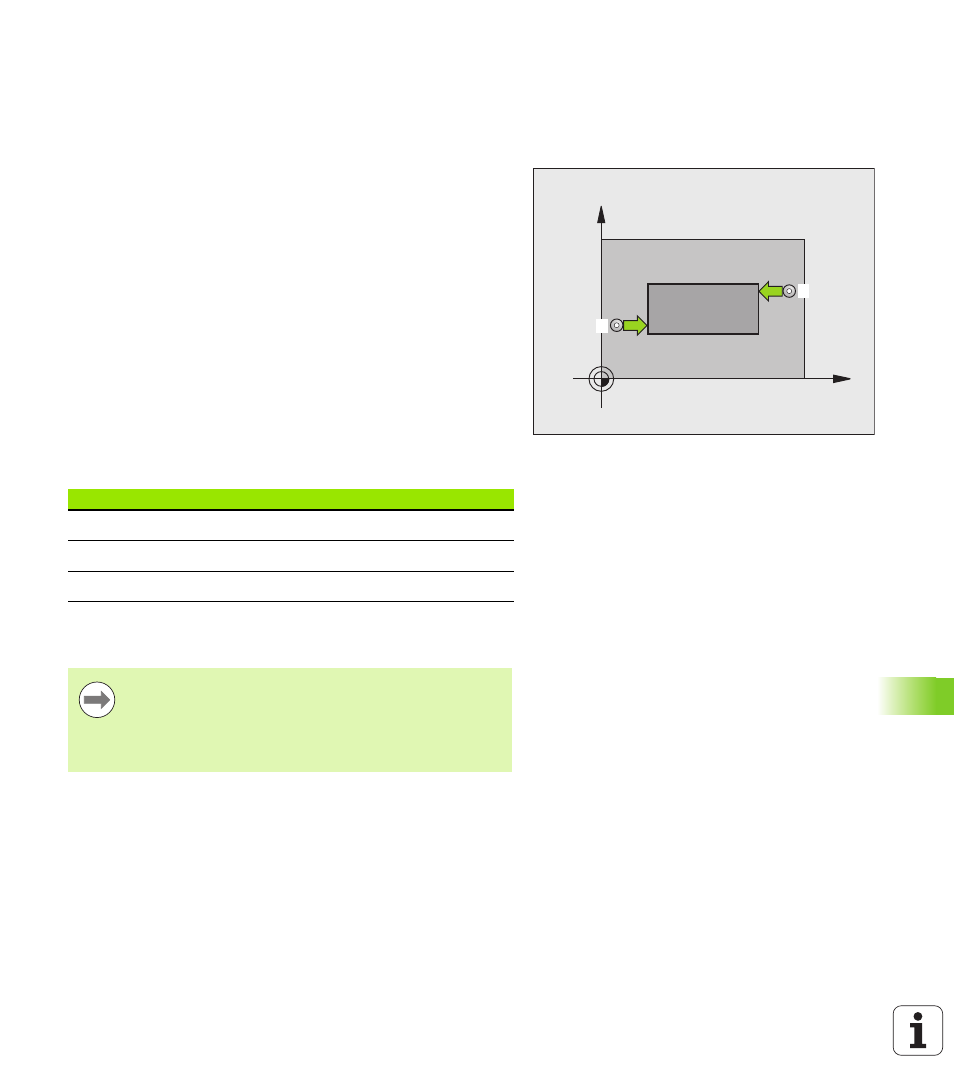
Touch Probe Cycle 426 measures the position and width of a ridge. If
you define the corresponding tolerance values in the cycle, the TNC
makes a nominal-to-actual value comparison and saves the deviation
value in system parameters.
1
Following the positioning logic (see “Executing touch probe
cycles” on page 330), the TNC positions the touch probe to the
probe starting point
1
at rapid traverse (value from MP6150). The
TNC calculates the probe starting points from the data in the cycle
and the safety clearance from MP6140.
2
Then the touch probe moves to the entered measuring height and
probes the first touch point at the probing feed rate (MP6120). 1.
The first probing is always in the negative direction of the
programmed axis.
3
Then the touch probe moves at clearance height to the next
starting position and probes the second touch point.
4
Finally the TNC returns the touch probe to the clearance height and
saves the actual values and the deviation in the following
Q parameters:
Please note while programming:
X
Y
1
2
Parameter number
Meaning
Q156
Actual value of measured length
Q157
Actual value of the centerline
Q166
Deviation of the measured length
Before a cycle definition you must have programmed a
tool call to define the touch probe axis.
Ensure that the first measurement is always carried out in
the negative direction of the selected measuring axis.
Define Q263 and Q264 correspondingly.