Detecting leaks, Overview – Ion Science GasCheck Tesla User Manual
Page 18
GASCHECK TESLA MANUAL
Ion Science Ltd
Page 18 of 25
Unrivalled Detection. www.ionscience.com
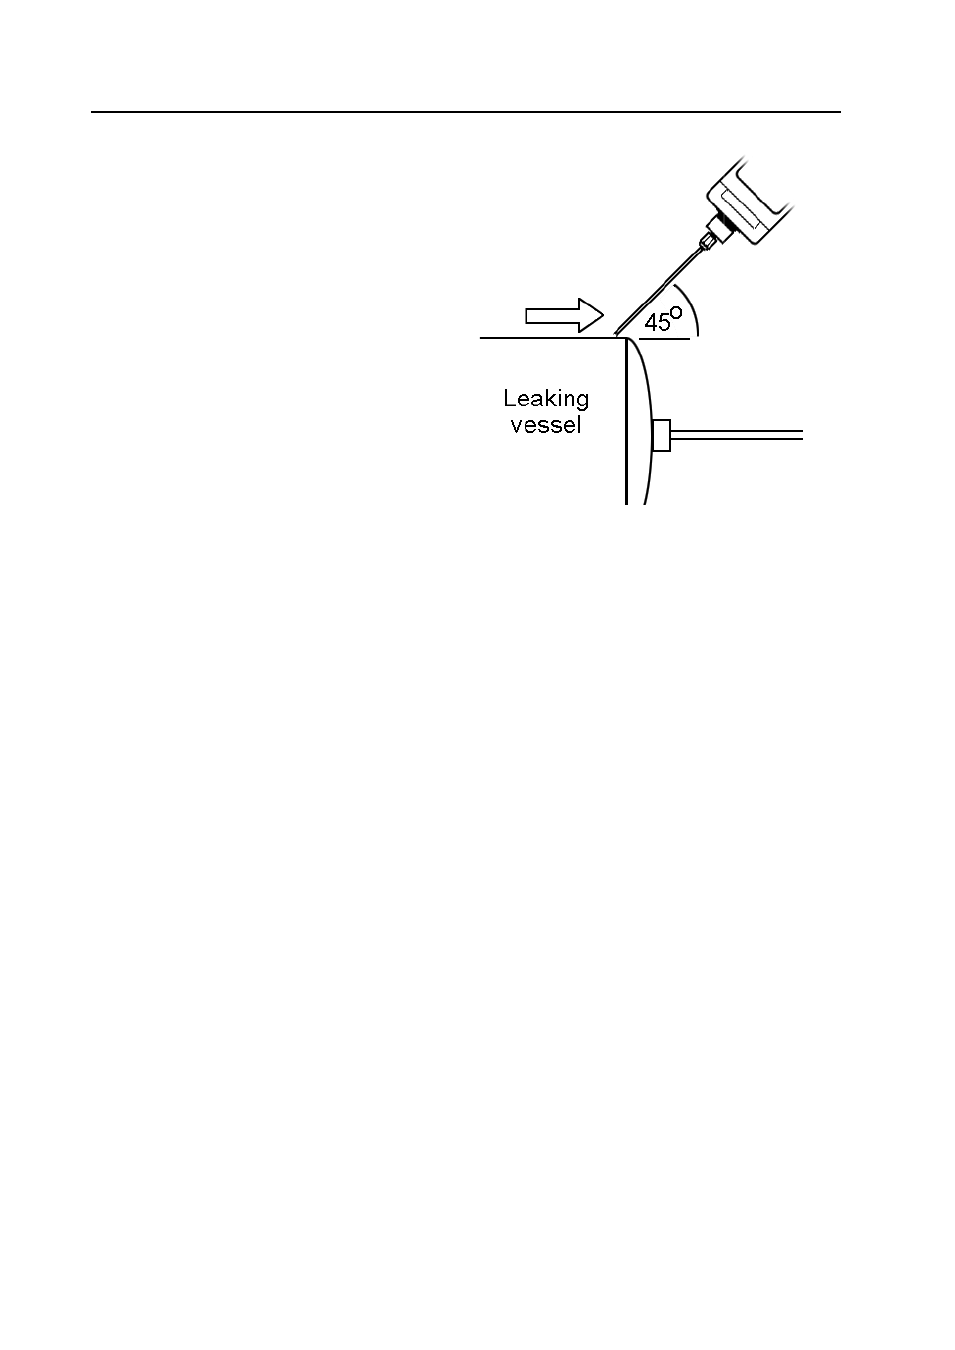
Detecting leaks
Overview
Hold the GasCheck Tesla in one hand and draw
the instrument probe along the area to be checked
at approximately 25mm per second. When a leak
is detected retrace the route of the probe at a
slower rate until the leak is located.
Once located hold the instrument over the leak
until the measurement stabilises. The reading can
be logged by pressing the ENTER key.
Some readings may be larger than the instrument
can detect and the measurement units will be
replaced by '99999' on the display, in which case
used the UP or DOWN keys to adjust the
instruments sensitivity.
When detecting very small leaks or when detecting
gasses less sensitive then a rate of 10mm per
second may be required.
The outer grey probe cover can be removed to allow better access to restricted areas, if the outer probe is
removed the following points should be noted:-
* Avoid bending the inner probe as this will affect the GasCheck Tesla 's accuracy.
* Avoid placing the probe in liquid or dirt as the probe can become blocked.
* Care should also be taken to ensure the brass sensor housing component remains at a constant
temperature. Avoid touching the brass sensor block with fingers.
* GasCheck Tesla can detect changes in Humidity and Carbon dioxide, therefore avoid breathing on the
probe.
* The thin white tube that covers the inner probe should not be removed, this tube ensures a 1mm gap is
maintained between the probe and the surface being tested.