Casio EX-ZS50 User Manual
Page 84
84
Using the Camera with a Computer
.
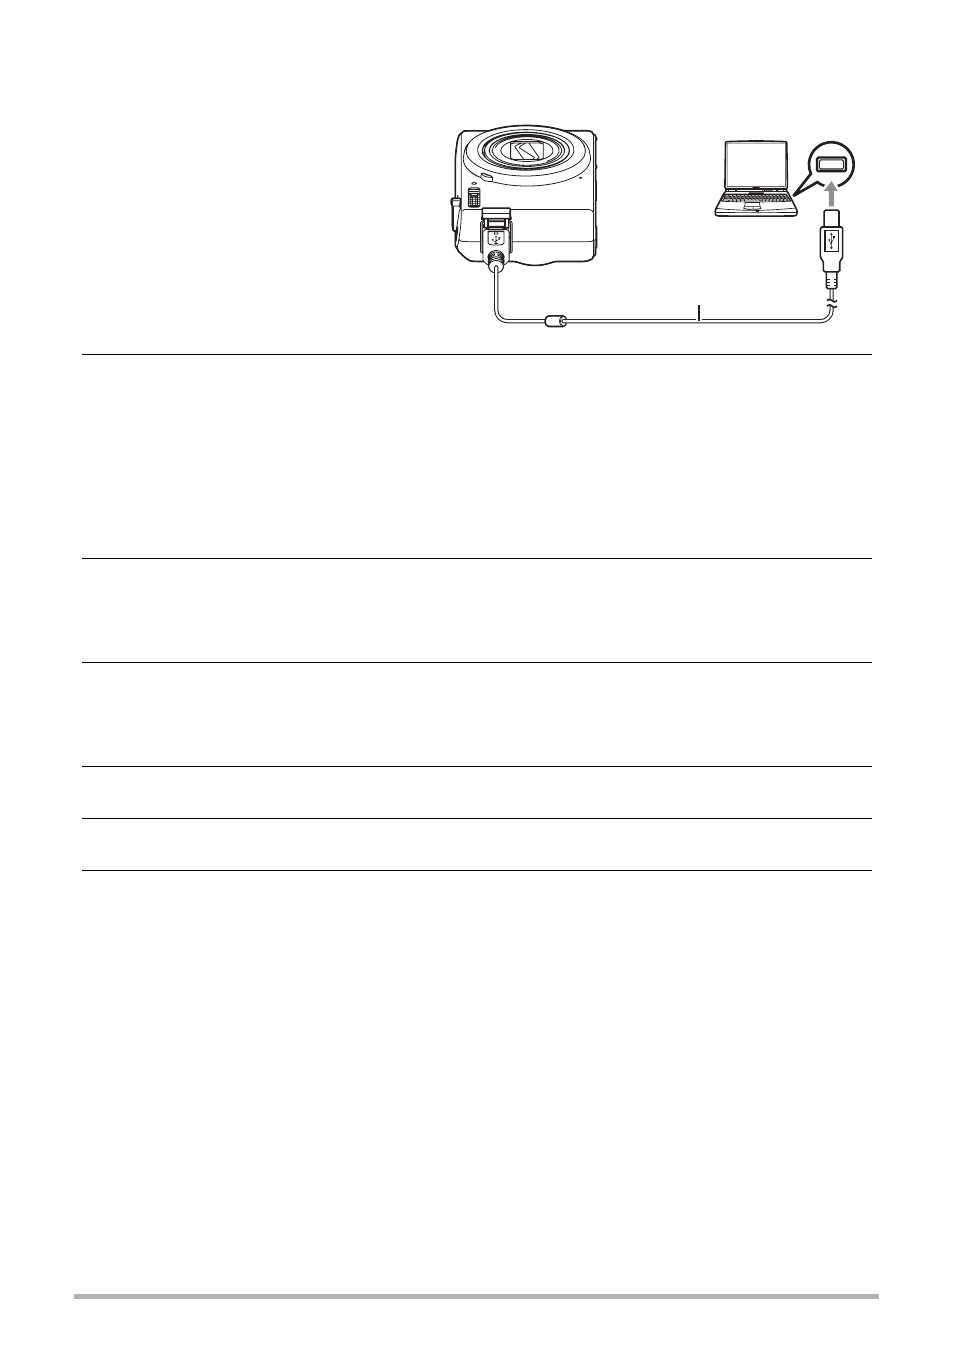
To connect the camera to your computer and save files
1.
Turn off the camera and
then use the micro USB
cable that comes with the
camera to connect it to
your computer.
• For details about connecting
to the camera and
precautions when
connecting, see page 16.
2.
Press [ON/OFF] (Power) to turn on the camera.
When you turn on the camera, check to make sure that the color of its back lamp
changes from red to green or amber (page 17).
• The first time you connect the camera to your computer with the USB cable, an
error message may appear on your computer. If this happens, disconnect and
then reconnect the USB cable.
• Charging continues even if the camera is turned on.
3.
Windows 8 users: Click “Desktop” and then “Explorer”.
Windows 7, Windows Vista users: Click “Start” and then “Computer”.
Windows XP users: Click “Start” and then “My Computer”.
4.
Double-click “Removable Disk”.
• Your computer recognizes the memory card loaded in the camera (or built-in
memory if there is no card) as a removable disk.
5.
Right-click the “DCIM” folder.
6.
On the shortcut menu that appears, click “Copy”.
7.
Windows 8 users: Click “Documents”.
Windows 7, Windows Vista users: Click “Start” and then “Documents”.
Windows XP users: Click “Start” and then “My Documents”.
• If you already have a “DCIM” folder in “Documents” (Windows 8, Windows 7,
Windows Vista) or “My Documents” (Windows XP), the next step will overwrite
it. If you want to keep the existing “DCIM” folder, you need to change its name
or move it to a different location before performing the next step.
Micro USB cable
(included with camera)
USB port
B