Remote configuration – Rose Electronics UltraMatrix Remote 2 User Manual
Page 22
REMOTE CONFIGURATION
16
ULTRAMATRIX REMOTE 2 INSTALLATION AND OPERATIONS MANUAL
Remote Configuration
When all IP input modules have been configured with the Unit and Network information, connect the UltraMatrix
Remote 2 unit to your network. Use a standard network cable and connect each network port to your network.
Refer to the typical installation drawing on page 4.
Start a web browser like IE or Netscape from any remote workstation connected to the network your
UltraMatrix Remote 2 is connected to. In the URL field, type in the UltraMatrix Remote 2’s assigned IP address.
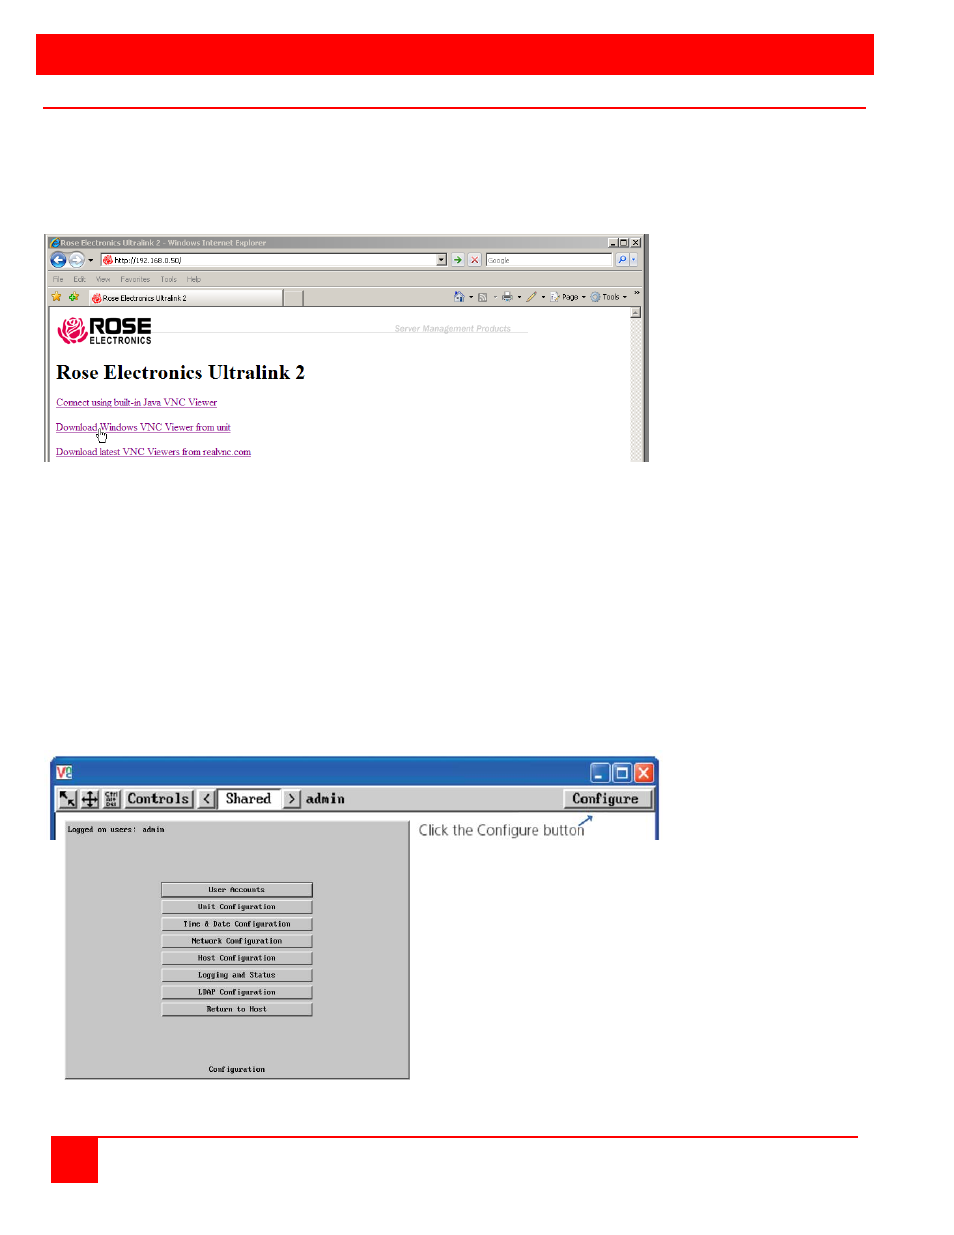
(Example (http://168.192.0.41). The UltraMatrix Remote 2 will respond with the below screen in the browser window.
Figure 14. Remote Connection
Connecting to the UltraMatrix Remote 2 unit remotely uses the easy to use and very secure VNC Viewer. The VNC
viewer can be downloaded directly from the unit and installed on the remote computer (See Appendix F). The Java
VNC Viewer option installs a small temporary Java applet on the connecting computer to establish communication and
access.
The three options to select from are:
1. Connect using built-in Java VNC Viewer
2. Download Windows VNC Viewer from unit
3. Download latest VNC Version from realvnc.com
Click on the “Connect using built-in Java VNC viewer” option and the UltraMatrix Remote 2 will install the Java applet
and then display the logon screen. Enter the UserID of “admin” and assigned password. Upon validation, the
connected computer’s video will display in the browser’s VNC viewer window.
In the upper right corner of the window is a “Configure” tab. Click on this tab to display the remote configuration option
menu as shown below.
Figure 15. Remote Configuration Menu
The remote configuration
menu allows the
administrator to configure all
parameters for the unit,
network, and other items.
Each selection is described
below in table 1.