Using palettes, Registering clips in the palette, Using play list playback – Roland P-20HD Video Instant Replayer User Manual
Page 10: Using audio and still images, Importing audio or still images, Playing audio or still images, Video operations
10
Video Operations
Using Palettes
You can consecutively play back the clips that are placed in a palette
(Play list playback).
Registering Clips in the Palette
1.
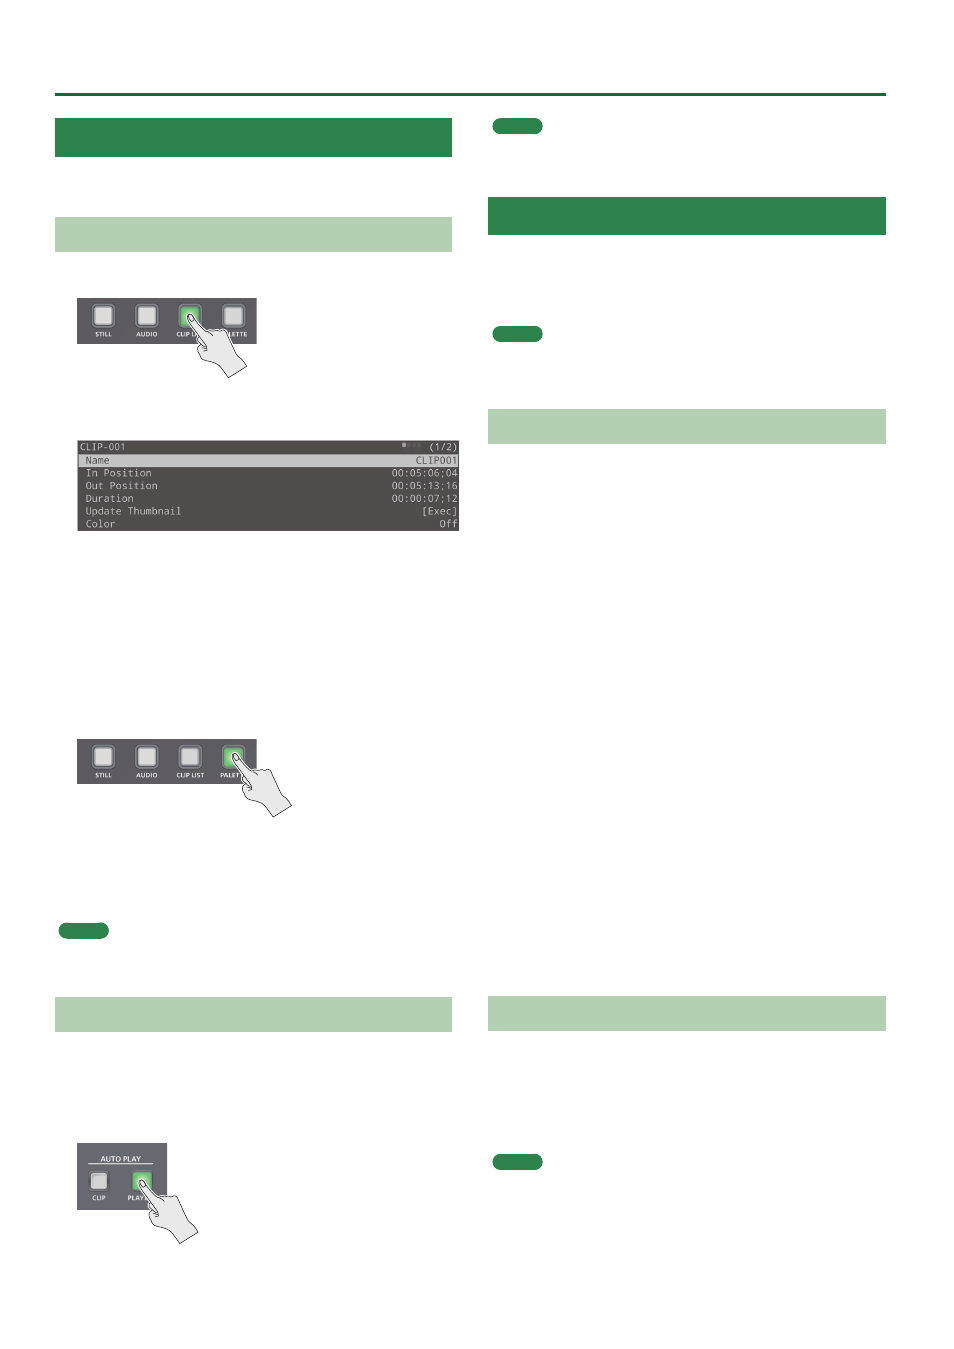
Press the [CLIP LIST] button.
2.
Select a clip and press the [VALUE] knob.
The CLIP MENU screen appears.
3.
Select “Add To PALETTE,” and then press the
[VALUE] knob.
The [PALETTE] button and pads [1]–[8] blink.
4.
Press the pad of the same number as the palette in
which you want to register it. (To register a clip in
palette 3, press pad [3].)
The clip is registered in the palette.
5.
Press the [PALETTE] button.
The PALETTE screen appears in the lower half of the built-in display.
6.
Hold down the [PALETTE] button and press the pad
that you pressed in step 4.
You switch to the palette in which you registered the clip earlier.
MEMO
Operations for playing back a clip in the PALETTE screen are the
same as in the CLIP LIST screen.
Using Play List Playback
1.
Access the CLIP LIST (PALETTE) screen by pressing
the [CLIP LIST] button (or by holding down the
[PALETTE] button and pressing a pad [1]–[8]).
2.
Press the AUTO PLAY [PLAYLIST] button.
The clips in the palette play consecutively from the first one
registered to the last clip.
MEMO
During play list playback, you can apply an effect when switching
between clips. For details, refer to “Reference Manual” (PDF).
Using Audio and Still Images
On the P-20HD, you can import audio files or still image files that you
created on a computer, and use them as material.
The imported audio or still images can be played back by pressing a
pad.
MEMO
For each project, you can import up to 16 audio files and up to 16
still image files.
Importing Audio or Still Images
Prepare audio or still image files on your computer, and save them to
a USB flash drive or other storage device.
1.
Connect the storage device containing the files to
the USB port.
2.
Press the [AUDIO] button or the [STILL] button.
The AUDIO screen (STILL screen) appears in the lower half of the
built-in display.
3.
Turn the [VALUE] knob to move the cursor, and
specify the clip into which you want to import the
audio (or still image).
4.
Press the [VALUE] knob.
The MENU screen appears.
5.
Select “Import” and then press the [VALUE] knob.
The IMPORT screen appears.
6.
Select the device connected to the USB port, then
select the file that you want to import, and then
press the [VALUE] knob.
A confirmation dialog box appears.
If you want to cancel, press the [EXIT] button.
7.
Press the [VALUE] knob.
The import is executed, and the audio files (still images files) are
shown in the screen.
Playing Audio or Still Images
1.
Press the [AUDIO] button (or [STILL] button).
2.
Press the pad [1]–[8] corresponding to the position
of the audio (or still image) that you want to play.
The audio file (still image file) plays.
MEMO
5
From the AUDIO screen (STILL screen) menu, you can individually
adjust settings such as loops and volume.