Getting ready, About sd cards, Inserting an sd card – Roland P-20HD Video Instant Replayer User Manual
Page 4: Formatting an sd card, Removing an sd card, Turning the power on/off, Turning the power on, Turning the power off
4
Getting Ready
About SD Cards
You cannot use the features of the P-20HD without inserting an SD
card, except for making menu settings.
You must insert an SD card before use.
Cards that can be used with the P-20HD
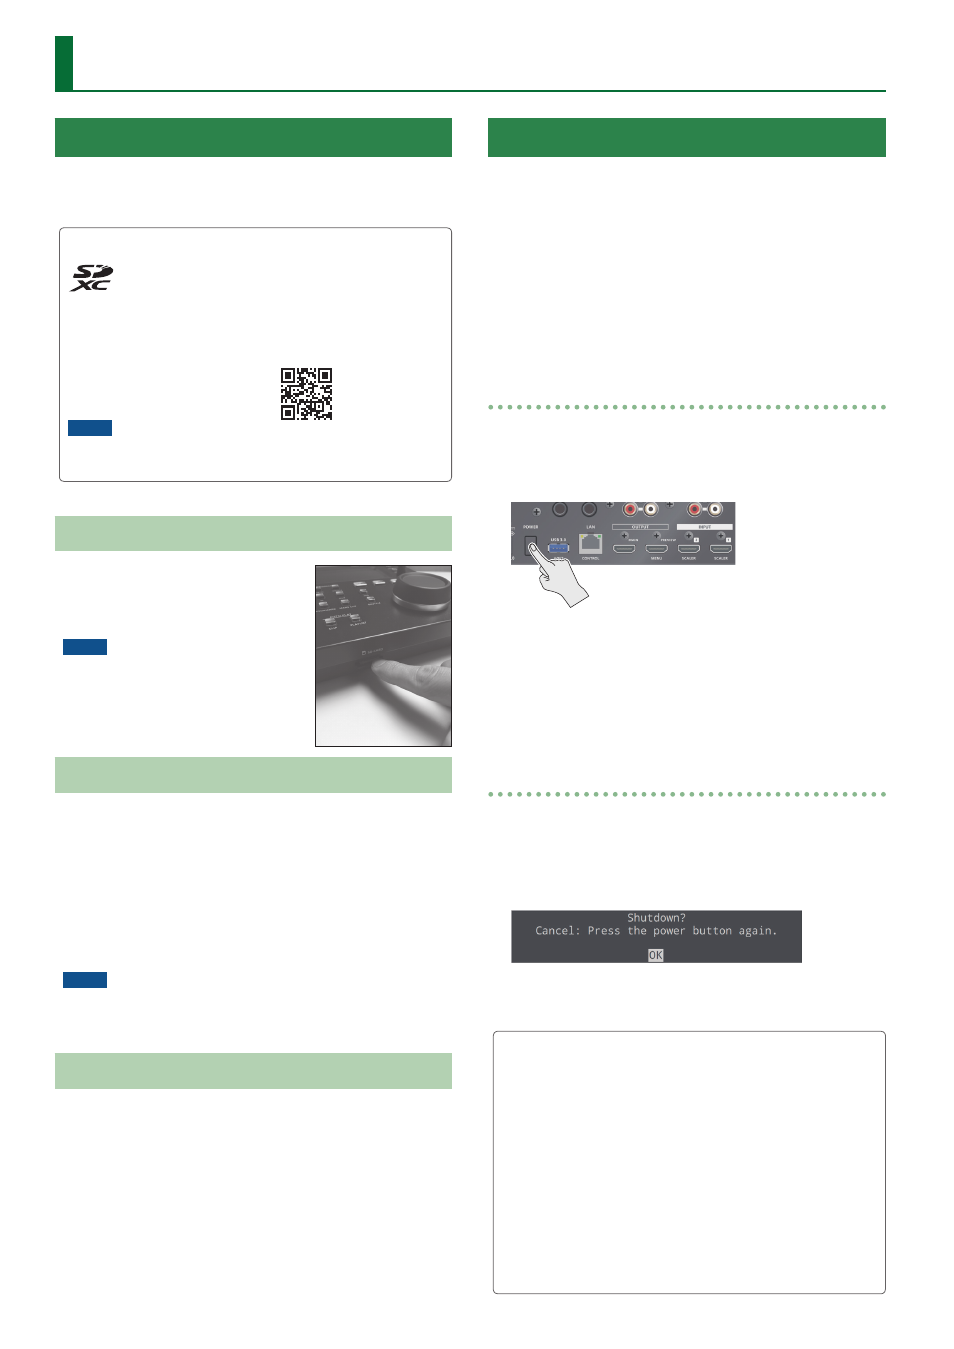
The P-20HD supports SDXC cards.
Depending on the manufacturer or type of SD card, some cards
might not work correctly for video or audio recording on the P-20HD.
For the latest information on cards that are known to work, refer
to the Roland support page.
https://roland.cm/p-20hd
NOTE
Before using a commercially available SD card with the P-20HD, you
must first format it as described in “Formatting an SD Card” (p. 4).
Inserting an SD Card
1.
Insert the SD card into the SD
card slot until you hear it click
into place.
NOTE
When inserting an SD card, take care that
it is oriented correctly, and push it all the
way in. Do not use excessive force.
Formatting an SD Card
1.
Select [MENU] button
0
“SD Card/USB Memory”
0
“SD Card”
0
“Format,” and then press the
[VALUE] knob.
A confirmation message appears.
2.
Select “OK” and then press the [VALUE] knob to
confirm.
The SD card is formatted.
NOTE
Formatting erases all data (recorded video and audio data) on the
SD card.
Removing an SD Card
1.
Select [MENU] button
0
“SD Card/USB Memory”
0
“SD Card”
0
“Eject,” and then press the
[VALUE] knob.
The screen indicates “The SD Card is safe to remove,” and it is now
safe to remove the card.
2.
Press the SD card inward.
3.
Grasp the SD card and pull it toward yourself.
Turning the Power On/Off
* After making connections correctly (p. 3), you must use the
following procedure to turn the power on. Using an incorrect
procedure might cause faulty operation or malfunction.
* Before turning the power on/off, minimize the volume. Even if the
volume is minimized, you might hear a sound when turning the
power on/off, but this is not a malfunction.
* When turning the power off, you must perform the shutdown
operation.
* This unit is not designed for continuous operation over long
periods of time (one month or longer). If you want to use this unit
over long periods of time, cycle the power periodically.
Turning the power on
1.
Make sure all devices are turned off.
2.
Turn on the [POWER] switch on the P-20HD to turn
on the power.
3.
Power-on the source devices.
Turn on the power of source devices such as video cameras that
are connected to the P-20HD’s input connectors.
4.
Power-on the output devices.
Turn on the power of devices such as projectors that are
connected to the P-20HD’s output connectors.
Turning the power off
1.
Turn off the power in the sequence of first the
output equipment, and then the sources.
2.
Turn the P-20HD’s [POWER] switch off.
The SHUTDOWN screen appears.
3.
Press the [VALUE] knob to complete the shutdown.
If you decide to cancel, press the [POWER] switch once again.
About the Auto Off function
The power to the P-20HD turns off automatically when all of the
following states persist for 240 minutes (Auto Off function).
5
No operation performed on the P-20HD
5
No audio or video input
5
No equipment is connected to the OUTPUT connectors
If you do not want the power to be turned off automatically,
disengage the Auto Off function. “System menu”
0
set “Auto Off”
to “Off.”
* Unsaved data is lost when the power turns off. Before turning
the power off, save the data that you want to keep.
* To restore power, turn the power on again.