Configuration menu – Sony SRG-120DU USB 3.0 Full HD PTZ Camera User Manual
Page 28
28
5
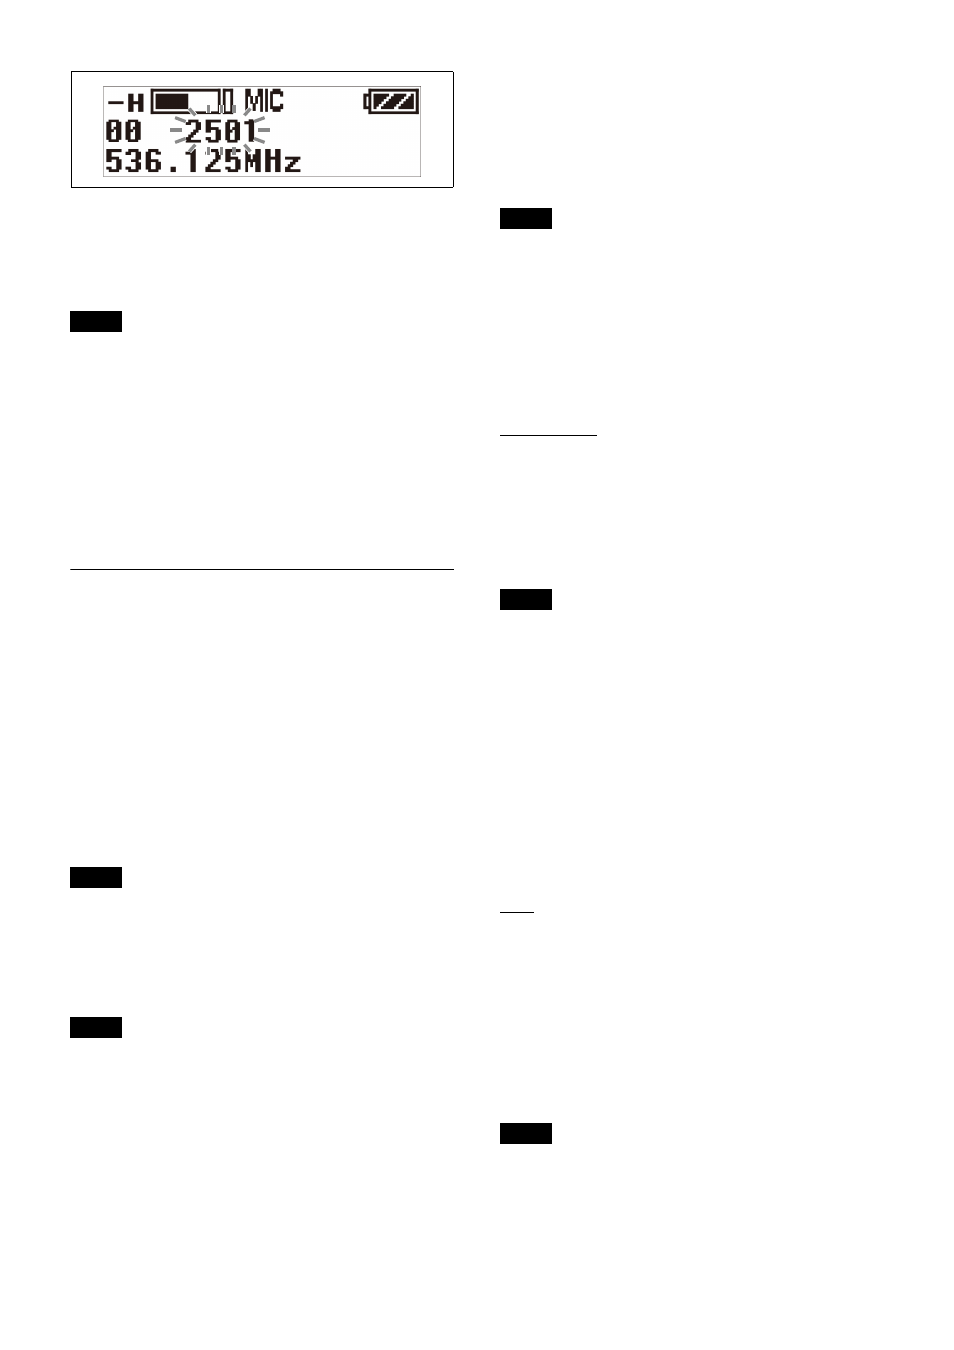
Use the + or – button to select the desired channel
number, then press the SET button.
The displays stops flashing and the desired channel is
set.
• If there is no user input within ten seconds after the
channel group display or channel number display starts
flashing, the displayed setting that is flashing is saved.
The same applies when setting other parameters.
• The frequency indicator changes in response to the
channel number.
• Do not remove the batteries while making settings. If
they are removed, re-insert them and repeat the
procedure from the beginning.
• Make sure that the same channel is set on the
transmitter and tuner within the same system.
Configuration menu
Procedure for all transmitters (UTX-B40/M40/
P40)
This section describes each function and configurable
items.
Underlined entries indicate factory default settings.
Selecting group/channel (GP/CH)
The factory default setting varies depending on the
model.
For details, see “Setting the transmit channel” (page 27).
This function can be modified in transmission stopped
mode only.
Selecting the frequency band (BAND)
Selects the transmit frequency band.
• This function can be modified in transmission stopped
mode only.
• This menu is not available on Japanese and Korean
models. On these models, the frequency band cannot be
selected.
For details about the groups and channels in each
frequency band, refer to the “Frequency List” on the
CD-ROM.
Adjusting the audio input attenuation
level (ATTENUATOR)
You can set the audio input attenuation level in 3 dB
increments to reduce noise distortion.
The factory default setting is 9 dB on the UTX-B40, and
0 dB on the UTX-M40/P40.
• On the UTX-B40/P40, “---” is displayed if INPUT
LEVEL is set to LINE and GAIN MODE is set to
AUTO GAIN, and the attenuation level cannot be
modified (fixed).
• If the attenuation level is set too high, the noise level
may increase. Set the level as close as possible to 0 dB
if using a lavalier microphone attached to your torso.
Setting the audio gain (GAIN MODE)
AUTO GAIN:
Sets the gain high, and uses a limiter to
help prevent distortion.
NORMAL:
Enables adjustment of the attenuation level.
The attenuator can be adjusted to match the connected
microphone.
15dB BOOST:
Boosts the gain by 15 dB for when the
microphone is not near the person’s mouth and the audio
level is insufficient.
• On the UTX-B40/P40, “---” is displayed if INPUT
LEVEL is set to LINE, and the audio gain cannot be
modified.
• When GAIN MODE is set to AUTO GAIN, the
ATTENUATOR setting cannot be modified.
• Changing the GAIN MODE setting may cause the
volume on devices connected to the tuner and in
headphones to suddenly change.
Setting the low-cut filter (LCF)
You can set the low-cut filter to reduce noise caused by
wind.
You can set the cutoff frequency to OFF/LOW/MID/
HIGH.
OFF:
No filtering
LOW:
100 Hz cutoff frequency
MID:
150 Hz cutoff frequency
HIGH:
200 Hz cutoff frequency
Switching the audio input level (INPUT
LEVEL) (UTX-B40/P40 only)
Sets the input level according to the audio input device.
You can switch between MIC and LINE. The factory
default setting is MIC.
• Do not switch this function to “MIC” when the audio
input source is an audio mixer or other line level device.
If an excessive audio level is input, it may cause noise
distortion or damage the playback/recording
equipment.
Notes
Note
Notes
Notes
Notes
Notes