1 installation – Brennenstuhl Illuminated House Number Solar Power SH 4000 E with external solar panel User Manual
Page 17
Solar power with external solar panel
User's Handbook SH 4000 E
Stand:
06_2011 rev. 02
17
7.1 Installation
Step 1:
Open up the house
number light
Unscrew and remove the screws [14] from
the underside of the light using a small
Phillips-type screwdriver.
Fig. 4: Underside
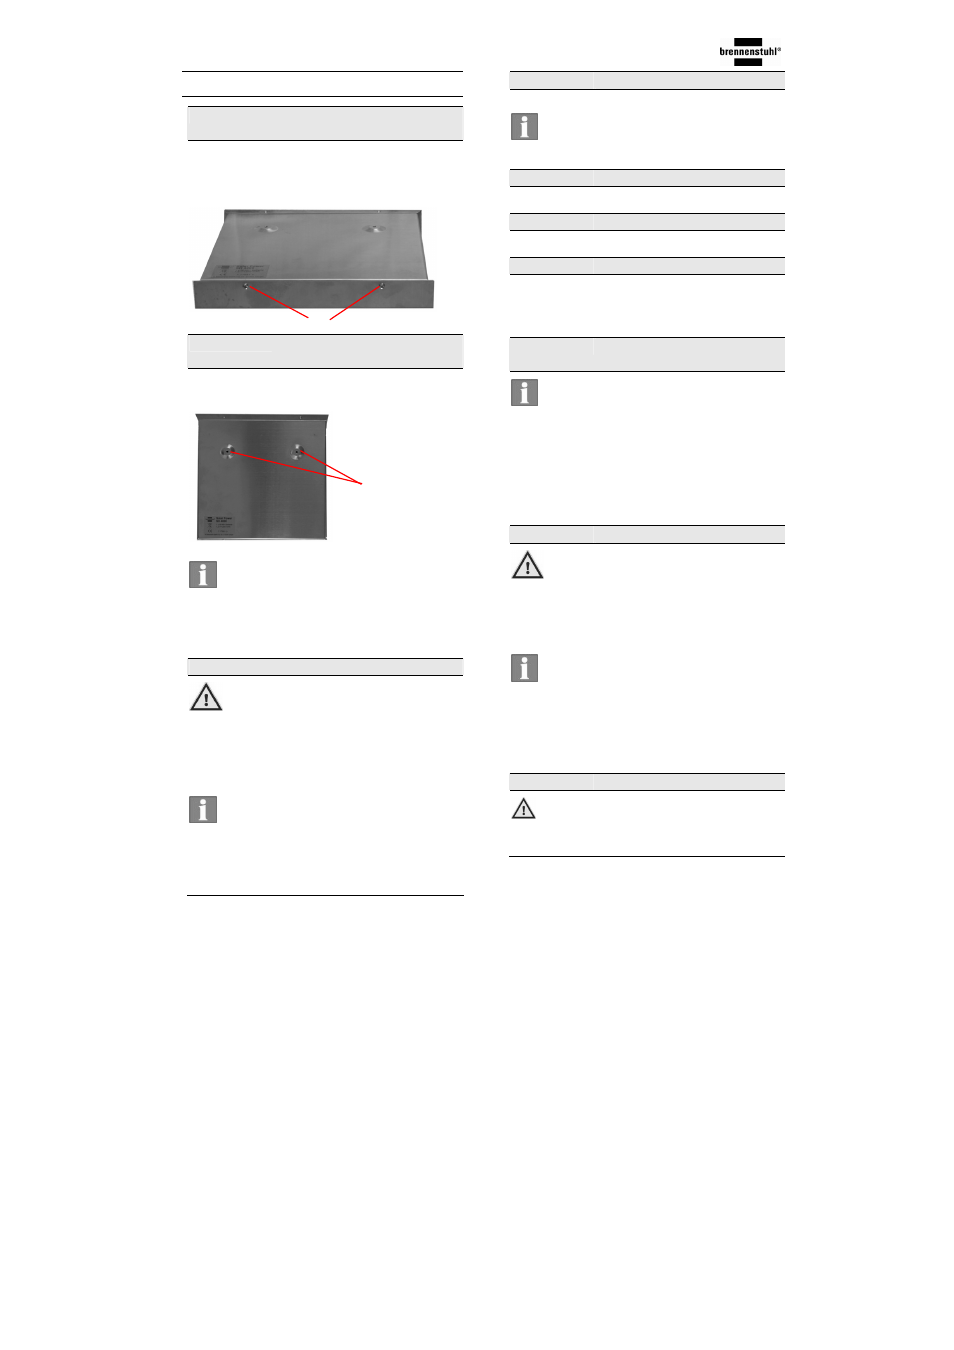
Step 2:
Mark out the mounting
holes
Using the rear panel as a template, mark
out the mounting holes [14] with a pencil.
Fig. 5: Rear view
Tip: Use a spirit level when marking
out the mounting holes. This will
subsequently ensure that the light is
mounted horizontally.
Step 3:
Drill mounting holes
DANGER: When drilling and
installing screws, take care to avoid
damaging electricity cables and gas and
water pipes. This could lead to severe
injuries and damage.
NOTE: Obtain suitable fastening
materials from an appropriate retail outlet.
Example:
Drill two mounting holes (6 mm diameter) in
the substrate and insert suitable plugs.
Step 4:
Mount the rear panel
Secure the rear panel to the substrate.
TIP: Use a spirit level to adjust the
rear panel so that it is level.
Step 5:
Affix the house number
See Section 7.2
Step 6:
Install battery
See Section 7.3
Step 7:
Fit the house number light
With a small Phillips-type screwdriver,
install the screws [14] on the underside of
the house number light.
Step 8:
Mark out the mounting
holes
NOTE: It is advisable to mount the
solar panel in a position where it is exposed
to direct sunlight. The duration of
illumination depends on the intensity of the
sunlight.
Using the mounting base as a template,
mark out the mounting holes with a pencil.
Step 9 :
Secure the solar panel
DANGER: When drilling and
installing screws, take care to avoid
damaging electricity cables and gas and
water pipes. This could lead to severe
injuries.
NOTE: Obtain suitable fastening
materials from an appropriate retail outlet.
Example:
Drill two mounting holes (6 mm diameter) in
the substrate and insert suitable plugs.
Step 10:
Lay the connecting lead
CAUTION: Take care to ensure that
the connecting lead does not become a trip
hazard.
14
4