One Systems PM4-M V4 User Manual
Page 8
Remove the four (4) plastic covers on the rear of the enclosure (if installed) to
mount the bracket assembly to the rear of the enclosure.
2. Now the M10 forged shoulder “eye” bolt should be installed in the top rear
of the loudspeaker enclosure. The plastic cover (if present) must be
removed prior to installation of the eye bolt.
3. The loudspeaker, with loudspeaker bracket mounted, may now be placed
on the pole bracket. (Main bracket, see figure 4b.)
USE EXTREME CAUTION! The loudspeaker is heavy and it is likely that the
desired mounting location is high in the air. This process should never be
attempted by a single person.
TWO OR MORE PEOPLE ARE REQUIRED TO MOUNT THE LOUDSPEAKER
ENCLOSURE TO THE POLE AND PM4-M! Safety harnesses should always be
worn when working from an elevated platform.
First insert the M10 bolt into the pivot bolt location as shown in Figure 5 below
and secure, but do not fully tighten using the supplied M10 nylon insert nut. (DO
NOT DO THIS UNTIL THE NOTE BELOW IS READ AND UNDERSTOOD!)
NOTE:
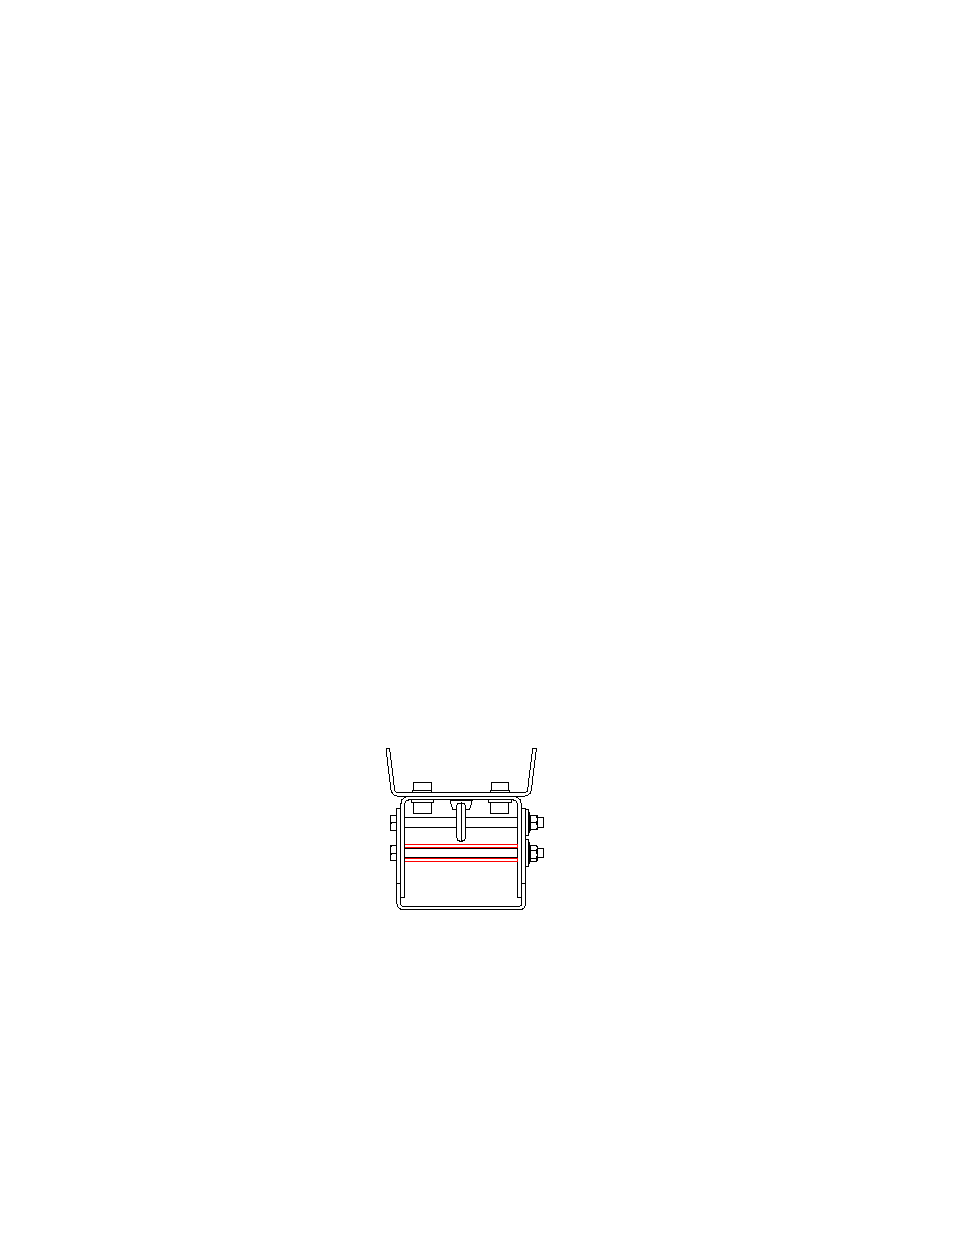
The 18 mm diameter hollow tube must be used with the pivot bolt. Insert
the M10 pivot bolt thru the 18 mm diameter hollow tube in the position shown
below in red.
The 18mm diameter hollow tube and pivot bolt
Now the enclosure may be set at its desired down tilt using the second M10 bolt
(“Tilt” bolt). The PM4/M allows the loudspeaker to be oriented from a 0 degree
down tilt to a maximum down tilt of 35 degrees. Now both M10 bolts should be
tightened using the supplied nylon insert nuts and washers.