Connecting audio output devices – Presentation Switchers PS550 User Manual
Page 10
Page 10
Presentation Switchers, Inc.
EDID and Image Resolu ons
EDID and Image Resolu ons
By default, image resolu on is handled automa cally. The source selected is allowed to nego -
ate directly with the display device to determine the best possible display resolu on. When an
analog signal is selected such as composite video, the Series 500 communicates with the display
device to retrieve its available screen resolu ons. The analog signal is scaled to match the pri-
mary display resolu on. The installer can override this feature by selec ng a image resolu on
from a table. This table is extracted from the display’s EDID table (extended display iden fi ca-
on data). This feature is explained in more detail later in this Installa on Guide.
Audio on HDMI Connector
Audio on HDMI Connector
When connec ng to the HDMI connector, audio from the input device or source selected will
pass directly to the display device. This includes audio from analog sources that are digi zed
and embedded onto the HDMI stream.
HDCP Encrypted Sources
HDCP Encrypted Sources
Signals which are encrypted using HDCP will pass directly to the HDMI connector in all situa-
ons. The VGA connector will indicate a disconnected signal and audio will not be present on
either the onboard amplifi er or the Line Level output.
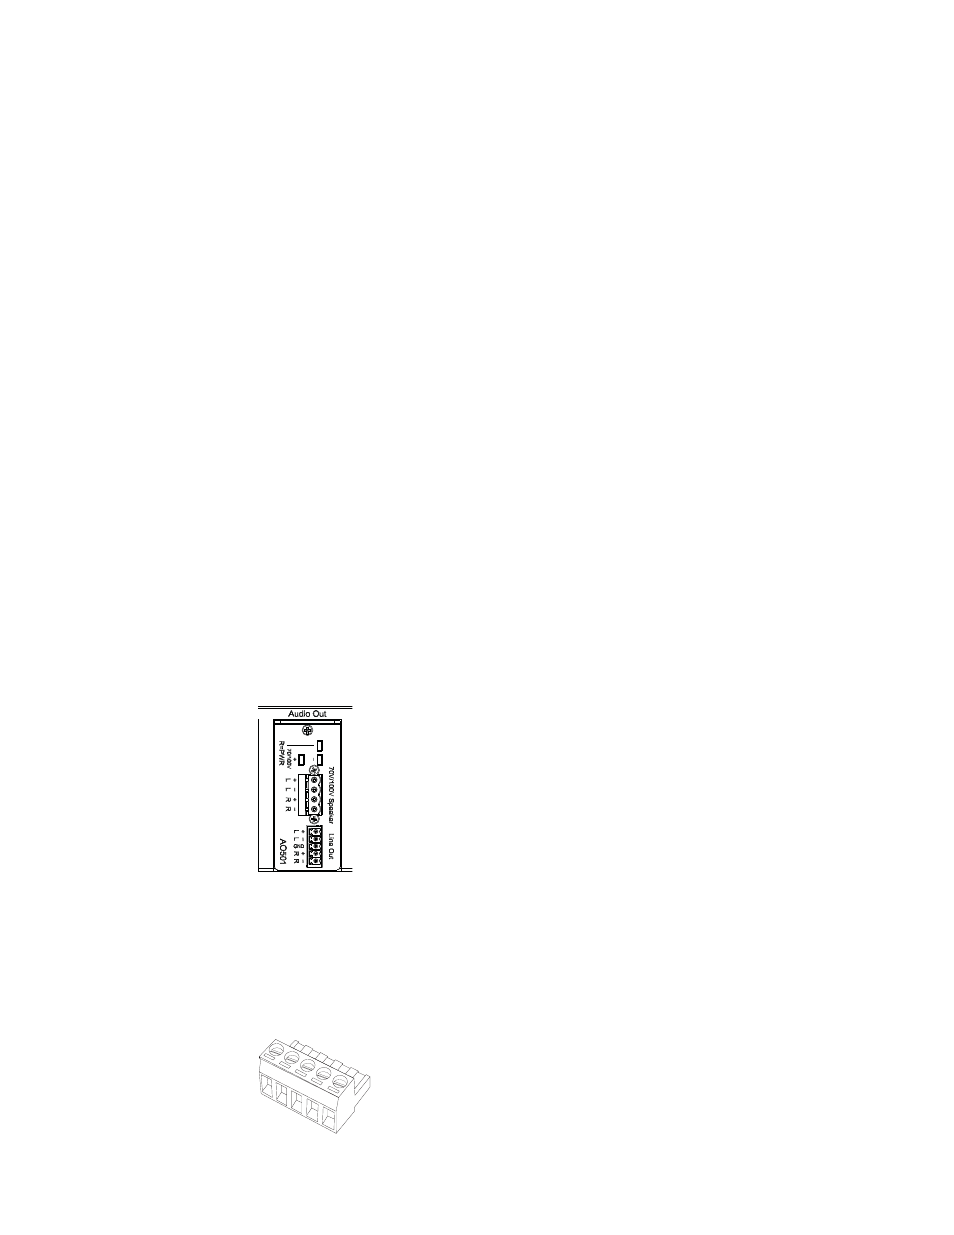
Connecting Audio Output Devices
Connecting Audio Output Devices
The Series 500 presenta on switchers are equipped with a line level stereo audio output.
Op onally, a speaker level output is also available (see the PS550 or PS552). Below is an image
from a PS550.
Line level audio, by default, is a stereo audio balanced output. Using menu op ons, the Series
500 presenta on switcher can convert stereo signals to mono on each line out channel. This
feature is further explained in the “Audio Se ngs” sec on of this Installa on Guide.
Using the male audio connectors provided (shown below), connect the audio signals as indi-
cated on the plate above. Tighten with a 1/8” fl at head screw driver (tweeker). Repeat process
for speaker level output
Line out audio connector.