Prepare measurement – Beurer BM 40 User Manual
Page 17
17
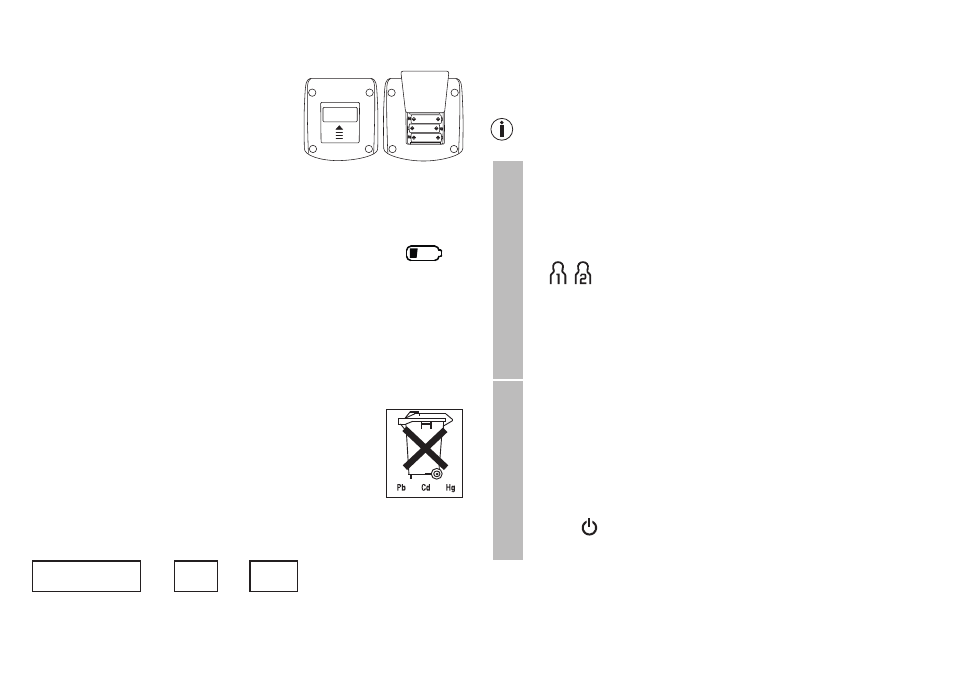
4. Prepare measurement
Inserting battery
• Remove the battery cover from the
back of the monitor.
• Insert four AA 1.5 V alkaline
batteries. Making absolutely
sure that you insert them with
the correct polarity as marked.
Never use rechargeable bat teries.
• Replace the battery cover carefully.
If 4 warning tones have been sounded and the symbol
appears simultaneously on the display, it is no longer possible
to perform a measurement and all batteries must be replaced.
Once the batteries have been removed from the device, the
date and time must be set again. Any saved measurements are
retained. Used batteries should not be disposed of in normal
household waste. Dispose of them via your electronics retailer
or your local recycling point. You are legally obligated to do so.
Note: Batteries containing pollutant substances
are marked as follows: Pb = Battery contains lead,
Cd = Battery contains cadmium, Hg = Battery
contains mercury.
Setting the user memory, date and time
This menu allows you to set the following functions, one after
another.
User memory
Date
Time
➔
➔
It is essential to set the date and time. Otherwise, you will not
be able to save your measured values correctly with a date and
time to retrieve them later.
The time is displayed in the 24-hour format.
If you press and hold the function buttons -/+
-/+, you can set
the values more quickly.
User memor
y
• Press the SET button.
The user memory symbol flashes on the display.
• Select the desired user memory by pressing the
function buttons -/+
-/+.
You have two memories, each with 60 memory spaces,
to store the measurements of two different people
separately.
• Confirm using the SET button.
Date/time
The year flashes on the display.
• Set the year with the function buttons -/+
-/+ and con-
firm with the SET button.
• Set the month, day, hour and minute and confirm
each setting with the SET button.
When making settings, you can use the START/STOP
button at any time to switch the device off. The set-
tings that have already been performed will be retained.
4 x 1,5V AA (LR6)