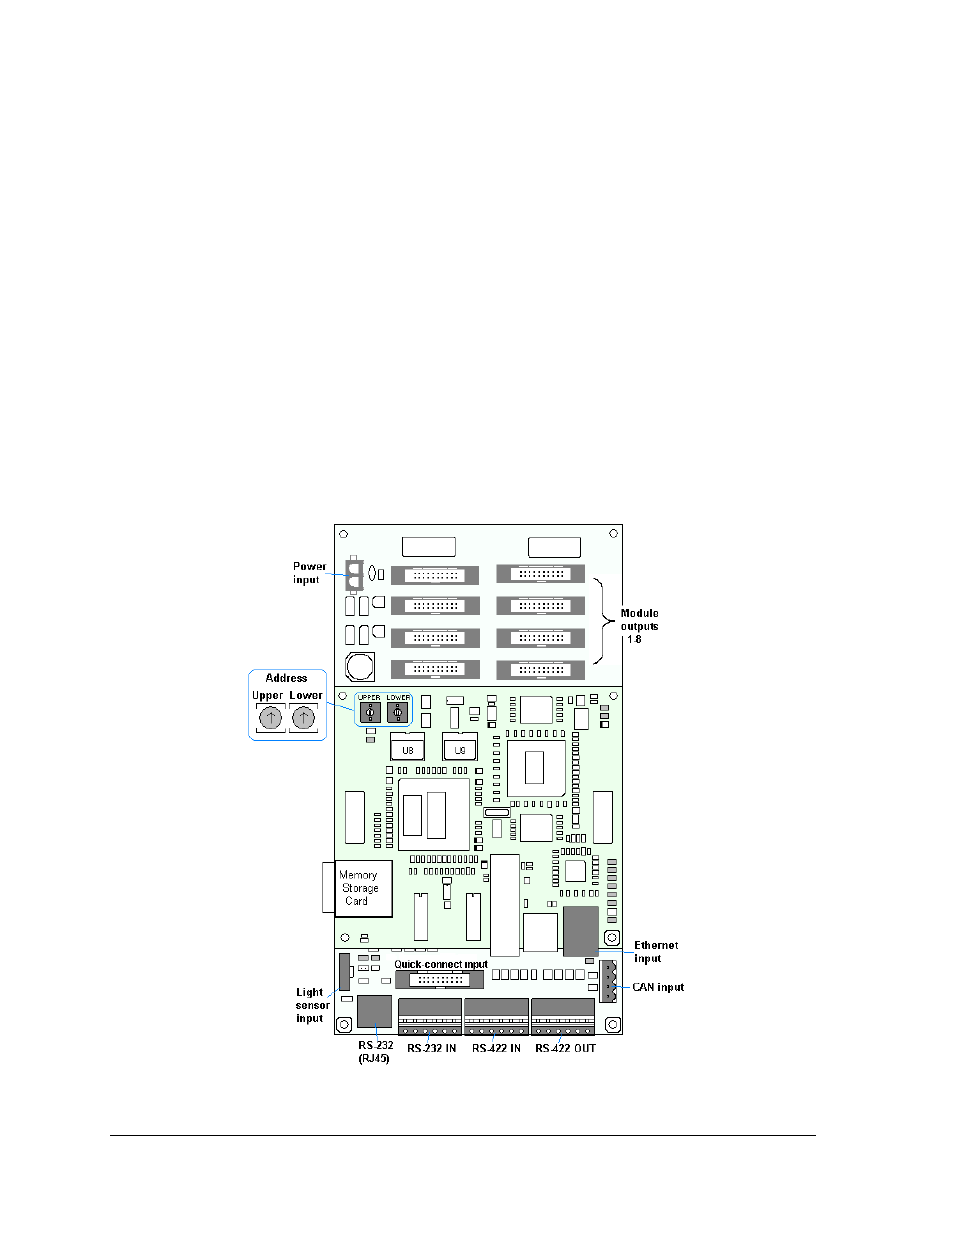
Controller replacement, Figure 51: galaxypro controller – Daktronics AF-3700-20 RGB User Manual
Page 48
Controller Replacement
Complete the following steps to replace a controller in the display:
Tools required:
1
/
8
" hex wrench and
5
/
16
" nut driver
1. Turn off power to the display.
2. Remove the module directly in front of the controller in the lower left area of the
display. Refer to Figure 47 for the exact location.
3. Disconnect the power input.
4. Remove all power and signal connections from the board. Label the cables as they are
removed to insure proper replacement.
5. Remove the six nuts holding the board in place using a
5
/
16
" nut driver.
6. Take note of the rotary address on the controller and ensure the address on the
replacement board is the same (Figure 52).
7. Remove the memory storage card on the old controller and insert it into the new
controller. Refer to the next page for additional information.
8. To install the new controller, replace the six nuts holding it to the display back.
Reconnect power and signal cables. Turn on power, observing the boot-up sequence,
and then note that the LED in the lower right corner shows power.
Figure 51: GalaxyPro Controller
Parts Replacement
38