Phonorama control panel – ESI PHONORAMA User Manual
Page 8
ESI PHONORAMA
8
You will now be prompted to connect the hardware on the next dialog that is shown below on the
left. Plug in PHONORAMA. Do not click Next yet. Instead, wait a few seconds for the automatic
device driver installation. You can monitor this in the task notification area where Windows Vista /
7 informs that the driver is installed via a bubble message box.
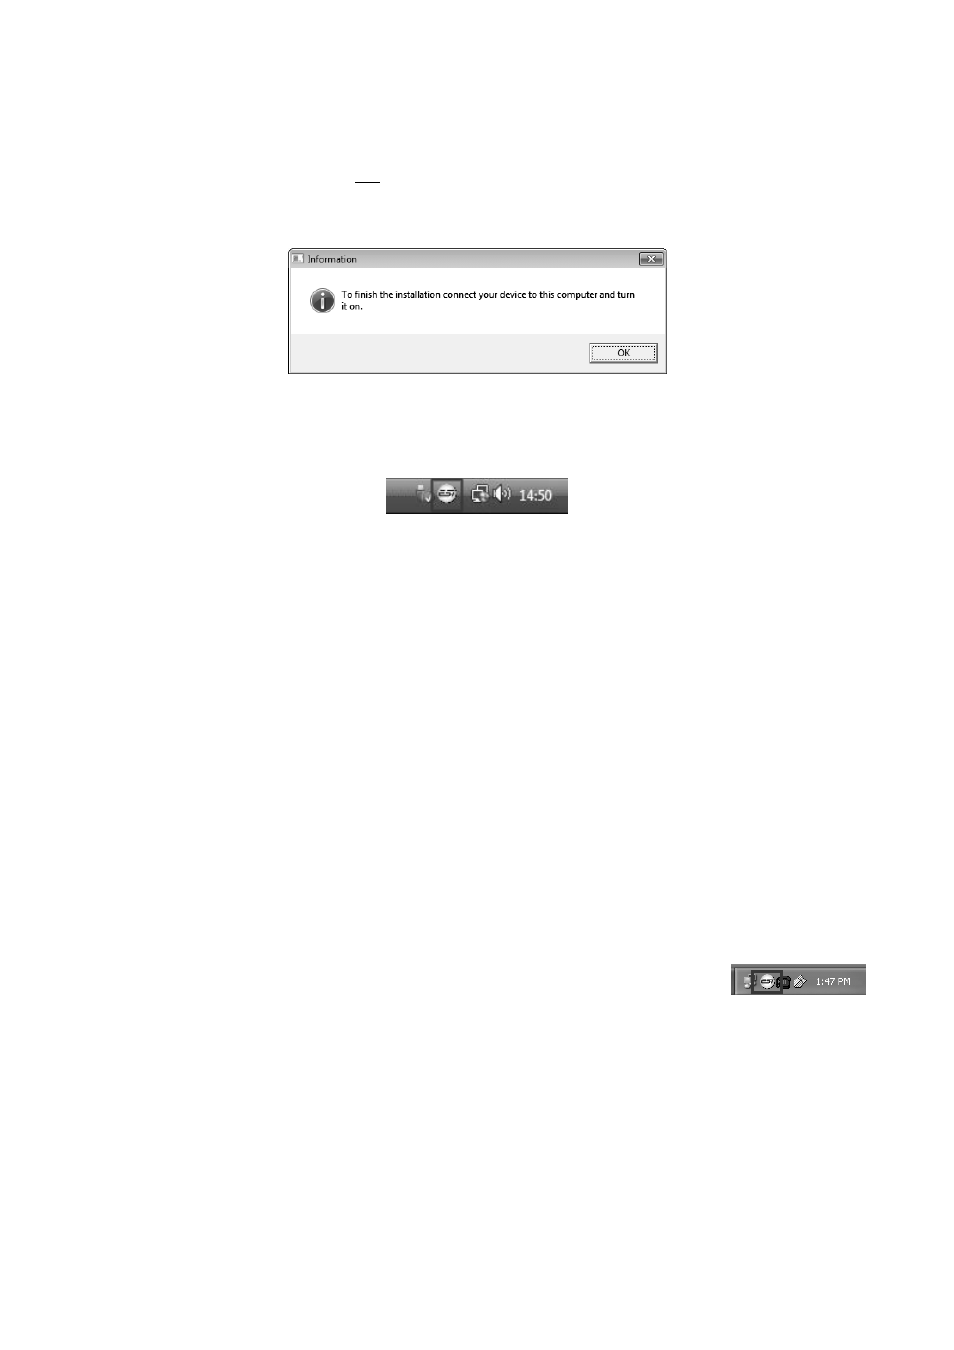
You can now finally click OK on the Information dialog. The installation is now finished. To
confirm this, please check if the ESI icon is displayed in the taskbar notification area as shown
below.
If yes, the driver installation has been completed successfully.
3.3 Mac OS X
Mac OS X already provides support for class compliant USB audio devices such as
PHONORAMA. This means that no software or driver needs to be installed to use PHONORAMA
under Mac OS X. Simply connect the unit with the supplied USB cable to your Mac and you can
start using it.
To make the usage more simple, we provide a control panel application that can be installed from
the included CD (Mac OS X folder) or downloaded on our website. To install it, open the .dmg file
and them drag the PHONORAMA Panel icon into your Applications folder.
Controlling some of the basic options of PHONORAMA under Mac OS X can also be done via the
Audio MIDI Setup utility from Mac OS X.
4. PHONORAMA Control Panel
This chapter describes the PHONORAMA Control Panel. To open the control
panel under Windows double click on the ESI icon in the task notification area.
Under Mac OS X you can launch the control panel from your Applications folder.
The following dialog shows the control panel: