0 valve maintenance, 0 disassembly – Flowserve Swing Check Valves 2.5-24 User Manual
Page 12
Swing Check Valves FCD ADENIM0013-00
11
4.0
VALVE MAINTENANCE
(Continued)
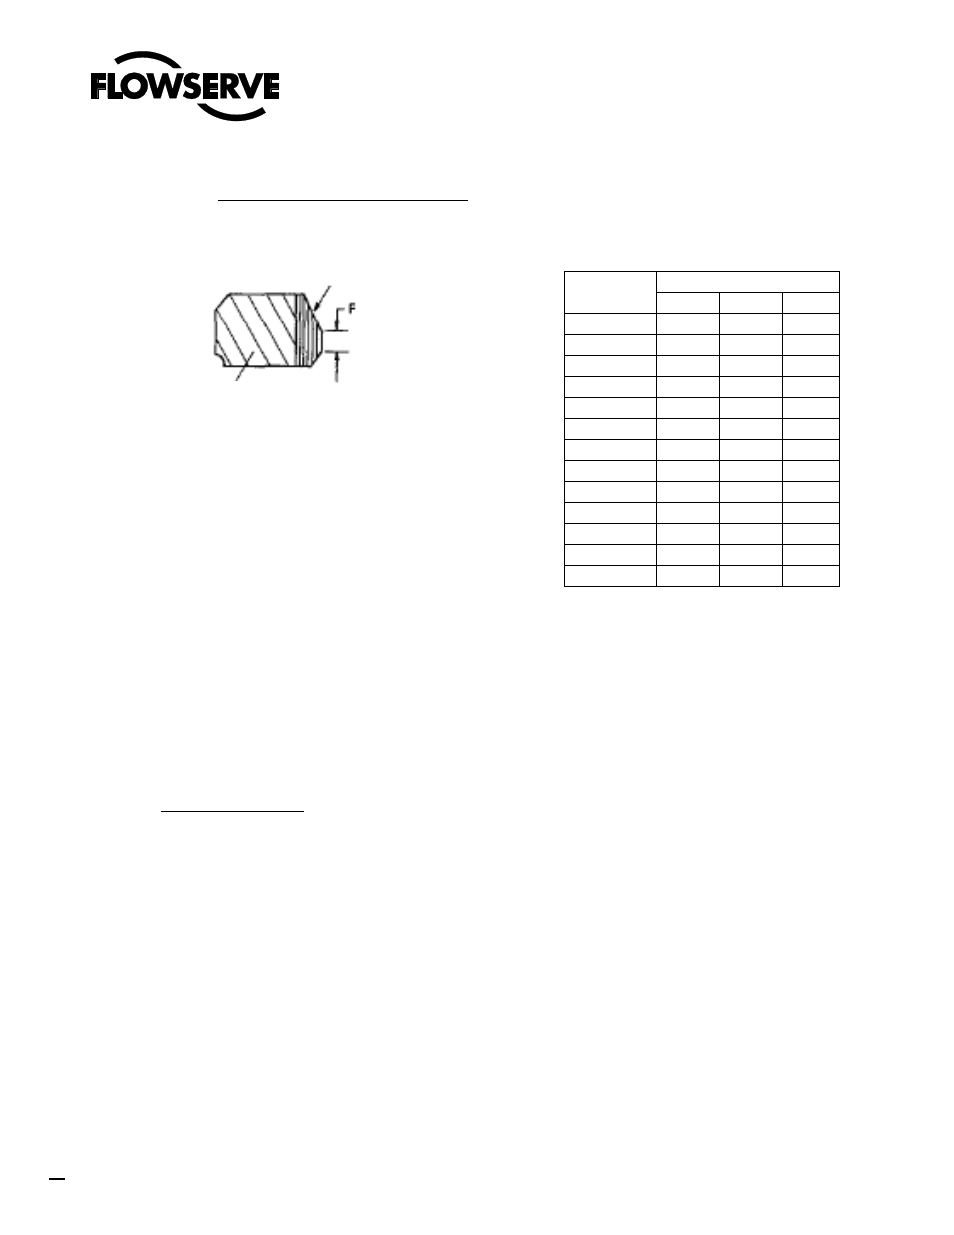
4.4
Refinishing Sealing Surfaces (Continued)
5.0
DISASSEMBLY
By carefully following these instructions, any Anchor/Darling valve can be easily disassembled and reassembled. If
problems are encountered with equipment, Anchor/Darling Field Service should be contacted. The use of improper tools
or methods may cause severe damage to the valve and may void the warranty. Prior to attempting disassembly of a
particular valve, refer to the specific assembly drawing for the valve.
5.1
Flanged Bonnet Valves
5.1.1
Bonnet (Fig. 8)
Remove the nuts (230) from the bonnet studs (200). Although it is not imperative, it may be helpful to
loosen the nuts in a criss-cross pattern (Fig. 18). With the nuts removed, the bonnet can be lifted off
the body. Tapped holes are provided in the top of larger bonnets to accept eyebolts. The bonnets on
these valves are most easily raised using slings attached to the eyebolts. (NOTE: Some older
Anchor/Darling swing check valves were designed with the disc assembly attached to the bonnet (See
5.1.2.2). With this design care should be taken in raising the bonnet so that the disc is not damaged.)
With the bonnet removed, the old gasket (100) should be lifted out of its groove. Be careful not to
damage the gasket sealing surface.
F
Valve Size
600#
900#
1500#
2-1/2
.090
.090
.125
3
.090
.090
.125
4
.090
.090
.156
6
.125
.125
.187
8
.125
.156
.218
10
.156
.156
.250
12
.156
.187
.250
14
.156
.187
.250
16
.187
.218
.281
18
.187
.218
.312
20
.187
.218
.312
22
.187
.218
.312
24
.187
.218
.312
Swing Check
For 150# and 300#
F = 3/32”
Hardfacing
Seat Ring
TABLE 1
NOMINAL SEAT WIDTH