Setting custom folds – Formax FD 2052IL System User Manual
Page 13
9
SETTING CUSTOM FOLDS
a.
Measure the length of panel “A” + “B”
b. Measure the length of panel “B”
c. Enter these measurements according to the
instructions below.
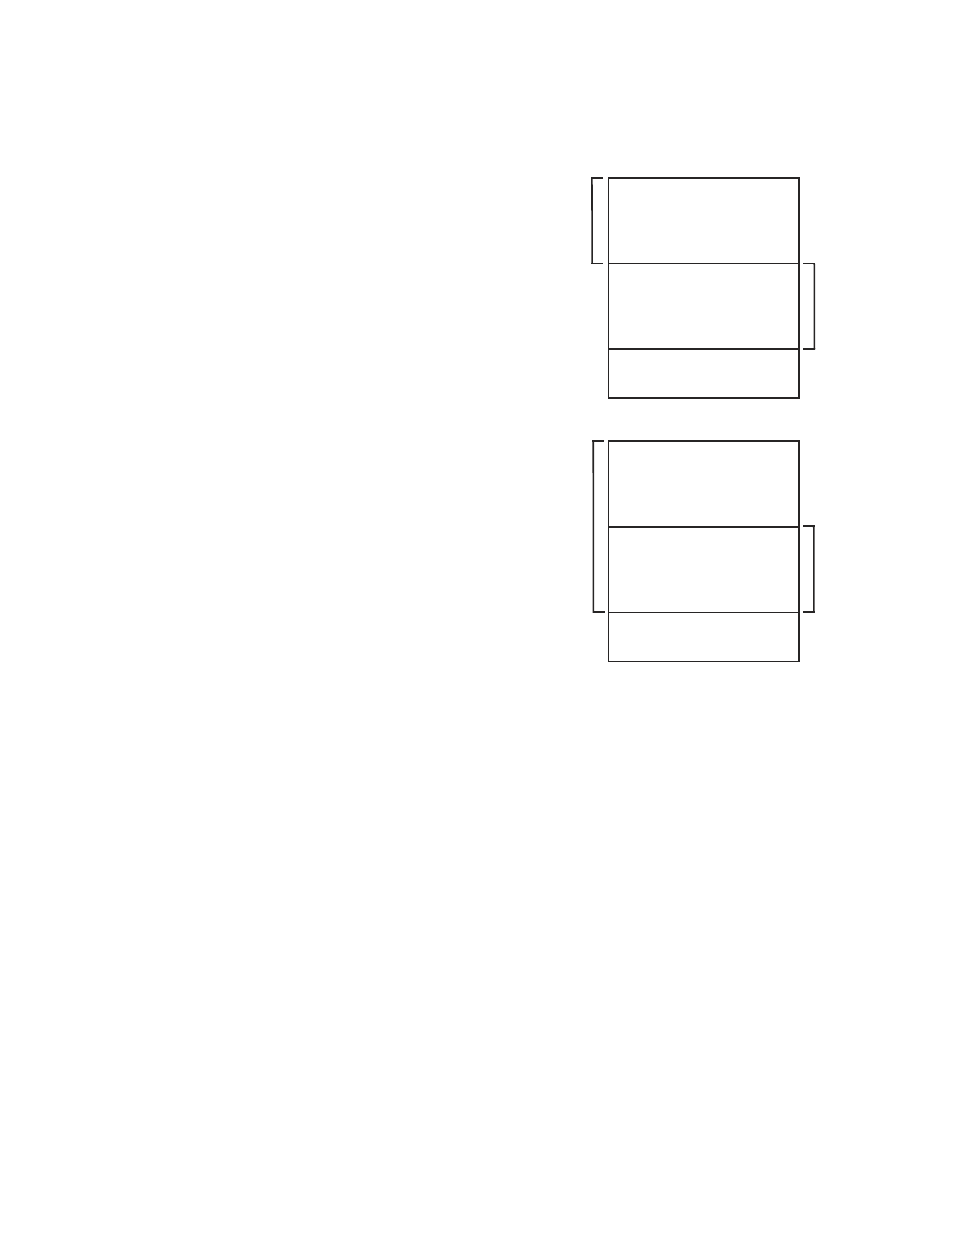
Example 2: Uneven “C”
a. Measure the length of panel “A”.
b. Measure the length of panel “B”
c. Enter these measurements according to the
instructions below.
1. Measuring Fold Lengths
Panel A
Panel B
Panel A
Panel B
The Custom Folds Menu allows you to program custom folds into memory. The 2052IL can store up to nine
custom folds. To store a custom fold into memory, follow these steps:
1. Select the custom fold number you want to program.
2. Press the green button next to the Table A and Table B lights.
Note: The display will read “Tbls A: #.## B: #.## CUSTOM #”.
Table A adjusts the upper fold plate.
Table B adjusts the lower fold plate.
The “-“ and “+” buttons decrease and increase the fold numbers.
3. Press the “-” and/or “+” button to enter the length of the fold. Fine adjustments can be made with the
adjustment screw at the end of the plate.
4. Press the “Fold Setup” button and run the printer test mode to ensure the proper folds have been entered.
5. Once the folds are correct, press and hold the “Custom Fold” green arrow button until the machine sounds
a tone. The fold has been memorized.
Example 1: Uneven “Z”