Ils21hl instructions manual – ILS ILS21H User Manual
Page 30
ILS21HL INSTRUCTIONS MANUAL
ILS21 HL
Page 29
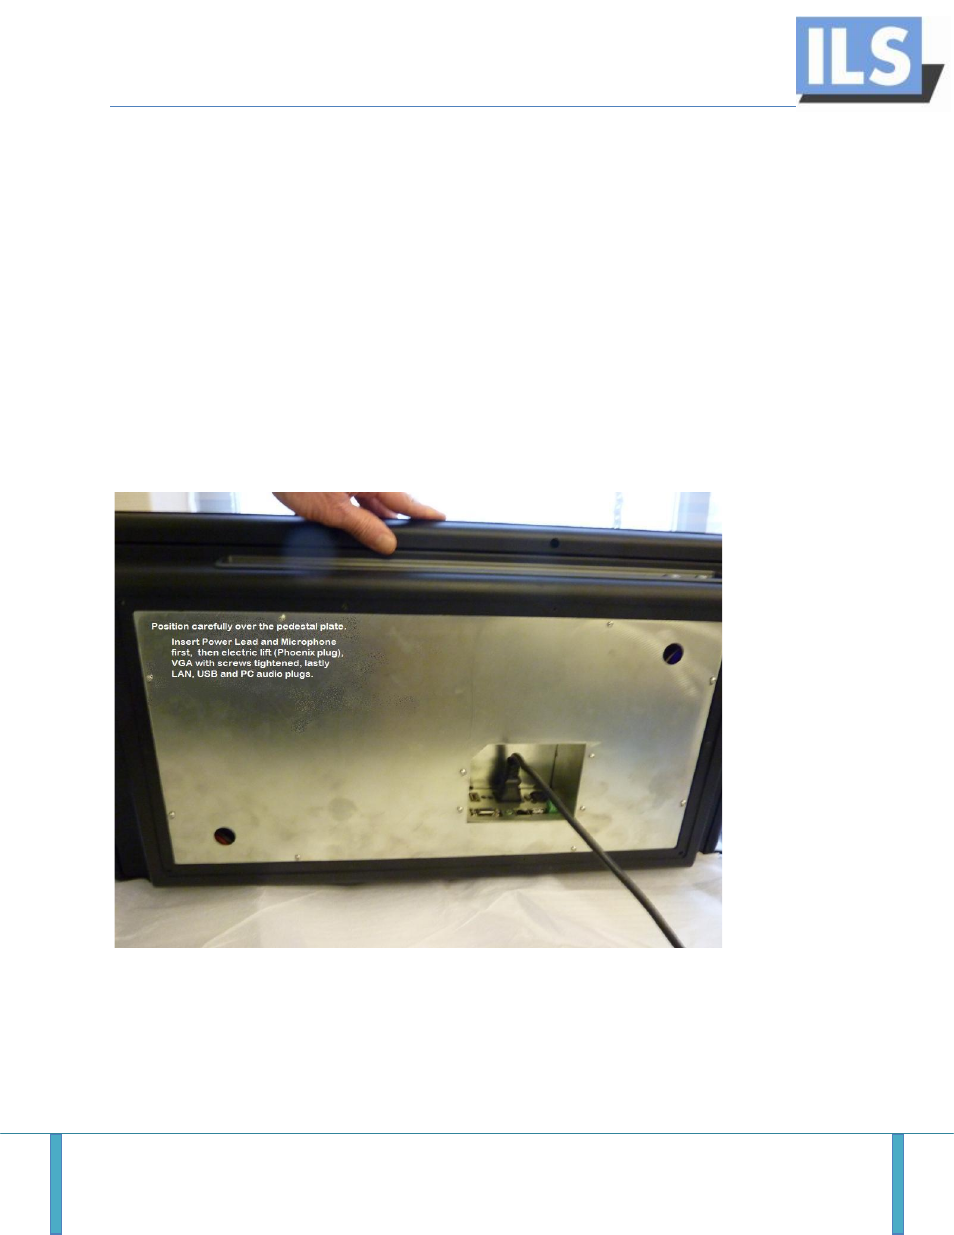
Step 4:
Now the ILS21H head needs to be placed and connections made. First notice in the connections
bay of the system where the cables go and verify that all cables are of appropriate length.
Carefully place the unit on the support plate so that it exactly fits. Now take 2 ea M4 screws
and screw these into the audience side corners loosely. This should allow lifting the presenter
side about 10 cm to reach inside for the cabling. IF too tight than use longer screws. Place a
block under the presenter side of the unit to allow making the cable connections easily. Plug
the cables in the sockets at the back of the PC. Make the power and microphone connections
first. Then connect the electrical height via the Phoenix plug. The next step is making the VGA
connection. Make sure the screws of the VGA plug are tightened.. As a last step, the other LAN,
USB and audio plugs can be connected. Now remove the block and insert all screws in the
support plate and tighten them carefully.
Step 5:
Plug the cables into the floor box or make the connections from under the pedestal. Now fire
up the systems to see if all functions work…. Enjoy the use of the ILS21 Intelligent Presenter
Lectern!