Kemppi Kempomat 1701 User Manual
Page 8
© KEMPPI OY
8 – KEMPOMAT 1701, KEMPOMAT 2100 / 0531
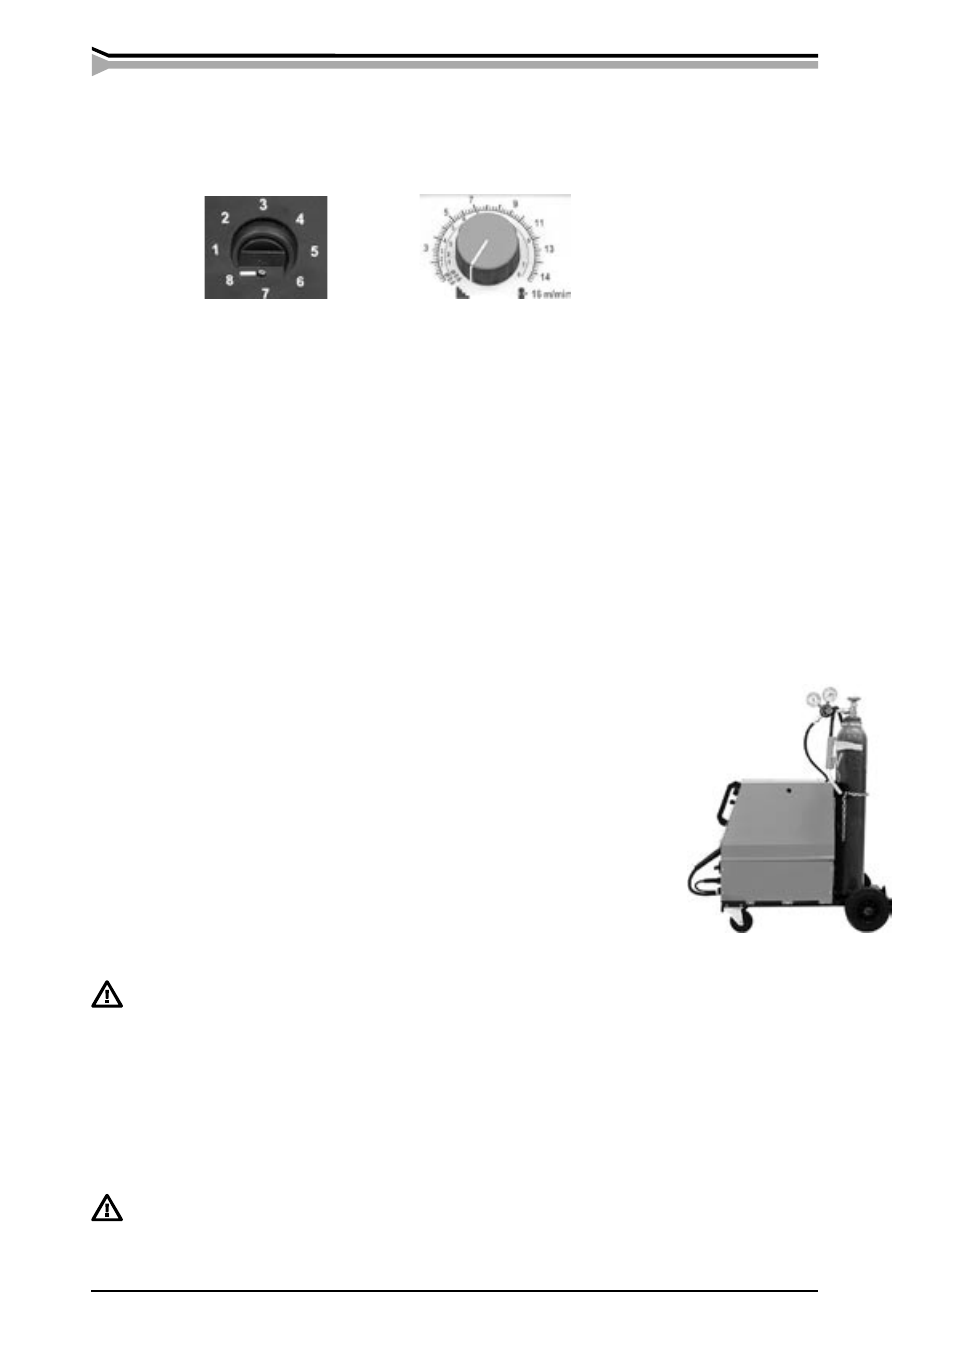
3.7. To select welding parameters
1.
Select adjustment step of voltage switch.
2.
Set adjustment potentiometer of wire inch speed on the same number.
3.
Test the weld and make necessary adjustments in wire inch.
4.
If fusion power is not suitable for the target, set the voltage anew. Also adjust wire feed,
if necessary. Repeat until the values suit the target.
3.8. Thermostat
Thermal protection of the unit prevents the power source from over-
heating. Thus the unit will not be damaged, even if load during weld-
ing exceeds load factor. When overheating pilot lamp lights, welding is
not possible. There is an appr. 3 min delay before the light goes out, and
welding can be normally continued by starting from the trigger. The light
can also signify low supply voltage or an overtly long welding period.
3.9. Shield gas
Handle gas bottle with care, it might explode if it falls down!
Because the danger of falling, the gas bottle must not be higher than 1600 mm.
Shield gas shields the arc and in MAG welding it is also used for reinforcing the weld seam.
Shield gas for steel wire is carbon dioxide (CO
2
) or mixed gas, where main component is argon
(Ar) and the rest is carbon dioxide. When welding aluminium wire, pure argon is used as shield
gas.
Flow meter must be suitable for gas type. Usually suitable flow is 8 to 10 l/min. If flow is too
slow or too big, the weld seam becomes porous.
Your dealer will give you advice on choosing gas and equipment.
Note! Always mount the gas bottle in upright position in a specially made rack
on the wall or in a bottle trolley. Always close the bottle valve after finishing
welding.
Kempomat 1700
Voltage step Open circuit voltage
1
16,1 V
2
17,5 V
3
19,2 V
4
21,1 V
5
23,6 V
6
26,4 V
7
30,1 V
8
34,7 V
Kempomat 2100
Voltage step Open circuit voltage
1
16,9 V
2
18,2 V
3
19,6 V
4
21,1 V
5
22,8 V
6
24,6 V
7
26,4 V
8
28,5 V
9
30,8 V
10
33,1 V