3 tig welding function, Kemppi oy / 1422 – Kemppi LT 250 User Manual
Page 13
EN
3.4.3 TIG welding function
Select the TIG welding process by pressing the MMA/TIG button.
Torch switch control in 2T mode and HF arc ignition
W006859
W006859
The shielding gas starts to flow when the torch switch is pressed and the welding arc is established
automatically via HF ignition. The current starts to rise (if an upslope time is established) to the
set welding current level. When you release the switch, the current starts to decrease. After the
specified downslope time, the arc is disconnected and the set post-gas time begins.
Torch switch control in 4T mode and HF arc ignition
The shielding gas starts to flow when the torch switch is pressed. When the switch is released,
the arc is automatically established via HF ignition. The current starts to rise (if an upslope time
is established) to the set welding current level. When ready to end the welding cycle, press
and release the torch switch again. The welding current starts to drop (if a downslope time is
established) until the arc is extinguished and the set post-gas time begins.
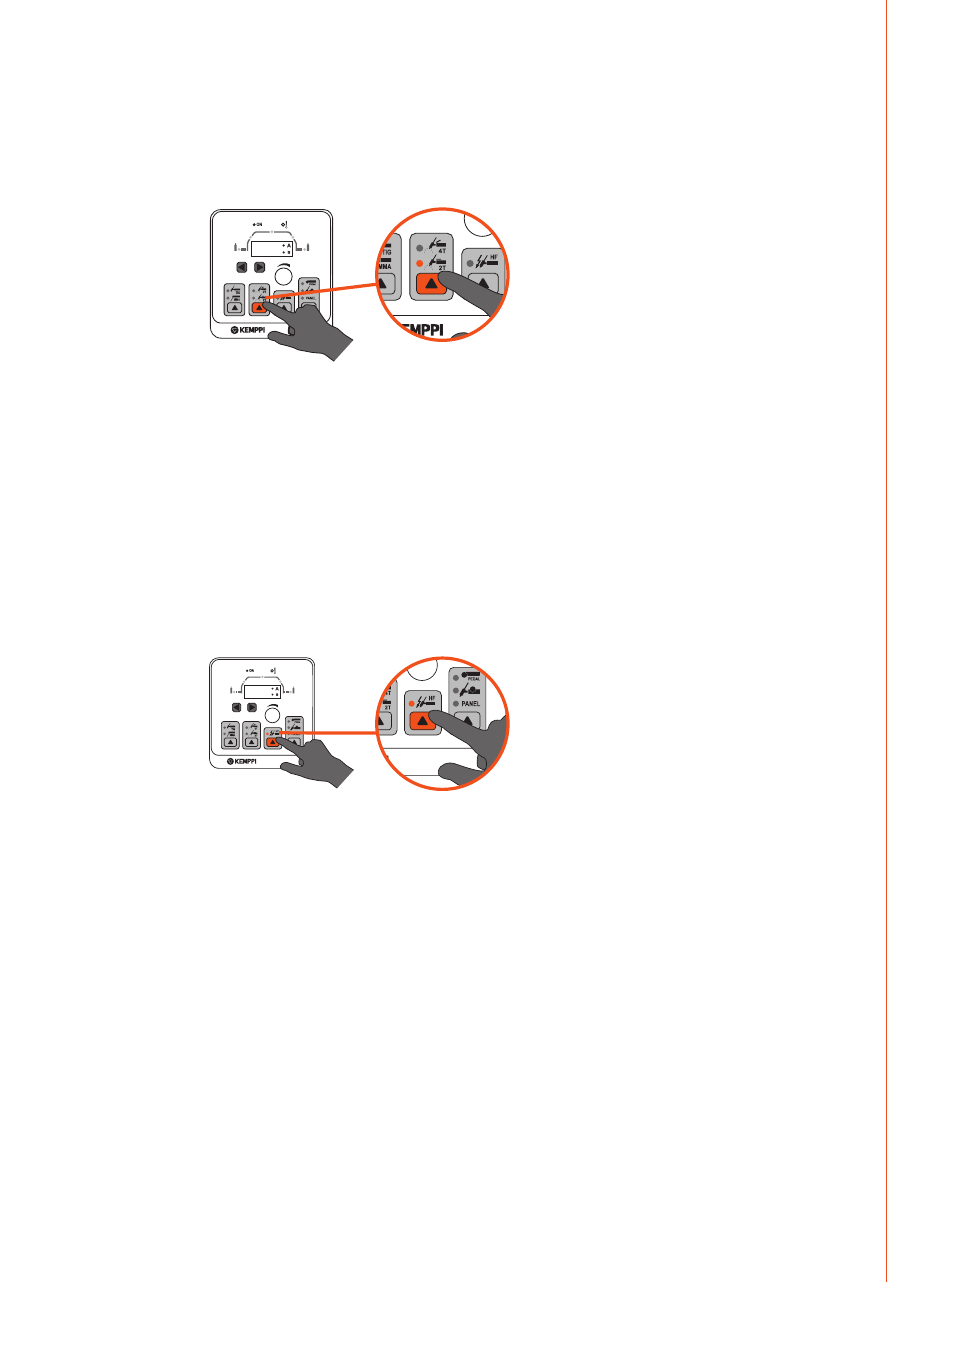
HF or Contact ignition
W006859
W006859
The TIG arc can be established with or without an HF pulse.
If the HF indicator is not lit, the arc can be established by lightly contacting the tungsten electrode
to the work piece. Press the torch trigger and then quickly lift the contact of the tungsten electrode
from the work piece (2T function); the arc is established simultaneously and effectively.
For HF ignition, press the HF button so that the indicator is on (item 6). Press the TIG torch trigger
and hold or release, depending on whether 2T or 4T is selected. The shielding gas flows and the HF
(High Frequency arc) ignites the welding arc.
11
© Kemppi Oy / 1422