Luxi Electronics RS-232 User Manual
Luxi Electronics Hardware
Website:
www.luxielectronics.com
Email:
Phone: +1 (949) 654-2047
Address: Irvine, CA, USA
Document name: Luxi RS-232 setup guide
Revision: 1.00
Date: 3/17/2014
Thank you for purchasing the Luxi Electronics products with RS-232 features.
This setup guide will guide you thru the setup of the RS-232. Because the RS-232 cables and terminal
software are third party products, we cannot cover all the variety of the products you may use, we’ll do
our best to use the most common products as examples here and hopefully it can help you with your
slightly different products too.
All Luxi products use 3-pin 3.5 mm captive screen connectors for RS-232 port. The pin configurations
are uniformed as:
Pin 1 = Tx; Pin 2 = Rx; Pin 3 = Ground. The pins are counted from left to right when the female
connector on the Luxi device facing the user.
You need to source a cable with one end to match the RS-232 connector type on your control host side.
Every Luxi product with RS-232 feature comes with a 3-pin male captive crew plug in the package, so
you do not need to care what connector on the other side. You will cut off the connector on the other
side, strip off the cable jacket, and
strip off exactly 5 mm insulation
of the individual wires of each of
the 3 wires, and securely terminate them into the provided captive screw plug by loosening the screws,
inserting the wires, tightening the screws, and make sure that no short circuit or loose wires.
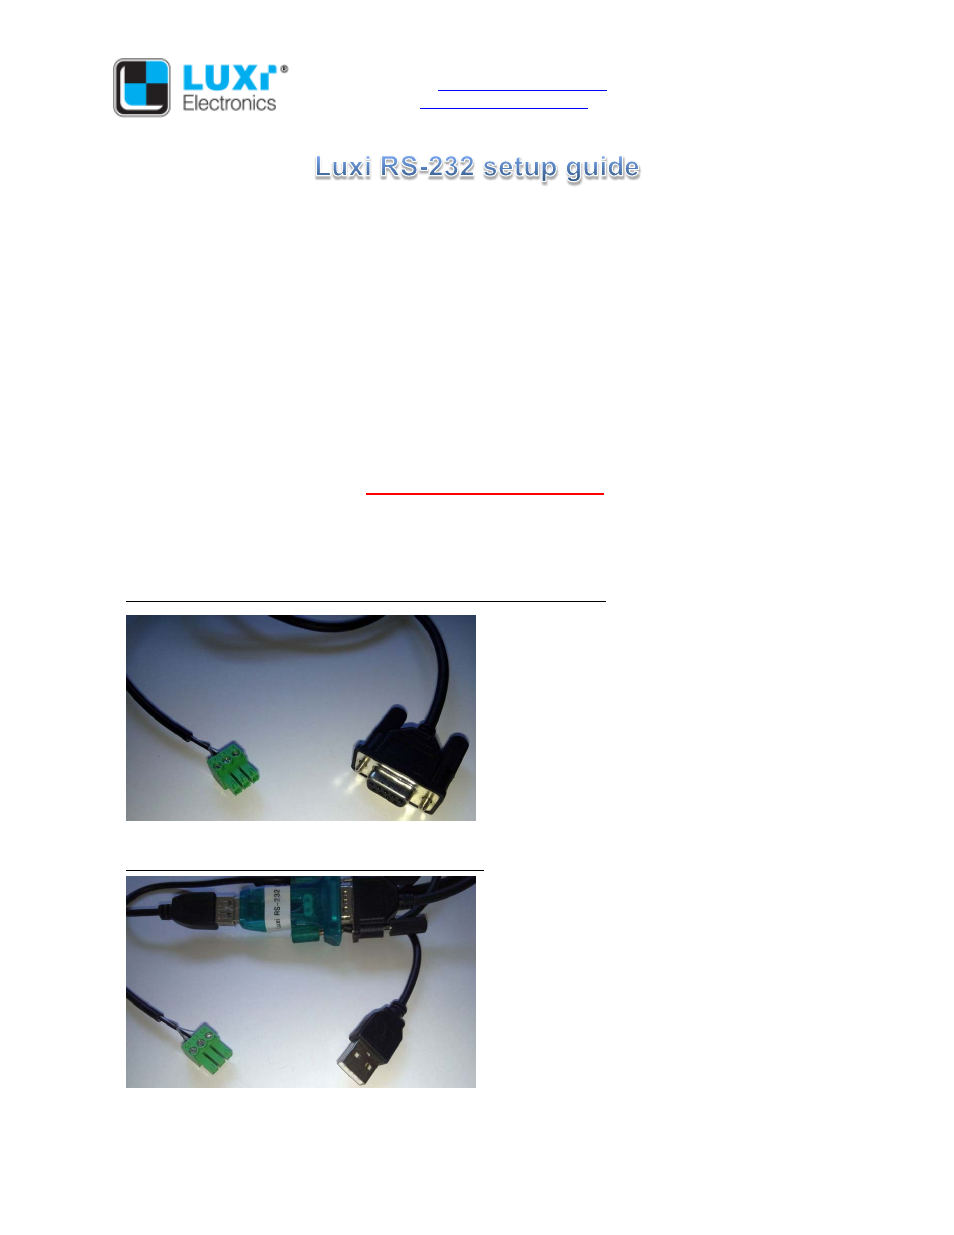
Here are the 3 cables to match the 3 commonly used RS-232 connector types on the control host side:
Type 1: 9-pin D-sub connector to 3-pin captive screw connector cable: The 9-pin D-sub connector is
most commonly seen on desktop PCs or
controllers, also known as “serial port”. The pin
numbers are usually molded on the connector.
You only need to connect 3 of the 9 wires of the D-
sub connector:
Pin 2 = Tx
Pin 3 = Rx
Pin 5 = Ground
Note: please connect the pins with the identical
names of the Luxi 3-pin captive screw plug.
Type 2: USB to 3-pin captive screw connector cable: The USB connector is most commonly seen on
laptop computers. There’s an electronics circuit
board in between and comes with a USB driver for
that circuit. Please load the driver to the laptop
first. Regardless what connector is on the
opposite side, follow the instructions above to cut
off, strip and screw on the 3 wires to the provided
3-pin captive screw plug.