Marantz SA-14S1N User Manual
Page 34
27
ENGLISH
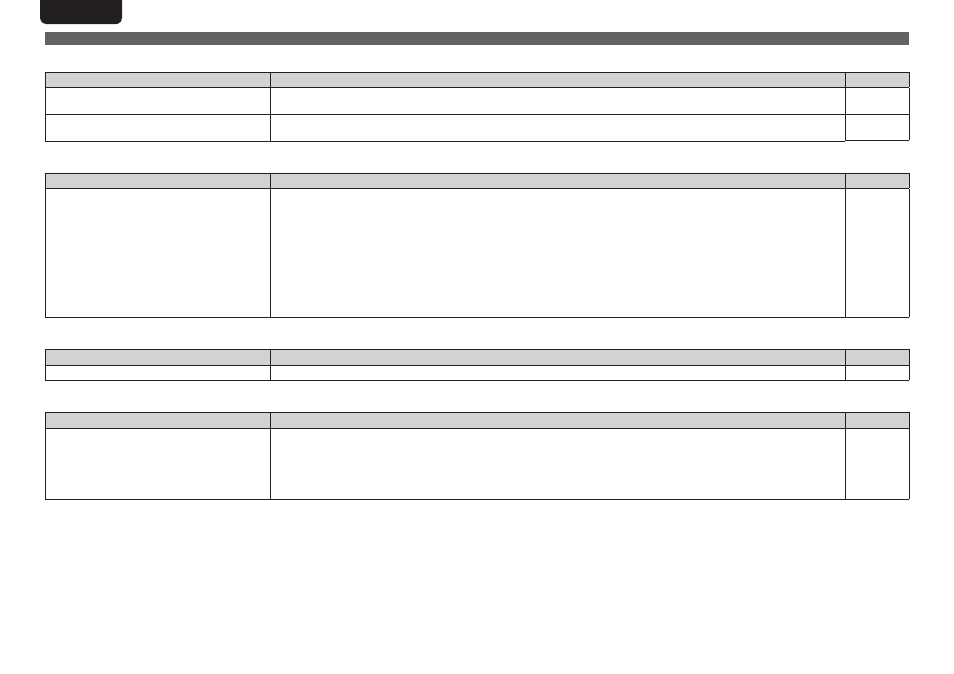
n Power does not turn on / Power is turned off
Symptom
Cause
Page
Power is not turned on.
• Check whether the power plug is correctly inserted into the power outlet.
• This unit is in standby mode. Press the X CD button on the remote control.
12
13
Power automatically turns off.
• The Auto Standby mode is set. The Auto Standby mode switches the unit to standby mode when the unit is not operated for
approximately 30 minutes. To disable Auto Standby mode, set “Auto Standby” on the menu to “Off”.
25
n Operations cannot be performed through the remote control unit
Symptom
Cause
Page
Operations cannot be performed through the
remote control unit.
• Batteries are worn out. Replace with new batteries.
• Operate the remote control unit within a distance of about 7 m from this unit and at an angle of within 30°.
• Remove any obstacle between this unit and the remote control unit.
• Insert the batteries in the proper direction, checking the q and w marks.
• The set’s remote control sensor is exposed to strong light (direct sunlight, inverter type fluorescent bulb light, etc.). Move the
set to a place in which the remote control sensor will not be exposed to strong light.
• When using a 3D video device, the remote control unit of this unit may not function due to effects of infrared communications
between units (such as TV and glasses for 3D viewing). In this case, adjust the direction of units with the 3D communications
function and their distance to ensure they do not affect operations from the remote control unit of this unit.
• Press the CD MODE button to switch the remote control operating mode to “CD”.
• When using this unit independently, set the switch to “INTERNAL”.
2
2
–
2
–
–
6
11
n Display on this unit shows nothing
Symptom
Cause
Page
Display is off.
• Press DISPLAY, and change the setting to “On”.
15
n No sound comes out
Symptom
Cause
Page
No sound is produced or sound is distorted.
• Check the connections for all devices.
• Insert connection cables all the way in.
• Check that input connectors and output connectors are not reversely connected.
• Check cables for damage.
• Check the amplifier’s functions and controls and adjust as necessary.
8, 9,
10, 11
–
–
–
–
Troubleshooting