Marantz MT8600 User Manual
Page 5
MOUNT MT8600
PROJECTOR MOUNT
INSTALLATION INSTRUCTIONS continued
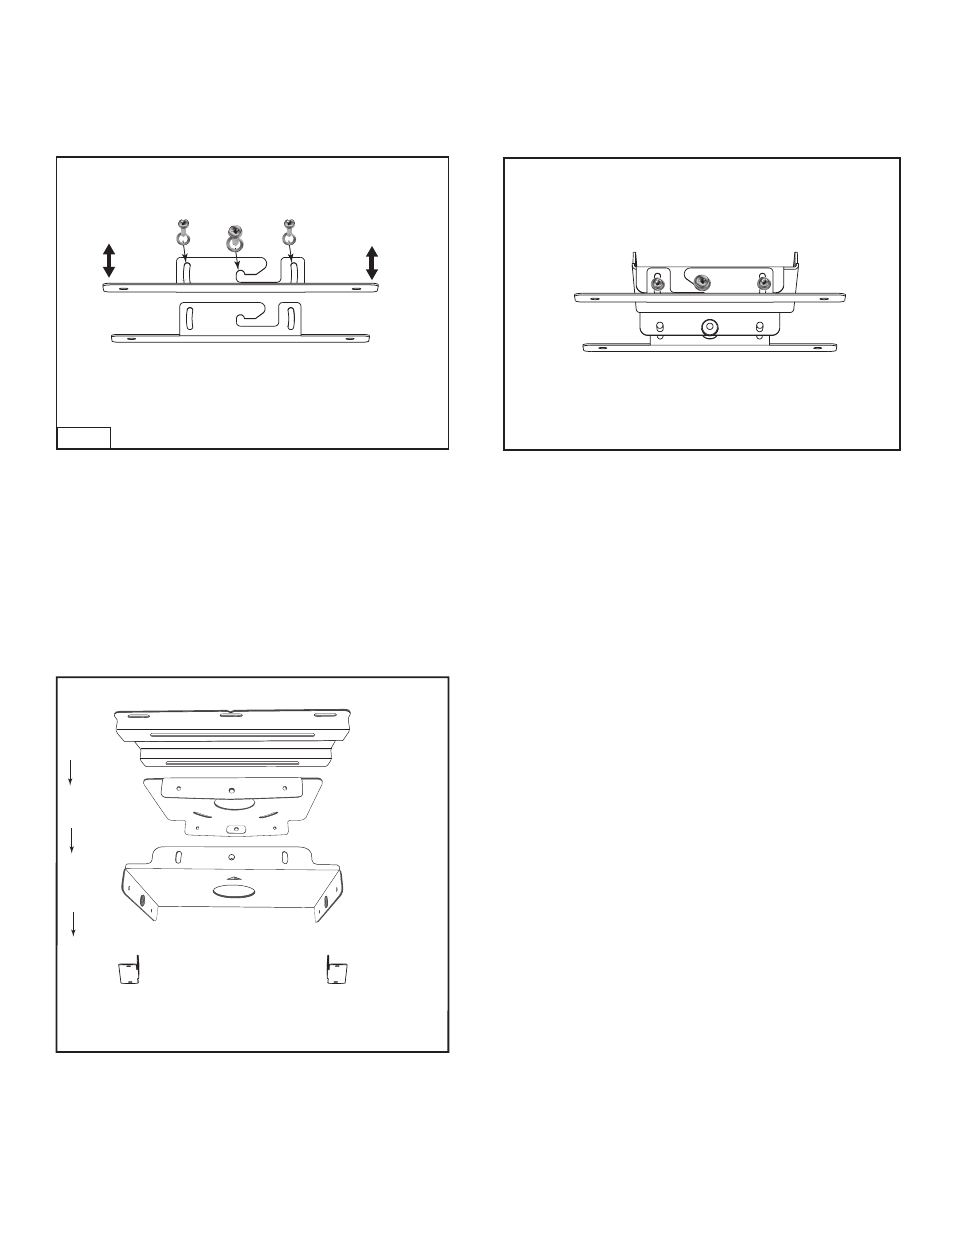
Step 4
B
Figure 7
Figure 8
Work in a group of 2 or more to carry the projector and follow
manufacturer's guidelines for relocating as stated in the
VP8600
owner's manual.
Lift and slide the projector onto the 1/4in. screws previously
installed in the metal studs of the plate on the ceiling (see arrow
in Figure 7). Tighten the 1/4in. screws on both sides of the
mount and install four (4) 1/4in. screws and washers into the
side of the projector Mounting Plate 4.
Projector Mounting Plate 4
(continued)
Projector Mounting Plate 4 connected to Mounting Plate 3
Sequence of Assembly of Projector Mounting Plates
Plate 3
Plate 2
Plate 1
Plate 4
20
0
Tilt
20
0
Tilt
Projector Side
Mount Side
Step 2
Step 3
Step 4
Mounts Fully Assembled
Ceiling Side
Projector Side
Plate 4
CEILING